How to Replace the Ice Maker in an Older Whirlpool Refrigerator
ID: 163250
Description: Use this guide to replace the ice maker in an...
Steps:
- Before you begin your repair, perform the following:
- Turn off your main water supply (if connected)
- Unplug your device
- Pull the handle of the freezer door towards you to open it.
- Pull the handle of the refrigerator door towards you to open it.
- Lift the ice maker flap.
- Slide the ice maker flap into its slot.
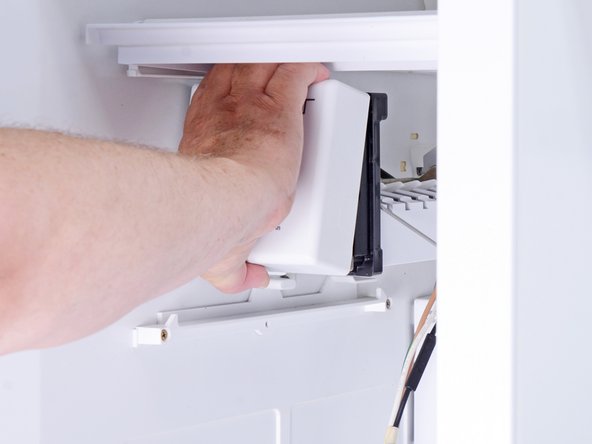
- Llift the ice bucket slightly and pull it towards you to remove it.
- Push down on the ice maker cover.
- Pull the bottom of the ice maker cover out.
- Remove ice maker cover.
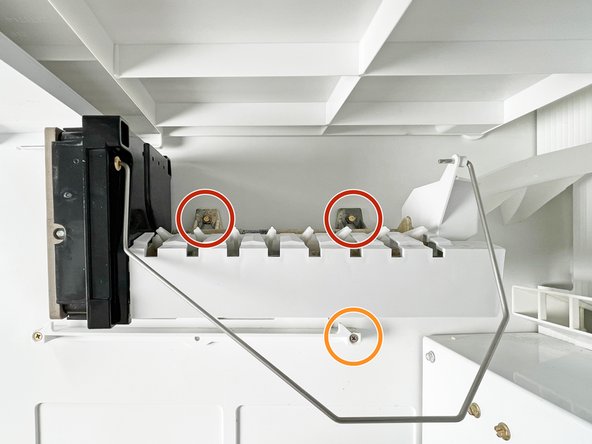
- Use a 1/4‑inch nut driver to loosen the two upper mounting screws.
- Use a 1/4‑inch nut driver to remove the lower mounting screw.
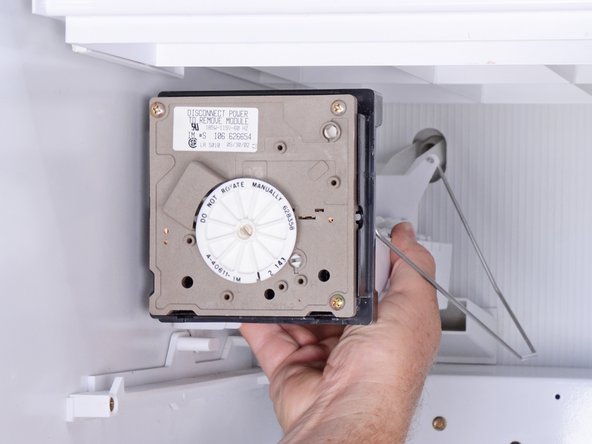
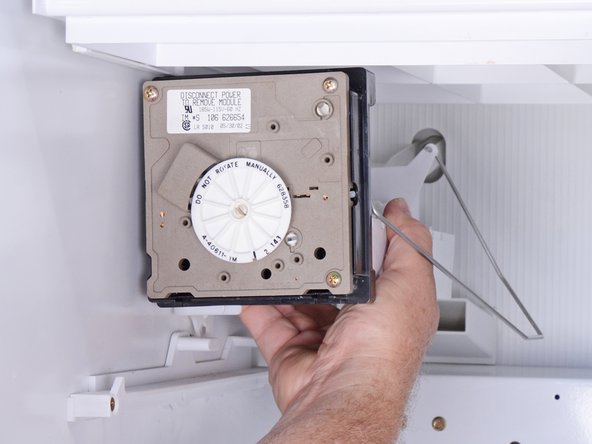
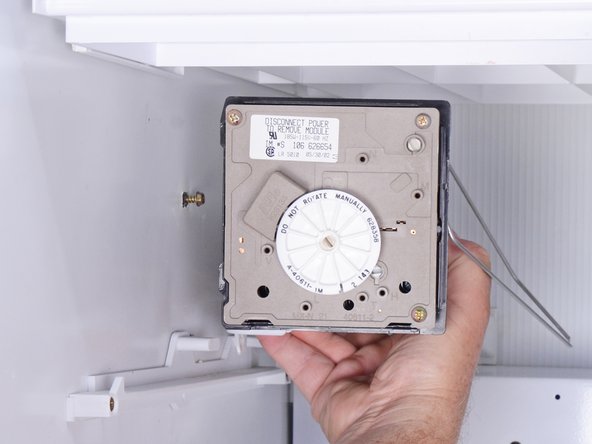
- Lift the ice maker up to release it from the upper mounting screws.
- Move it gently away from the wall into the freezer.
- Don't try to remove the ice maker fully yet because it is still attached by the wiring.
- Lower the ice maker partially to access the cable lock tab on the upper front of the ice maker.
- Use a spudger or flat head screwdriver to press in the cable lock tab to release the cable.
- Pull the cable out of the socket to disconnect it.
- Slide the ice maker off of the thermal fuse.
- Sliding the thermal fuse off will likely be easier than unclipping it.
- During reassembly, remember to clip the thermal fuse onto the ice maker.
- Remove the ice maker.