How to Test and Replace the Evaporator Fan in an Older Whirlpool Side‑By‑Side Refrigerator
ID: 163264
Description: Use this guide to replace the evaporator fan in...
Steps:
- Before you begin your repair, perform the following:
- Turn off your main water supply (if connected)
- Unplug your device
- Pull the handle of the freezer door towards you to open it.
- Pull the handle of the refrigerator door towards you to open it.
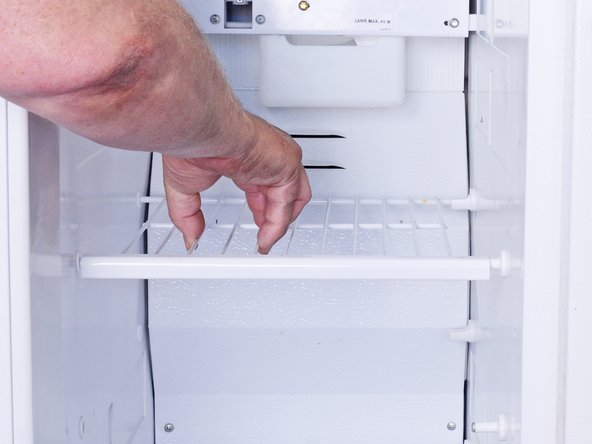
- Slide the shelf to the left side of the freezer.
- Keep track of the position of each shelf as you remove it; there are two slightly different sizes.
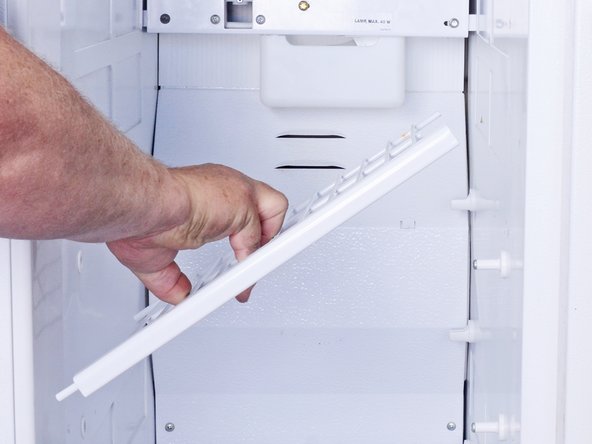
- Lift the right edge of the shelf upward to tilt it.
- Shift the shelf back to the right while keeping it tilted. It should now be released from its slot and you can remove it from the freezer.
- Repeat these steps for any other shelves you wish to remove.
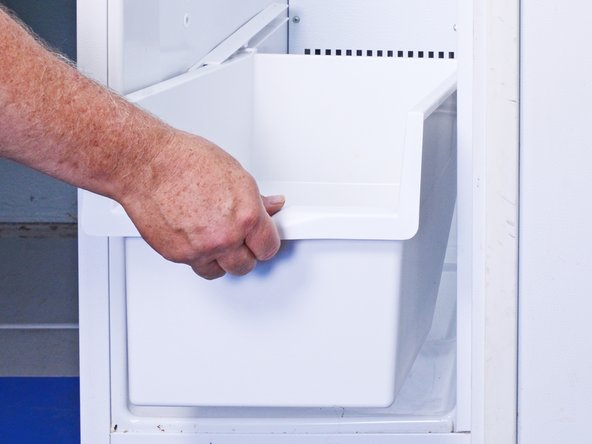
- Slide and remove the bottom bin from the freezer portion.
- Press the right edge of the freezer bulb cover to release the retaining clip.
- Carefully remove the freezer bulb cover from the refrigerator.
- Remove the light bulb.
- Use a Phillips screwdriver to unfasten:
- The post screws
- The bracket screws
- The bin rail screws
- Mark the bin rails so you do not mix them up.
- Remove the posts, brackets, and rails.
- When replacing the posts and brackets, orient them carefully, or they will not seat properly. If you force them, you may damage the wall of your refrigerator.
- Note that the mounting holes are square.
- There is a very shallow boss on the back of those parts that corresponds to the square holes.
- Use a Phillips screwdriver to unfasten the evaporator cover screws.
- Wear gloves for this step to avoid any injuries.
- Lift the evaporator cover from the bottom edge to unfasten the two tabs near the top of the evaporator cover.
- Pull the bottom edge of the evaporator cover outward and slightly downward toward you.
- Watch for the tabs at the top edge of the evaporator cover to release from the chassis.
- Continue to pull the bottom edge of the evaporator cover outward toward you.
- Remove the evaporator cover.
- Use a large flat head screwdriver or pry bar to push up on the bottom of the evaporator fan near the shaft to slide it off the shaft.
- Remove the evaporator fan.
- During reassembly, firmly press the fan down onto its shaft.
- Use long nose pliers to pull and remove the spade connector for the ground connection on the evaporator fan motor.
- Repeat this for the two motor connectors.
- Lift slightly and press inward on the motor retention clip to release it from the motor mount.
- Lower the front end of the motor retention clip.
- Remove the motor and the retention clip.
- Remove the motor retention clip from the motor.
- You can use a multimeter to test the winding resistance between the two power connections on the motor.
- If the motor shows an open circuit or zero resistance, the windings are broken or shorted, respectively. You will need to replace the motor.