Sharp EL-520X Loose Circuit Board Wire Fix
ID: 163281
Description: In this guide, the repair that is demonstrated...
Steps:
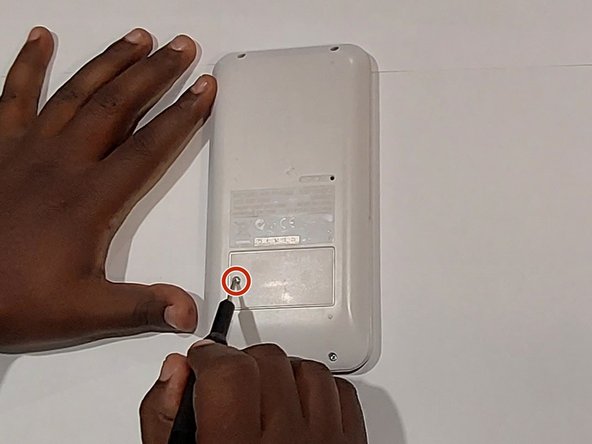
- Remove the single screw from the battery door using a Phillips #00 screwdriver.
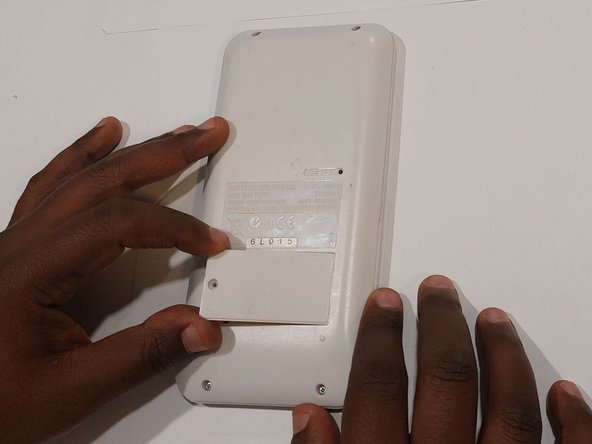
- Remove the battery door.
- Remove two screws inside the battery compartment using a Phillips #00 screwdriver.
- Remove the four screws in the corners of the calculator using a Phillips #00 screwdriver.
- Flip the calculator to the front panel and use an opening pick to pry around the sides of the panel to pop it open.
- Gently lay it open to reveal the circuit board inside.
- Using a de-soldering braid, remove the old solder on the area where the loose solar cell wire will be fixed to.
- Be careful not to damage your circuit board with the hot soldering iron. Do not place the soldering iron tip near the circuit board for long periods of time.
- Use a soldering iron rest, so you don't directly place the hot soldering iron on your working surfaces which may lead to damages.
- Place the loose solar cell wire on to the de-soldered area of the circuit board and apply new solder on to that area.
- Be careful not to damage your circuit board with the hot soldering iron. Do not place the soldering iron tip near the circuit board for long periods of time.
- Use a soldering iron rest, so you don't directly place the hot soldering iron on your working surfaces which may lead to damages.
- Carefully place the back panel back on to the calculator.
- Secure the back panel with the screws you removed in Steps 1 and 2 using a Phillips #00 screwdriver.