Analogue Pocket Battery Cell Replacement
ID: 163330
Description: Use this guide to replace a dead or worn out...
Steps:
- Allow your Analogue Pocket's battery to drain below 25% before starting this repair—a charged battery may catch fire if damaged.
- Unplug all cables and fully power off your device.
- Working on your device requires laying it screen-side down. To prevent damage, lay it on a soft surface such as a towel.
- Use a T6 Torx screwdriver to remove the four 13.4 mm‑long screws securing the battery shell.
- Lift the bottom edge of the battery shell to unhook its tabs.
- Remove the battery shell.
- During reassembly, hook the tabs on the top edge of the battery shell into their slots in the rear shell before securing it in place.
- Use blunt nose tweezers to pull the battery connector out of its socket on the bottom right corner of your device.
- If you're having trouble, try rocking the connector side-to-side to help loosen it.
- During reassembly, use the flat end of a spudger to push down on the edges of the connector until it's secure in the socket.
- Lift one of the battery's short edges until the clips release.
- Remove the battery.
- During reassembly, push the battery into its recess until the clips engage.
- Strong adhesive secures the battery cell to its housing.
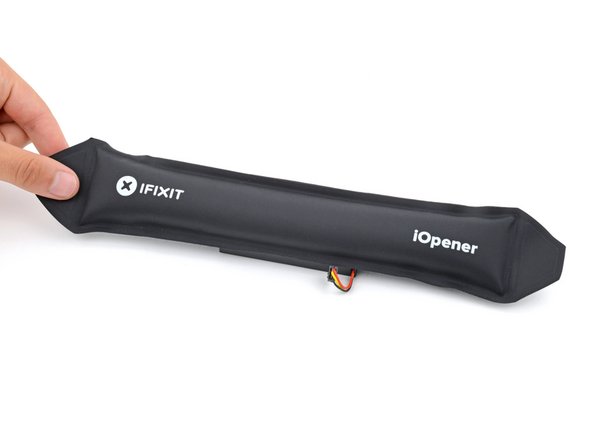
- Heat an iOpener and apply it to the top of the plastic battery housing for two minutes to soften the adhesive.
- Alternatively, you can use a hair dryer to lightly heat the housing. But be careful, as the plastic can easily be warped.
- Take care not to bend the battery—it can leak dangerous chemicals and/or catch fire.
- Firmly secure the battery with one hand.
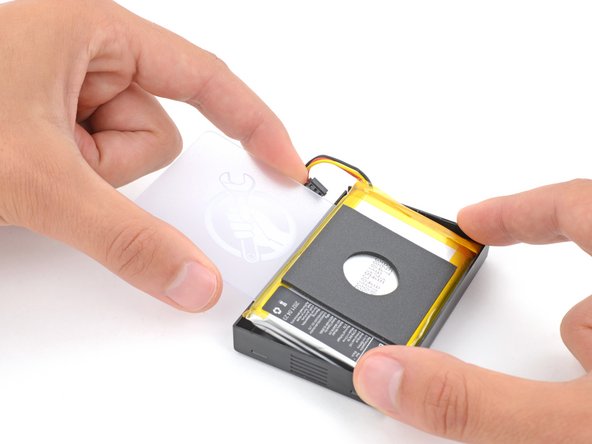
- With your free hand, insert a plastic card between one of the long edges of the battery cell and its housing.
- Pry up with the plastic card and apply steady pressure until a gap forms.
- Be patient and allow plenty of time for the adhesive to separate. If you're having trouble creating a gap, apply more heat and try again.
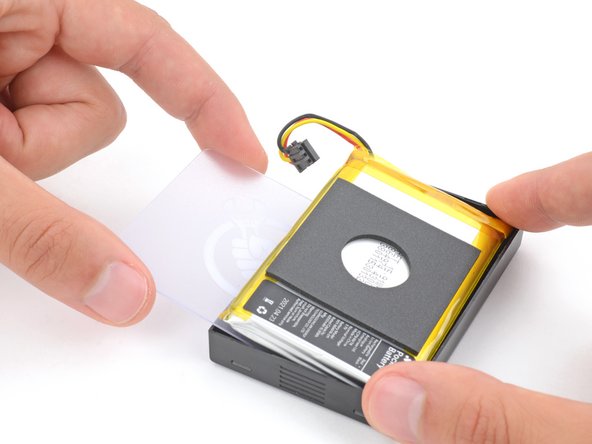
- Slide the card under the battery cell.
- Slide the plastic card back and forth under the battery cell to separate the adhesive.
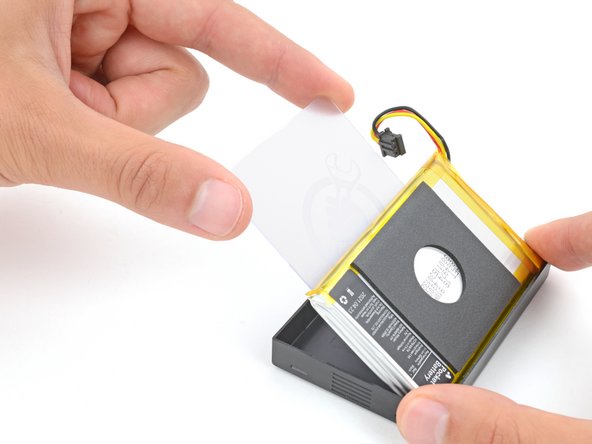
- Use the plastic card to lift the battery cell out of its housing and remove it.
- During reassembly:
- When installing a battery cell, make sure its cable goes into its cutout in the housing.
- If your new battery cell comes with pre-installed adhesive, remove the plastic backing and firmly press the cell into place in its housing.
- If your new battery cell doesn't have adhesive, use strips of double-sided tape such as Tesa Tape to secure it in the housing.