Analogue Pocket Button Board Replacement
ID: 163333
Description: Use this guide to replace the button board in...
Steps:
- Unplug all cables and fully power off your device.
- Working on your device requires laying it screen-side down. To prevent damage, lay it on a soft surface such as a towel.
- Use a T6 Torx screwdriver to remove the four 13.4 mm‑long screws securing the battery shell.
- Lift the bottom edge of the battery shell to unhook its tabs.
- Remove the battery shell.
- During reassembly, hook the tabs on the top edge of the battery shell into their slots in the rear shell before securing it in place.
- Use blunt nose tweezers to pull the battery connector out of its socket on the bottom right corner of your device.
- If you're having trouble, try rocking the connector side-to-side to help loosen it.
- During reassembly, use the flat end of a spudger to push down on the edges of the connector until it's secure in the socket.
- Lift one of the battery's short edges until the clips release.
- Remove the battery.
- During reassembly, push the battery into its recess until the clips engage.
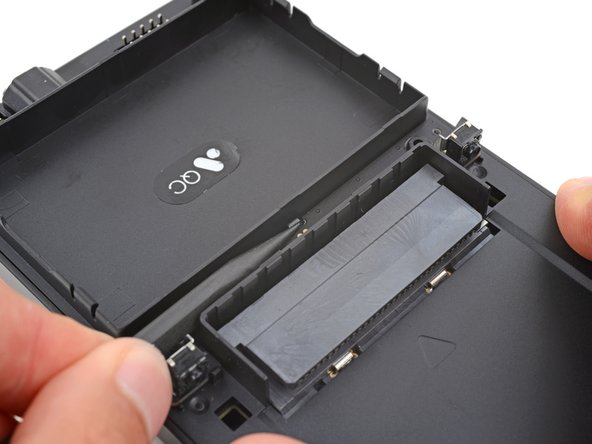
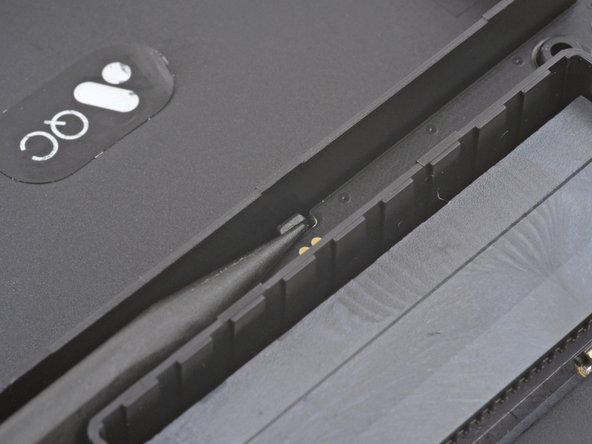
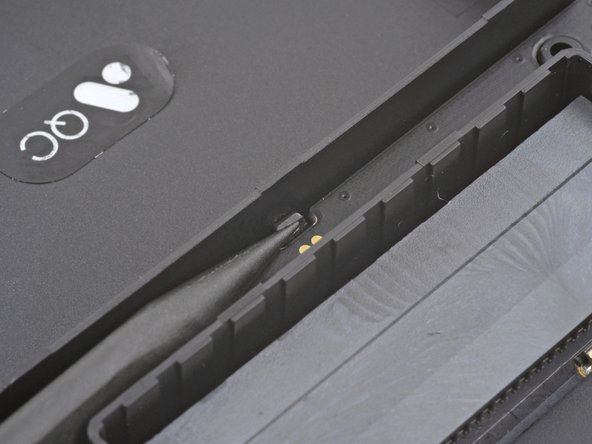
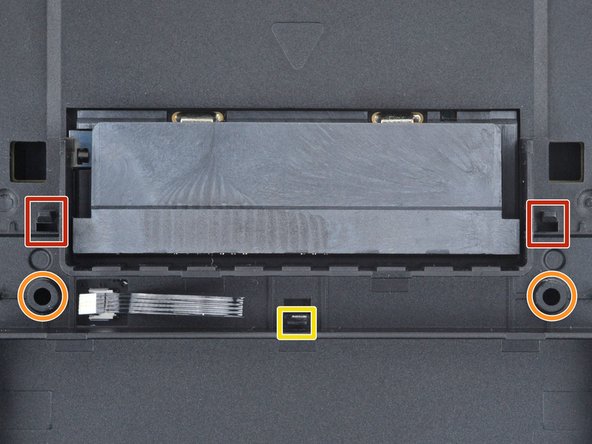
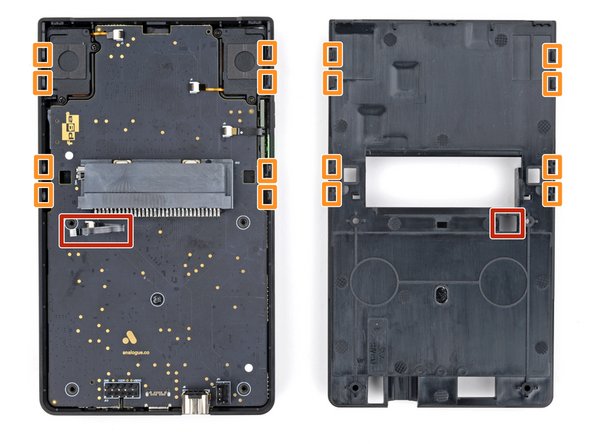
- A plastic clip secures the center of the button board.
- Use the point of a spudger to push the clip out and release the board.
- Don't try to remove the board—a delicate ribbon cable secures it to the device.
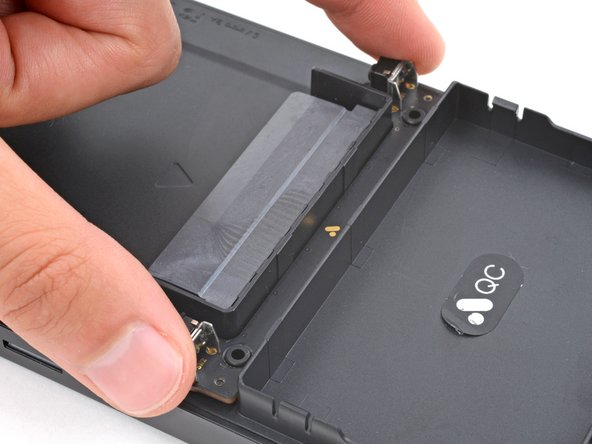
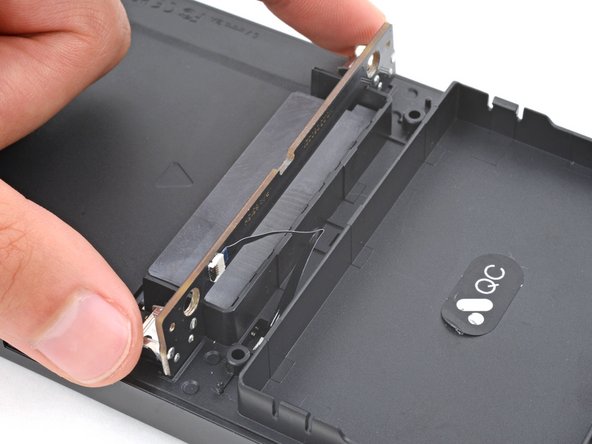
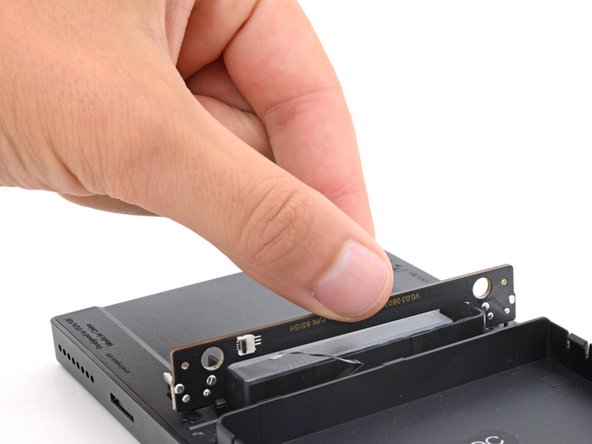
- Swing the bottom edge of the button board up and over the cartridge reader.
- Set the board on top of the cartridge reader so the cable's connector is facing the bottom of the device.
- During reassembly:
- Put the top edges of the board under their tabs on the rear shell.
- Lay the board onto the rear shell so the alignment posts go into their circular cutouts on the board.
- Press the board down until the plastic clip engages.
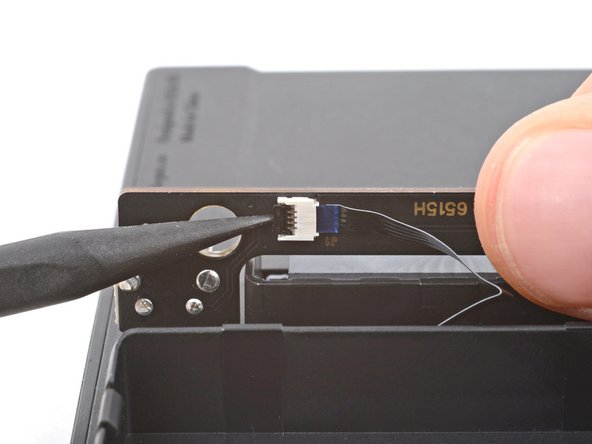
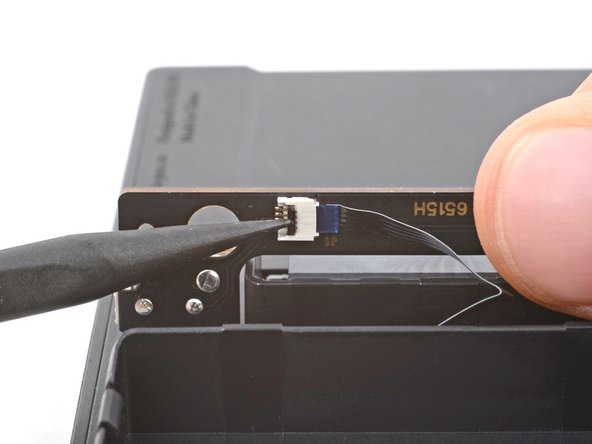
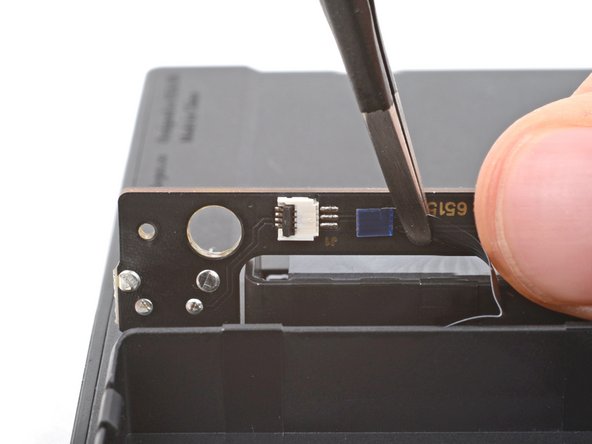
- Use the tip of a spudger or a clean fingernail to flip up the hinged locking flap on the board cable ZIF connector located on the board itself.
- Use blunt nose tweezers to pull the cable straight out of its socket.
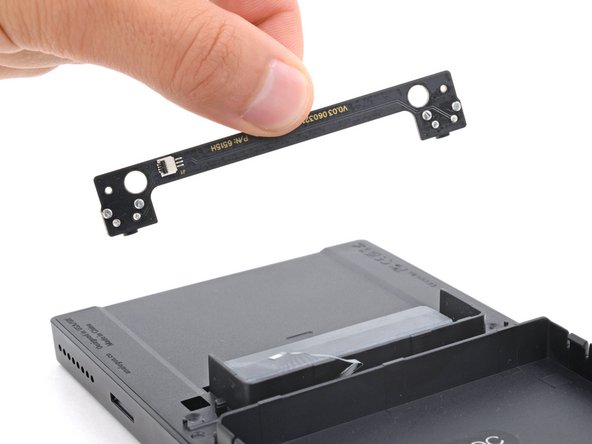
- Remove the board.
- If you suspect your board's cable is damaged, or your new board comes with a cable, follow the next three steps to remove the old one.
- Sliding tabs secure the perimeter of the rear shell.
- Firmly grip your device with one hand.
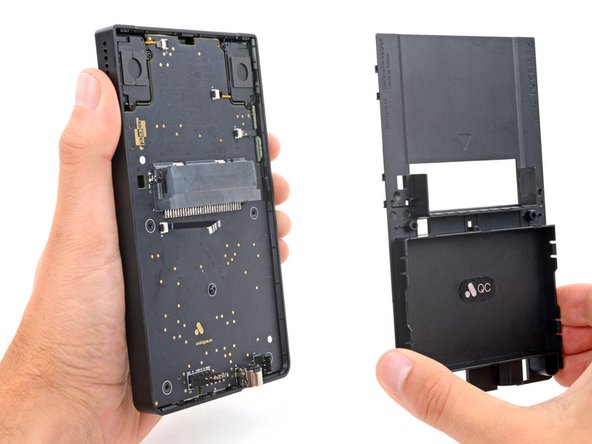
- With your free hand, lift the bottom edge of the rear shell until it clears the front shell.
- Pull the rear shell down until the sliding tabs disengage.
- Remove the rear shell.
- During reassembly:
- Thread the button board cable through its slot in the rear shell.
- Lay the rear shell on the front shell so its bottom edge overhangs slightly.
- This allows the tabs to slide into place. If the rear shell is perfectly flush with the front shell, the tabs won't slide.
- Push the rear shell in and slide it up to engage the sliding tabs.
- Use the tip of a spudger or a clean fingernail to flip up the hinged locking flap on the board cable ZIF connector to the bottom left of the cartridge reader.
- Use blunt nose tweezers to pull the cable straight out of its socket.