How to Apply New Back Glass Adhesive in Your Google Pixel Fold
ID: 163335
Description: This repair guide was authored by the iFixit...
Steps:
- Before removing any liners, check if the adhesive matches the frame.
- The clear liner should face the frame.
- Look for cutouts in the liner to help orient the adhesive.
- Be careful during this step, as it's easy to stick the adhesive in the wrong spot. Take your time and work slowly.
- Peel off the new adhesive strip from its clear liner.
- Align the adhesive over the frame, starting with the top right and bottom right edges.
- Place the adhesive over the perimeter of the frame.
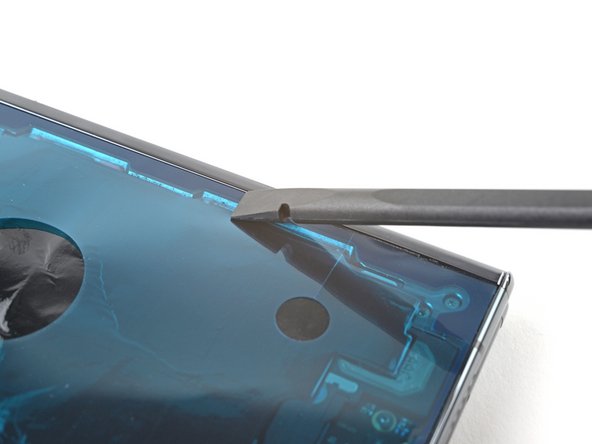
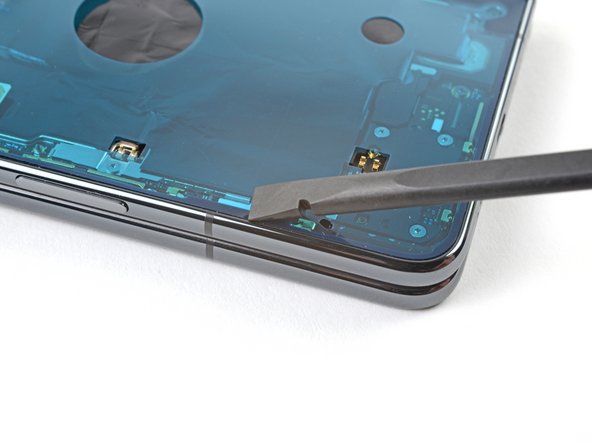
- Use flat end of a spudger, or your fingers, to press down the adhesive to adhere it to the frame.
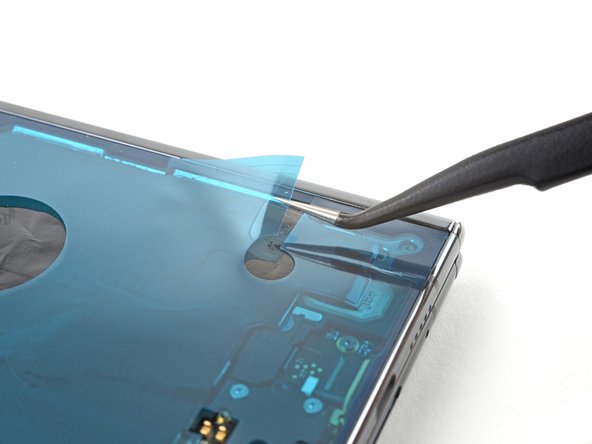
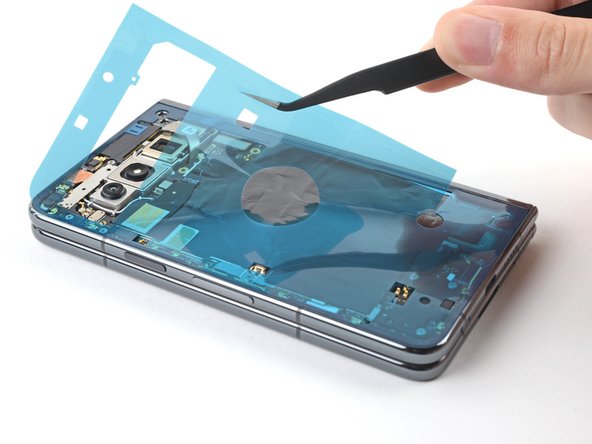
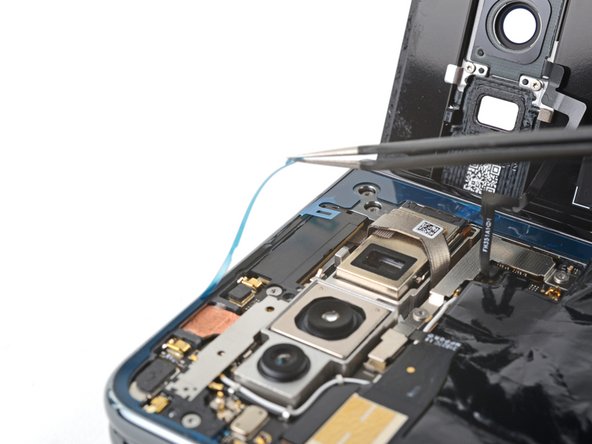
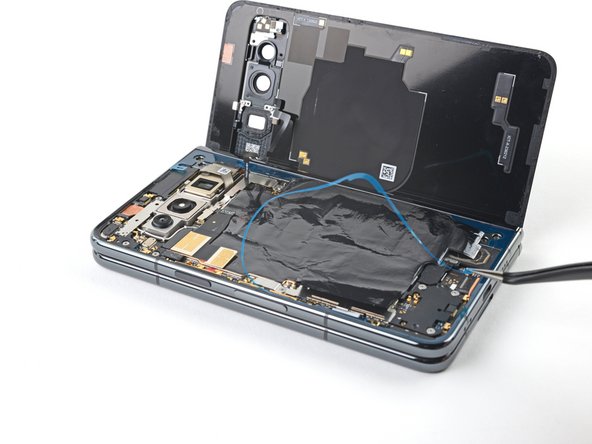
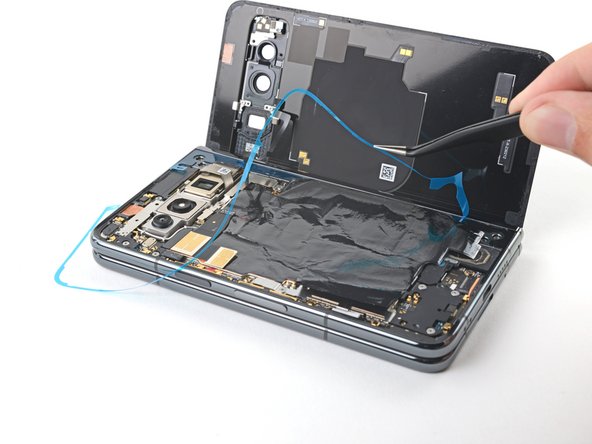
- Peel up the segmented tab at the bottom right corner of the large blue liner.
- Lift the tab and peel off the large blue liner to expose the secondary liner.
- Support the back glass with your hand or prop it up on something sturdy.
- Reconnect the back glass cable.
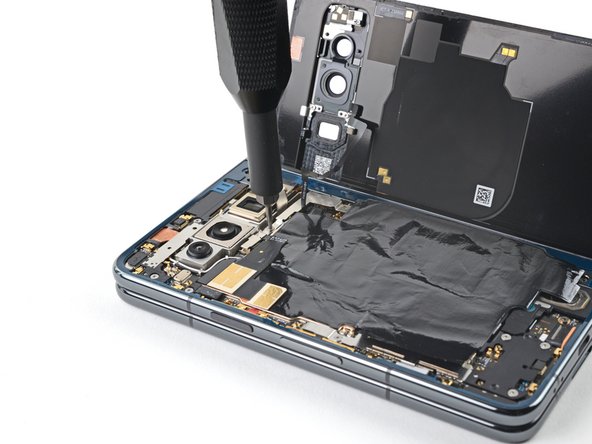
- Use a Torx Plus 3IP driver to refasten the middle bracket.
- Use tweezers, or your fingers, to peel up either one of the tabs at the top right corner of the secondary liner.
- If the adhesive starts separating, use a spudger to hold it down while peeling.
- Lift the tab and peel off the secondary liner to expose the top adhesive.
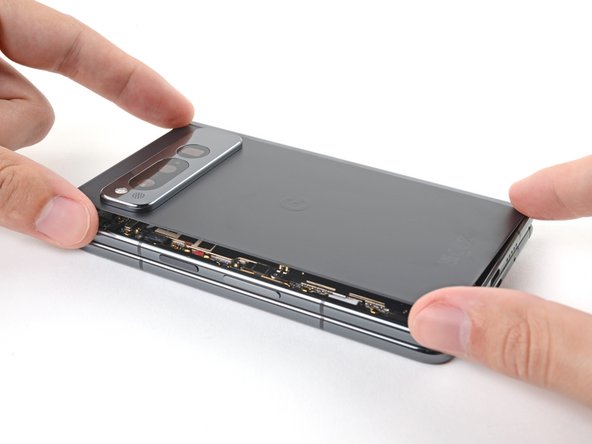
- Align the back glass over its cutout in the frame.
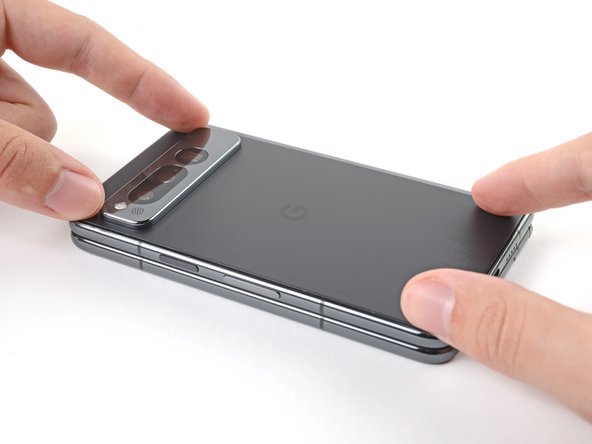
- Place a long edge of the back glass on the frame, making sure there are no gaps or jutting adhesive.
- Place the other long edge of the back glass on the frame.
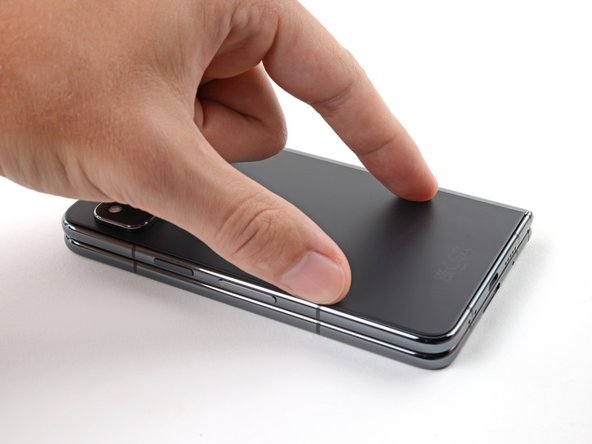
- Press down along the perimeter of the back glass to adhere it to the frame.
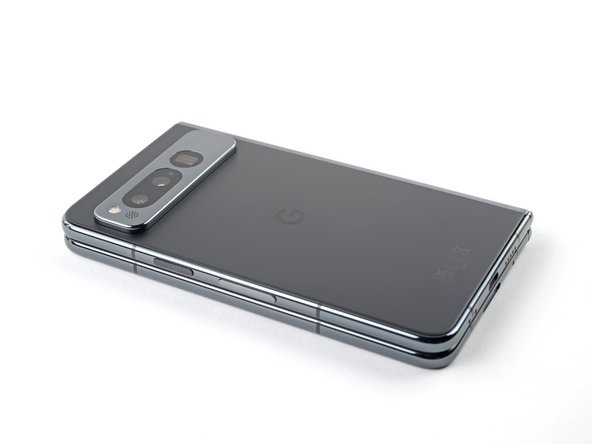
- Let the phone sit a few hours for the adhesive to cure.