Analogue Pocket Screen Replacement
ID: 163397
Description: Use this guide to replace a broken screen in...
Steps:
- Unplug all cables and fully power off your device.
- Working on your device requires laying it screen-side down. To prevent damage, lay it on a soft surface such as a towel.
- If you have an SD card installed, remove it.
- Use a T6 Torx screwdriver to remove the four 13.4 mm‑long screws securing the battery shell.
- Lift the bottom edge of the battery shell to unhook its tabs.
- Remove the battery shell.
- During reassembly, hook the tabs on the top edge of the battery shell into their slots in the rear shell before securing it in place.
- Use blunt nose tweezers to pull the battery connector out of its socket on the bottom right corner of your device.
- If you're having trouble, try rocking the connector side-to-side to help loosen it.
- During reassembly, use the flat end of a spudger to push down on the edges of the connector until it's secure in the socket.
- Lift one of the battery's short edges until the clips release.
- Remove the battery.
- During reassembly, push the battery into its recess until the clips engage.
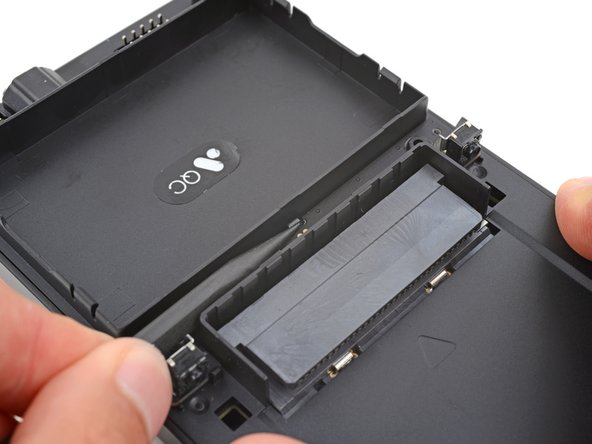
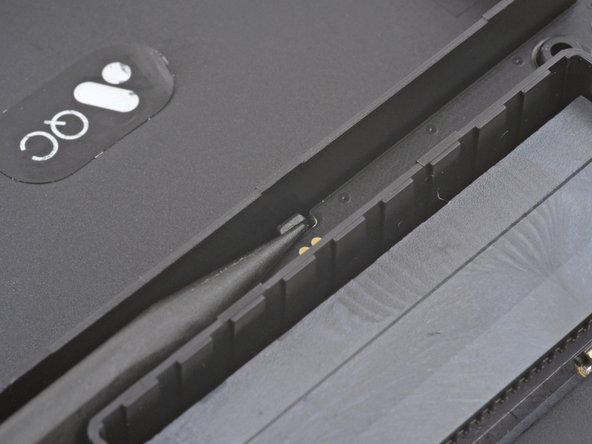
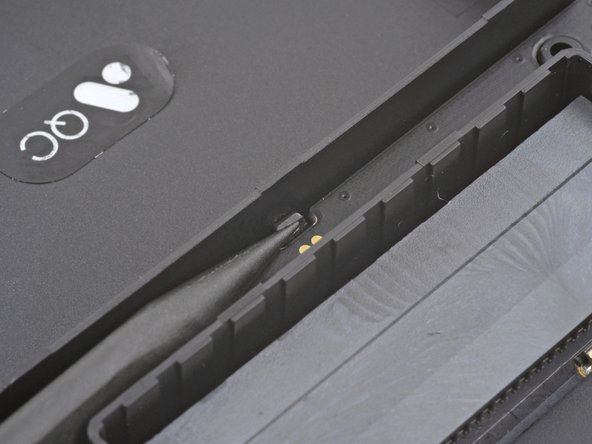
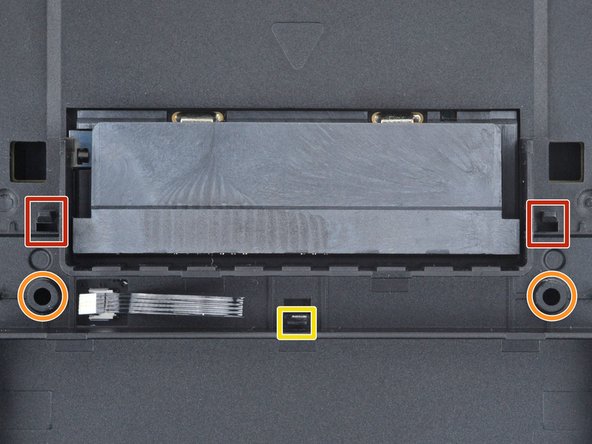
- A plastic clip secures the center of the button board.
- Use the point of a spudger to push the clip out and release the board.
- Don't try to remove the board—a delicate ribbon cable secures it to the device.
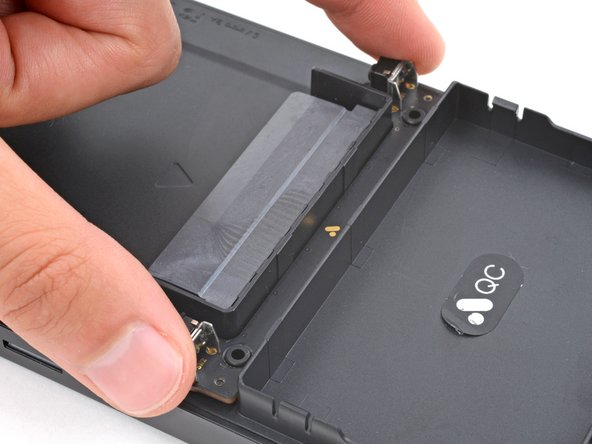
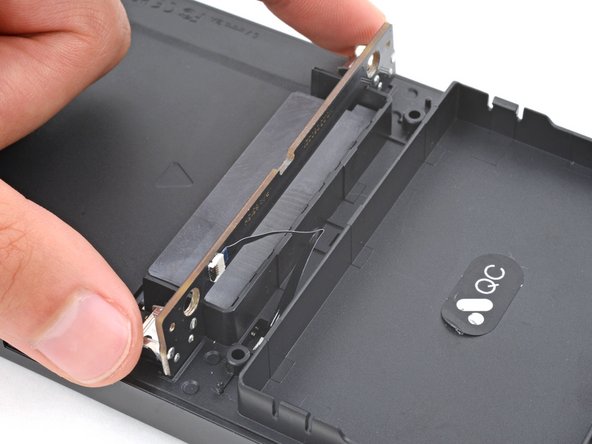
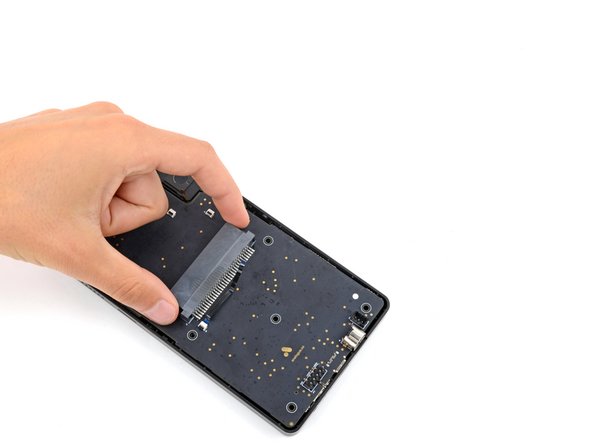
- Swing the bottom edge of the button board up and over the cartridge reader.
- Set the board on top of the cartridge reader so the cable's connector is facing the bottom of the device.
- During reassembly:
- Put the top edges of the board under their tabs on the rear shell.
- Lay the board onto the rear shell so the alignment posts go into their circular cutouts on the board.
- Press the board down until the plastic clip engages.
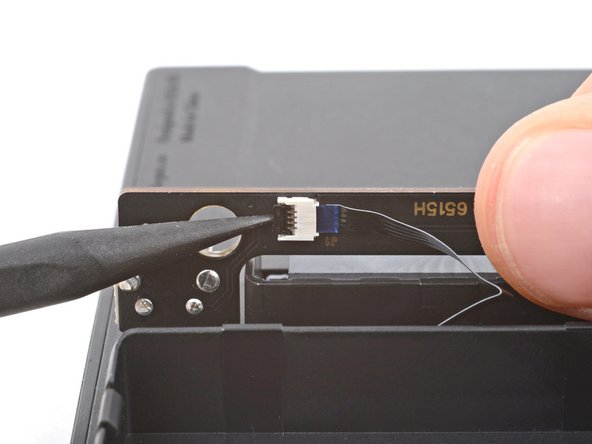
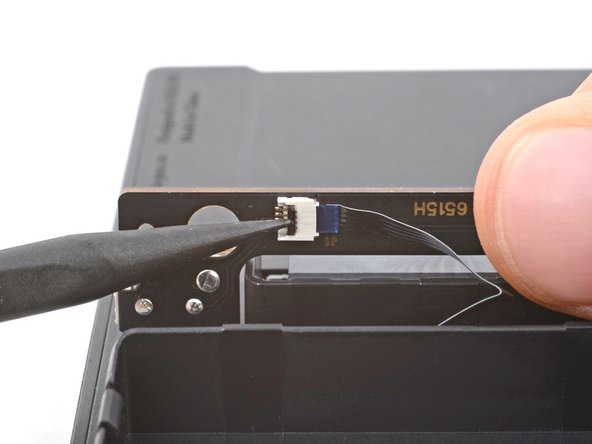
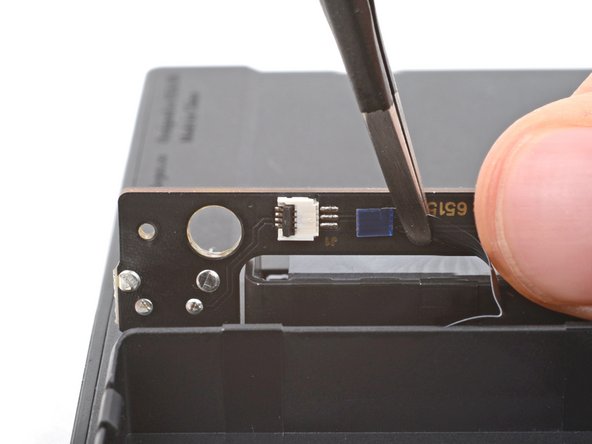
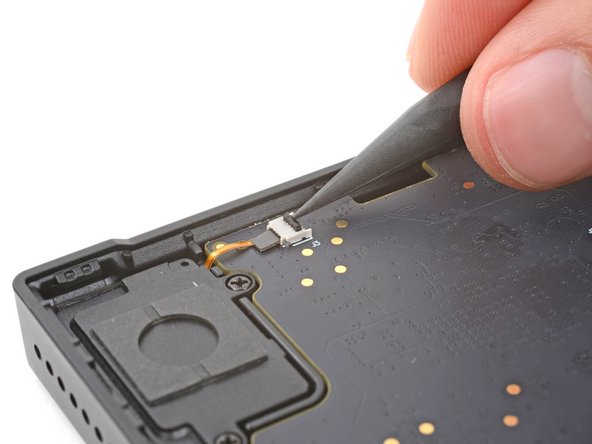
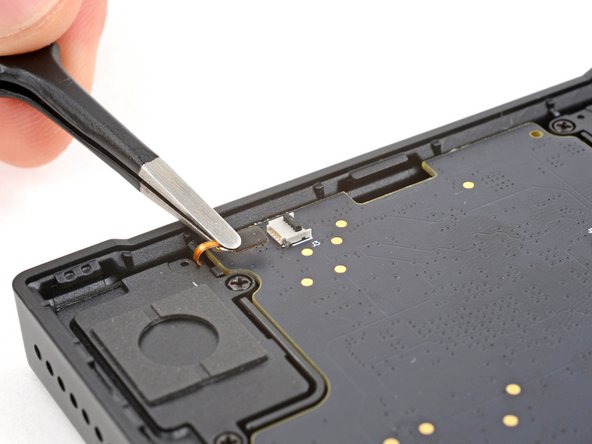
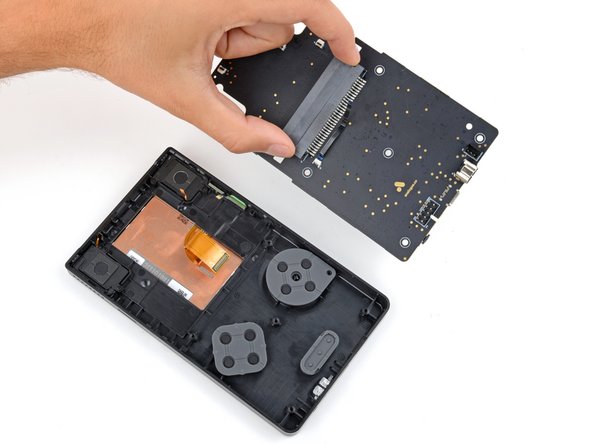
- Use the tip of a spudger or a clean fingernail to flip up the hinged locking flap on the board cable ZIF connector located on the board itself.
- Use blunt nose tweezers to pull the cable straight out of its socket.
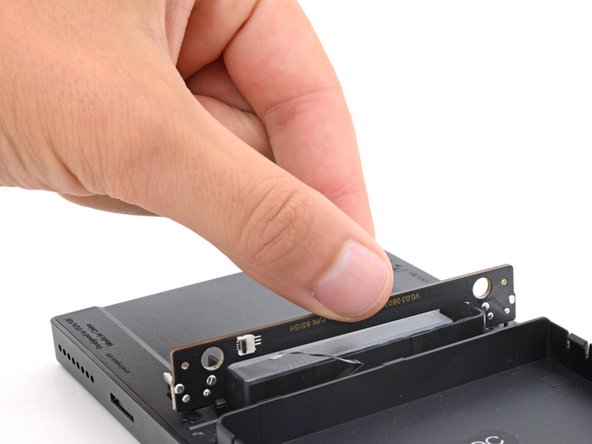
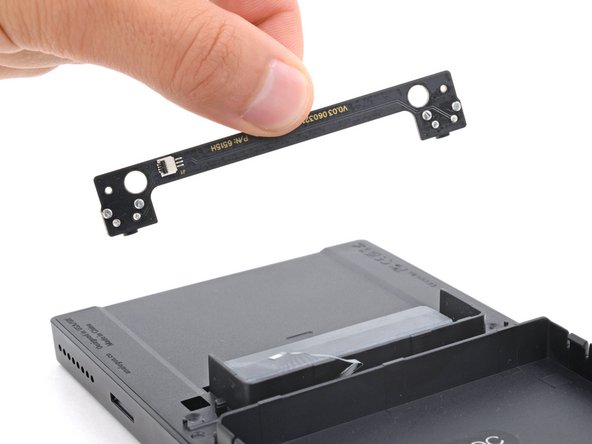
- Remove the board.
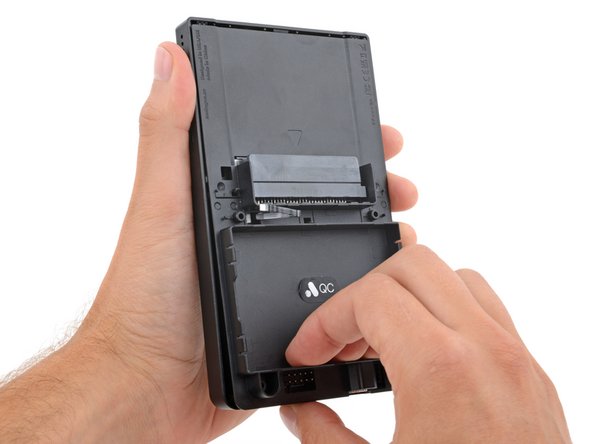
- Sliding tabs secure the perimeter of the rear shell.
- Firmly grip your device with one hand.
- With your free hand, lift the bottom edge of the rear shell until it clears the front shell.
- Pull the rear shell down until the sliding tabs disengage.
- Remove the rear shell.
- During reassembly:
- Thread the button board cable through its slot in the rear shell.
- Lay the rear shell on the front shell so its bottom edge slightly overhangs.
- This allows the tabs to slide into place. If the rear shell is perfectly flush with the front shell, the tabs won't slide.
- Push the rear shell in and slide it up to engage the sliding tabs.
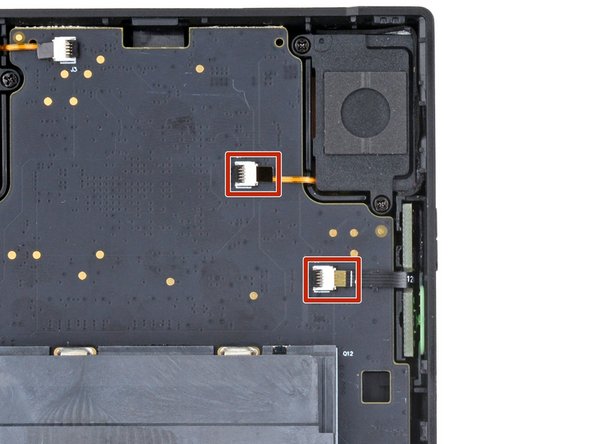
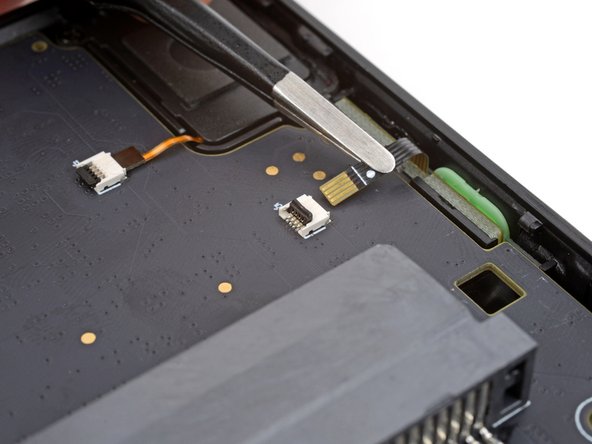
- Use the tip of a spudger or a clean fingernail to flip up the hinged locking flap on the right speaker cable ZIF connector.
- Use blunt nose tweezers to pull the cable straight out of its socket.
- Repeat the process to disconnect the left speaker and power/volume button cables from their ZIF connectors.
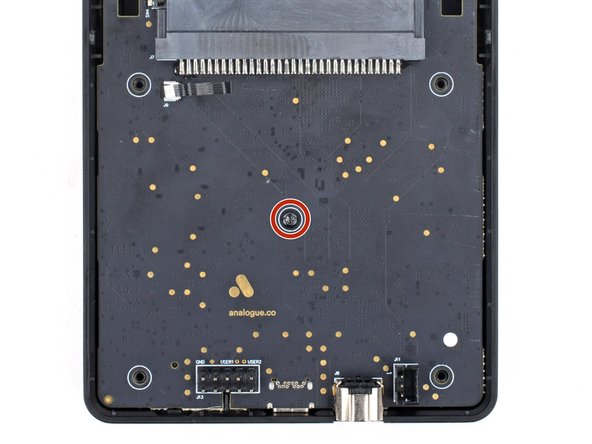
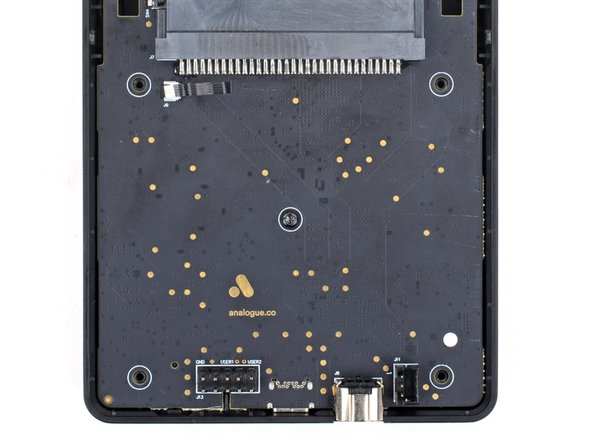
- Use a T6 Torx screwdriver to remove the 7.4 mm‑long screw securing the main board.
- Don't try to fully remove the board—a delicate ribbon cable connects it to the screen.
- Before lifting the board, double-check that you removed the SD card.
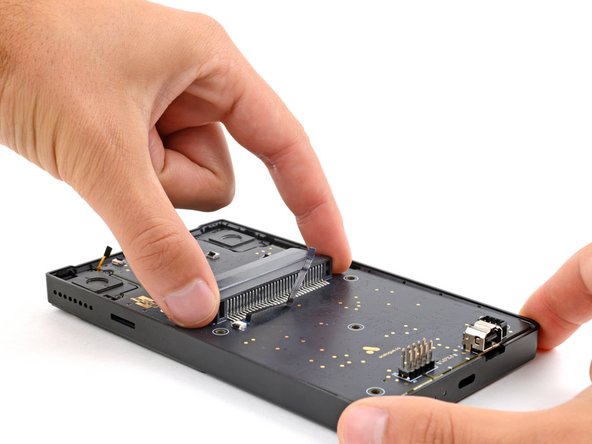
- Grip the outer edges of the cartridge reader and gently lift the bottom edge of the main board until you can access the screen cable.
- Keep the main board raised for the next step.
- During reassembly, make sure none of the three main board cables get stuck under the board when lowering it into place.
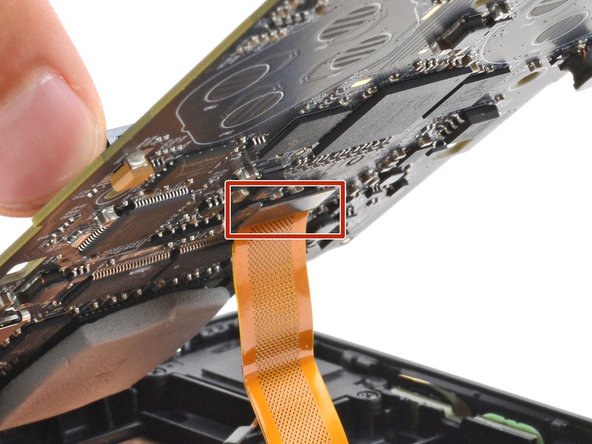
- Be very careful not to scrape off or damage any surface mounted components during this step.
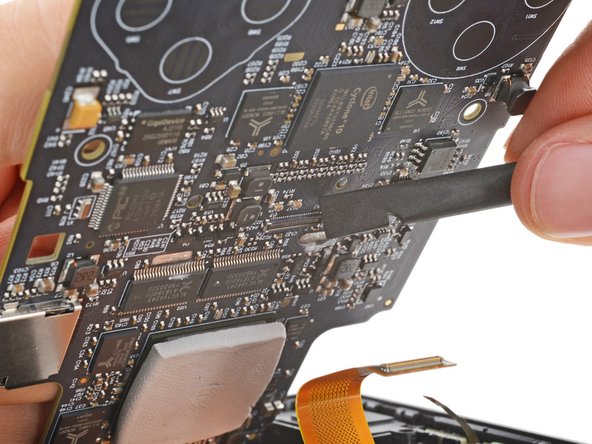
- Insert the flat end of a spudger under the top right corner of the screen cable press connector.
- Twist the spudger to disconnect the screen cable.
- To re-attach press connectors like this one, carefully align and press down on one side until it clicks into place, then repeat on the other side. Don't press down in the middle. If the connector is misaligned, the pins can bend and cause permanent damage.
- Lift and remove the main board from the front shell.
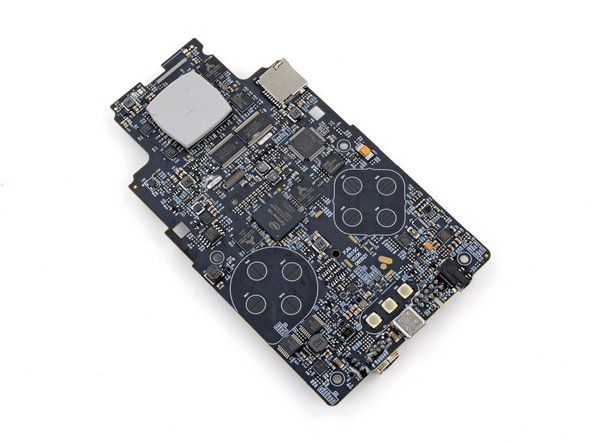
- To prevent damaging any surface mounted components, lay the board on your workspace cartridge reader side down.
- If any part of the thermal pad came off the large CPU on the board's top edge, use your fingers to gently put it back in place.
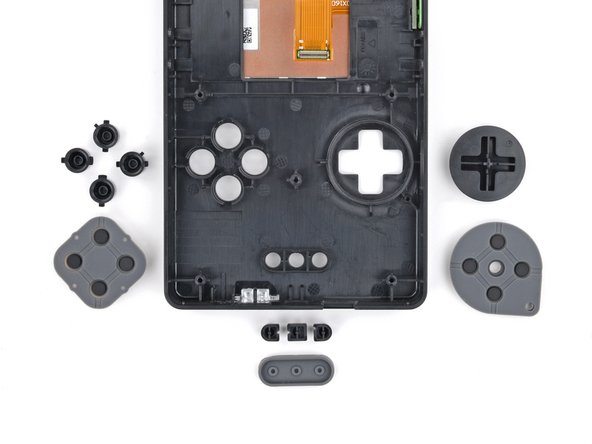
- Remove the three silicone button pads.
- During reassembly, align the pads and push down to secure them over their buttons.
- The directional button pad has a cutout that aligns with a post on the front shell. The action and home button pads can be rotated any direction.
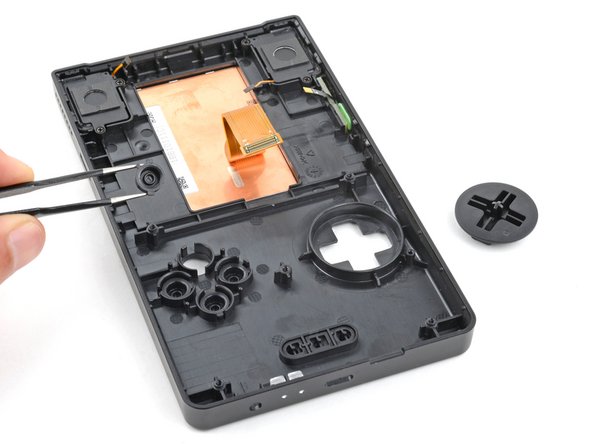
- Use blunt nose tweezers to remove the buttons.
- During reassembly, use the alignment tabs to orient each button in its recess. The buttons will only fit in their recesses when in the proper orientation.
- Strong adhesive secures the perimeter of the screen.
- Flip the front shell over so the screen is facing up.
- Heat an iOpener and lay it on the bottom edge of the screen for two minutes to soften the adhesive.
- Alternatively, you can use a hair dryer to heat the screen throughout the rest of the guide. But be very careful, as too much heat will warp the plastic.
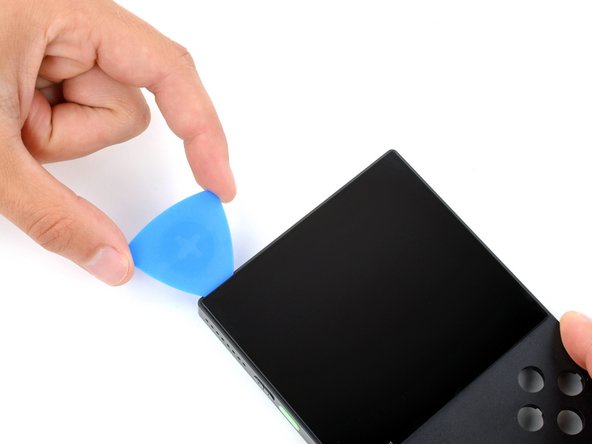
- Hold an opening pick in your right hand.
- Use your left hand to twist the bottom left corner of the screen away from the front shell while bracing the device with your right palm.
- Apply steady pressure until a gap is created between the bottom left corner of the screen and front shell.
- Be patient and allow time for the adhesive to separate. If you're having trouble creating a gap, apply more heat and try again.
- Slide the opening pick under the screen.
- Slide the opening pick to the bottom right corner of the screen to separate the adhesive.
- Leave the opening pick in the bottom right corner to prevent the adhesive from resealing.
- Apply a heated iOpener to the right edge of the screen for two minutes.
- Slide the opening pick to the top right corner of the screen to separate the adhesive.
- Leave the opening pick in the top right corner to prevent the adhesive from resealing.
- Apply a heated iOpener to the top edge of the screen for two minutes.
- Slide the opening pick to the top left corner of the screen to separate the adhesive.
- Leave the opening pick in the top left corner to prevent the adhesive from resealing.
- Apply a heated iOpener to the left edge of the screen for two minutes.
- Slide the opening pick to the bottom left corner of the screen to separate the adhesive.
- At this point, the screen should be separated from the front shell. If there's still resistance around the edges, use an opening pick to separate any remaining adhesive.
- Insert the flat edge of an opening pick under the screen's bottom left edge.
- Twist the pick to separate the screen from the front shell.
- Lift the bottom edge of the screen and remove it.
- To install a new screen:
- If any adhesive is still on the front shell, use the flat end of a spudger and tweezers to scrape it up and remove it.
- Apply isopropyl alcohol to any adhesive residue on the front shell and wipe it away with a microfiber or lint-free cloth.
- If you're reusing your screen, use the same cleaning process to remove all the old adhesive from it.
- If your new screen comes with adhesive pre-installed, remove the plastic liners and press the screen into place on the front shell to secure it.
- If your new screen doesn't have adhesive, use strips of strong double-sided tape such as Tesa Tape to secure the screen to the front shell.