RAM Replacement on Dell Latitude 5520 and 5530
ID: 163437
Description: Is your Dell Latitude 5520 or 5530 running...
Steps:
- Take your RAM kit, an iFixit opening pick and a Phillips Screwdriver (if you have an iFixit Kit: J1 on the Manta Toolkit, 1 on the Pro Tech Toolkit).
- Unplug your computer from the charger, flip it on the back of the screen, remove the 9 captive screws (they will not fall from the bottom case) and after flipping, use the Mediator tool on all the side of the laptop to pop the bottom case off.
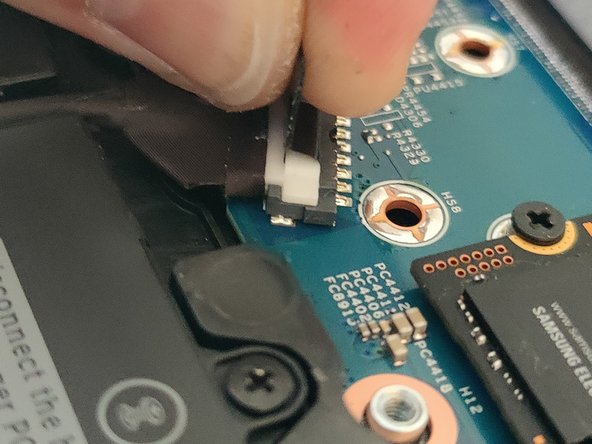
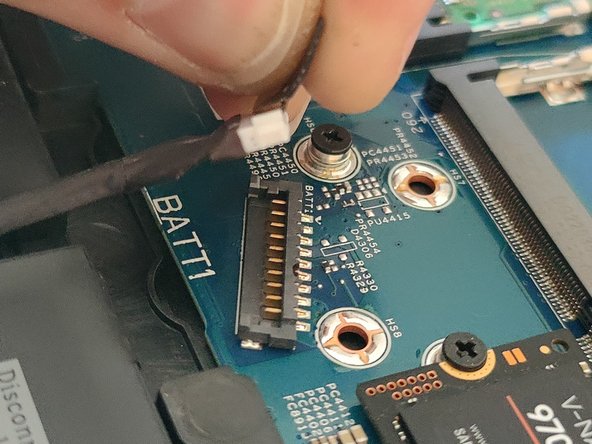
- Locate the battery connector once the cover is removed. Ensure that you always unplug the battery before working on electronic components.
- To remove the battery, simply pull gently on the black tab positioned above the white connector.
- To remove the RAM, you will need to pull the metal bracket on both side of the RAM to free it and you can now remove it.
- You can now plug the new sticks of RAM. To do it, you need to ensure that they are in their right spot.
- If the RAM are in the right spot, when you will pull it down, you will hear both brackets "clac" on both sides of the RAM when the brackets are back on the right position.
- You can now replug the battery and put back the bottom cover and the 9 screws
- Don't forget to plug the battery back in!
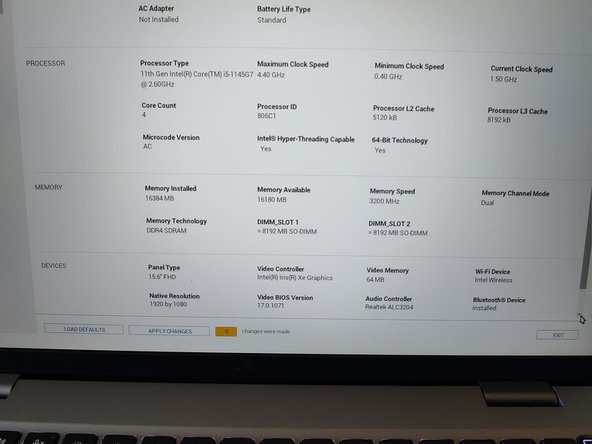
- At the first restart (after 2 or 3 attempt), you will have and error message, saying that the amount memory have changed. You can either check it by the BIOS by clicking on "Go to BIOS" or clicking "Continue" to go to your operating System (Indicated in the "step 4" picture is 16GB in two 8GB sticks).
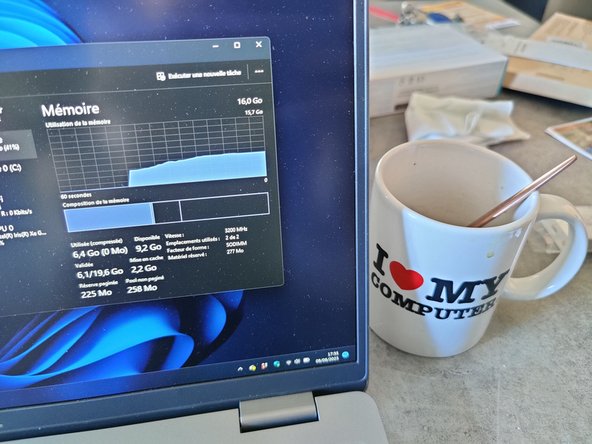
- The ultimate validation is to check the amount of memory in your Operating system. If the correct amount is displayed, you're done!