How to Apply New Base Battery Adhesive in Your Google Pixel Fold
ID: 163632
Description: This repair guide was authored by the iFixit...
Steps:
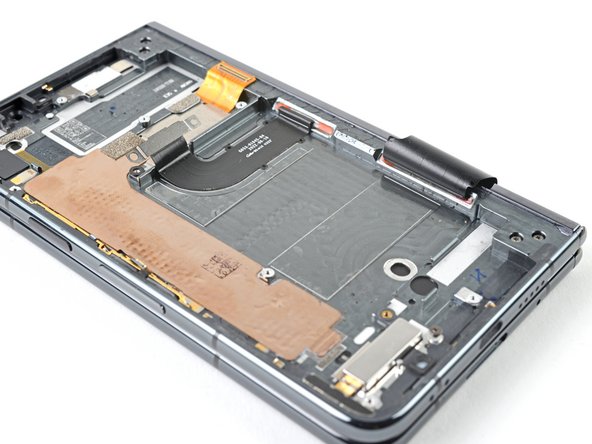
- Apply a few drops of highly-concentrated isopropyl alcohol (over 90%) to the old adhesive.
- Use the flat end of a spudger and tweezers to remove the remaining adhesive from the frame.
- Wipe any remaining isopropyl alcohol residue with a lint-free or microfiber cloth.
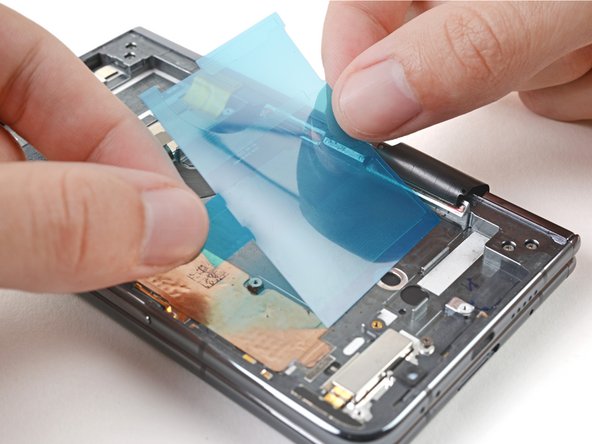
- Place the new adhesive strips over the frame to check their proper orientation.
- Although there are multiple strips, they come attached to a single blue liner.
- The clear liner should face the frame.
- Use the white lines on the frame to align the adhesive strip bottom left corners.
- Be careful during this step, as it's easy to stick the adhesive in the wrong spot. Take your time and work slowly.
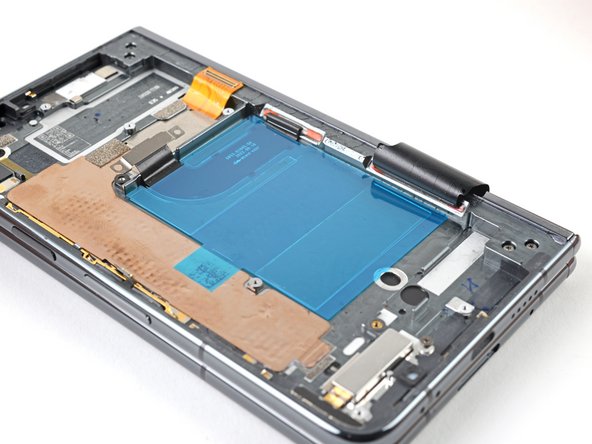
- Peel off the new adhesive strip from its clear liner and apply the sticky side to the frame.
- Use a spudger, or your fingers, to press down the adhesive and adhere it to the frame.
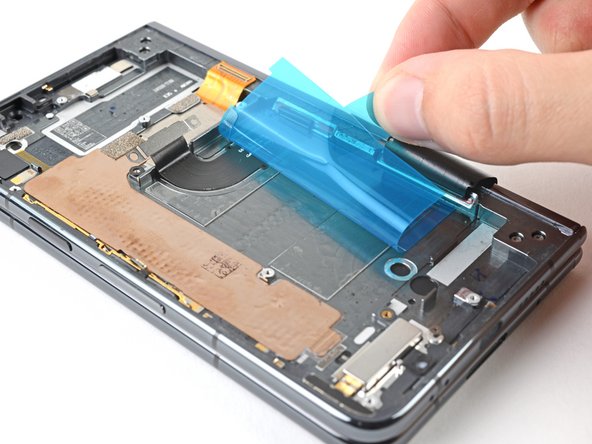
- Grip the pull tab and peel off the blue liner to expose the top adhesive.
- Depending on your repair, your logic board might be removed. Be careful when aligning the battery to ensure the cable reaches the logic board properly.
- If your battery pull tabs are still intact, you can thread them under the battery. Use tape with light adhesive to stick them in their original position.
- If you have your logic board installed, reconnect the battery connector temporarily to ensure the battery gets aligned properly.
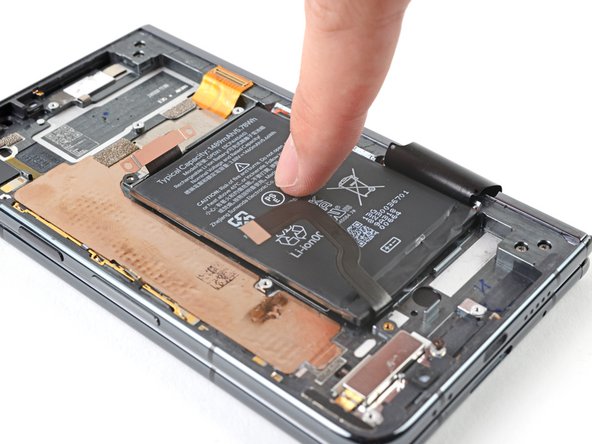
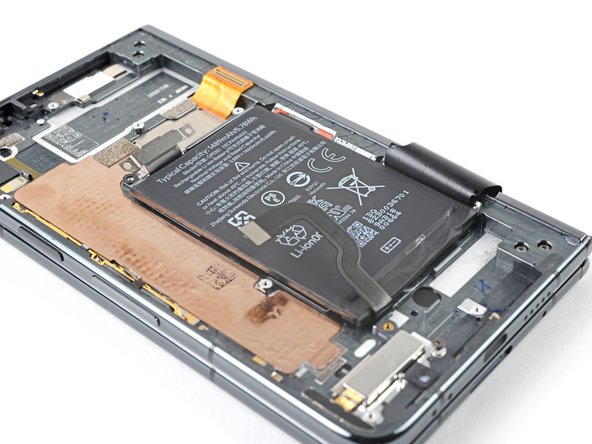
- Place the battery in its recess, making sure to align it as close to the top edge of the recess lip as possible.
- Press down on the battery to adhere it to the frame.
- Make sure the battery is disconnected before continuing your repair.