Honda Miimo HRM300 2013 Teardown
ID: 163765
Description: Teardown of the Honda robot mower Miimo Type...
Steps:
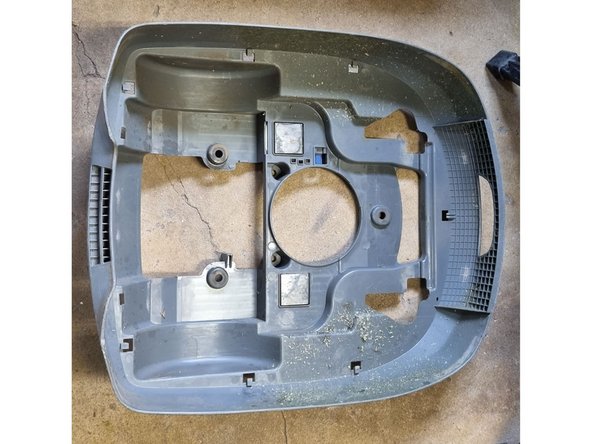
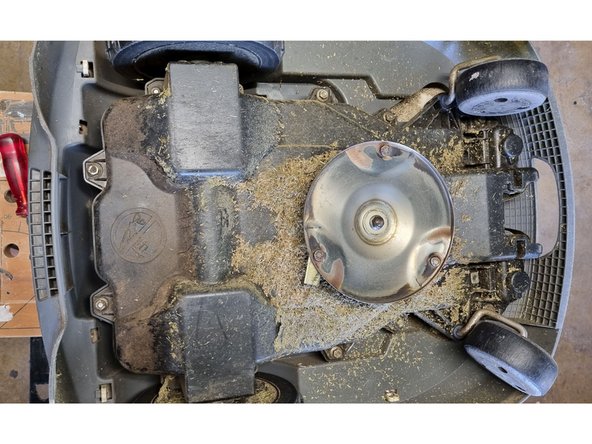
- turn upside down
- loosen cover by bending clicky white stubs
- disconnect cable
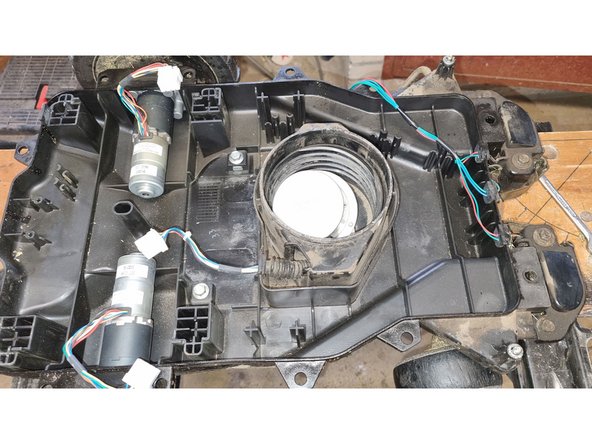
- remove screws from suspension
- not necessary to remove
- I cleaned 1 of 3
- Insert wisdom here.
- Insert wisdom here.
- Insert wisdom here.
- Insert wisdom here.
- Insert wisdom here.
- Insert wisdom here.
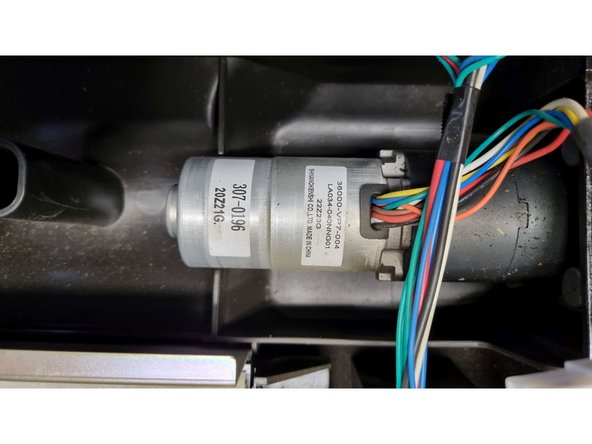
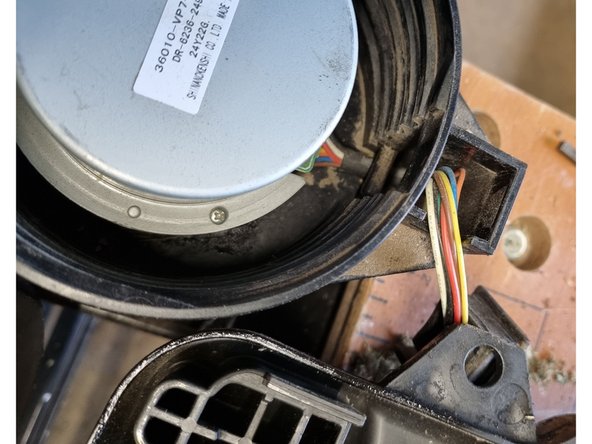
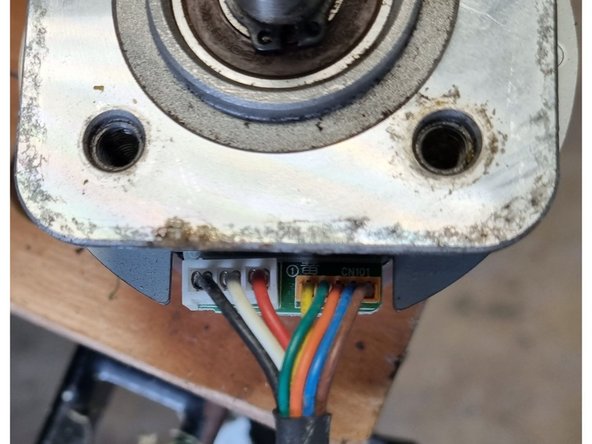
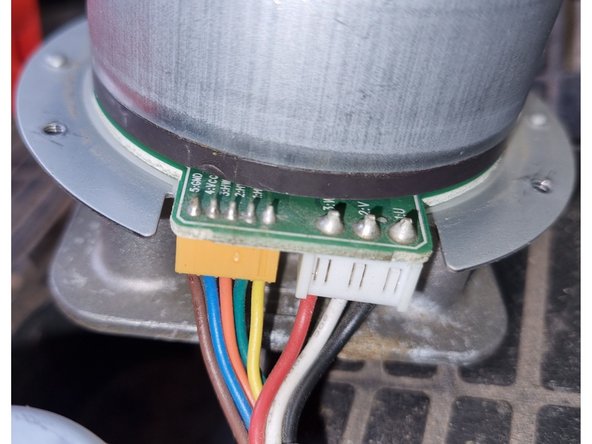
- motor info 36000VP7004, LA034-040NNG01, 8 wires, SHINANOKENSI
- datasheet not found, probably shinanokenshi is now aspina-group. https://www.aspina-group.com/en/contact/... catalog shows LA052-040 inner rotor brushless dc
- probably brushless DC motor, 3x phase drive, 3x HAL feedback, 1x vcc, 1x gnd
- 4 wires: red, black, white, blue(thin)
- 1800mAh 22.2V 40Wh
- lithium ion
- from website: Original Artikel Nr.: 31520-VP7-C10 Ersatz für Artikel Nr.: 31520-VP7-751 passend für: HRM300, HRM310
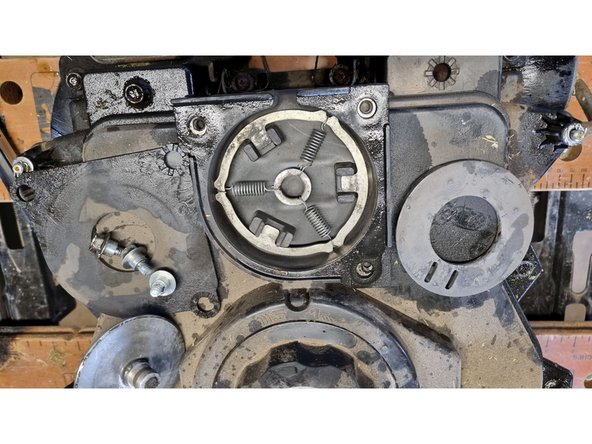
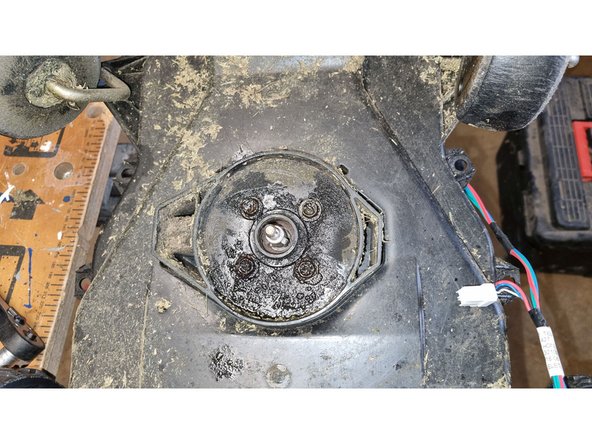
- use wrench 25 to hold shaft below the blade holding disk
- Insert wisdom here.
- Insert wisdom here.
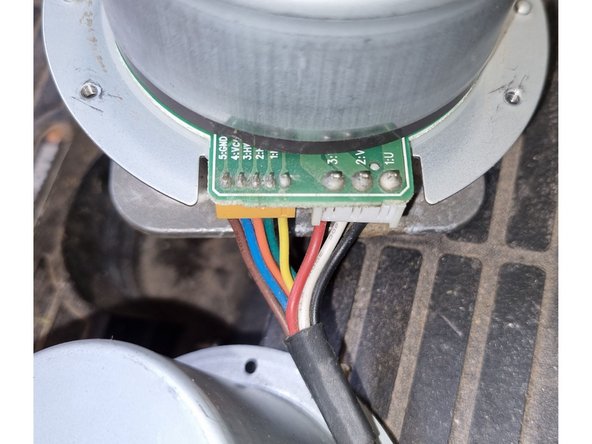
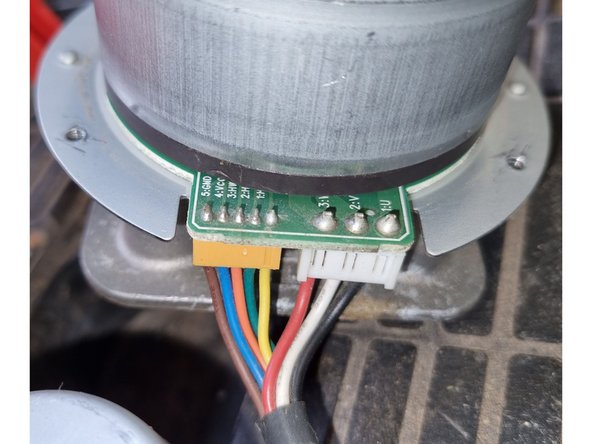
- 8 wires, probably DC brushless motor
- pin 1=U,2=V,3=W 1=HU,2=HV,3=HW,4=VCC, 5=GND
- https://www.aspina-group.com/en/products... outer rotor brushless dc 24V 2.1A
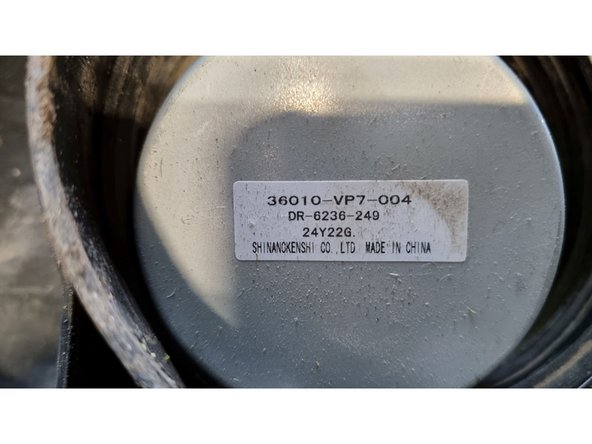
- marking DR-6236-249 brand shinanokenshi, probably now aspina-group
- Insert wisdom here.
- Insert wisdom here.
- Insert wisdom here.
- Insert wisdom here.
- Insert wisdom here.
- Insert wisdom here.
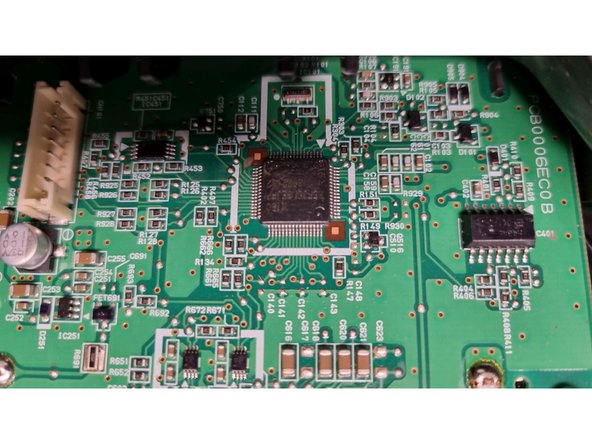
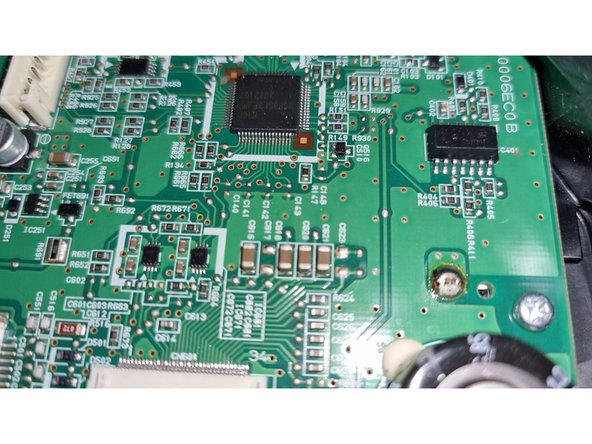
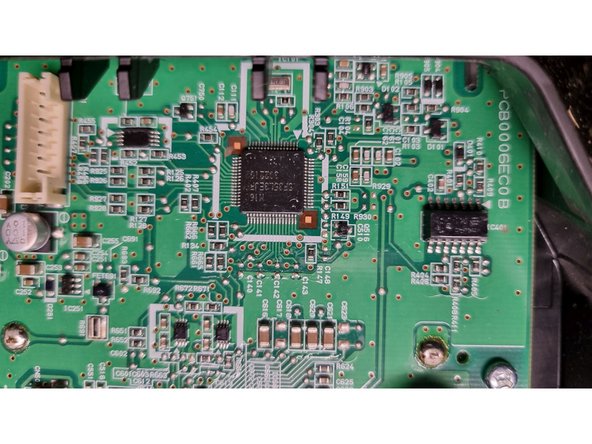
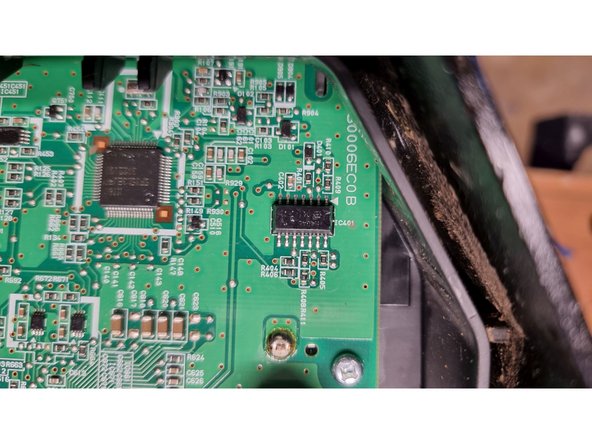
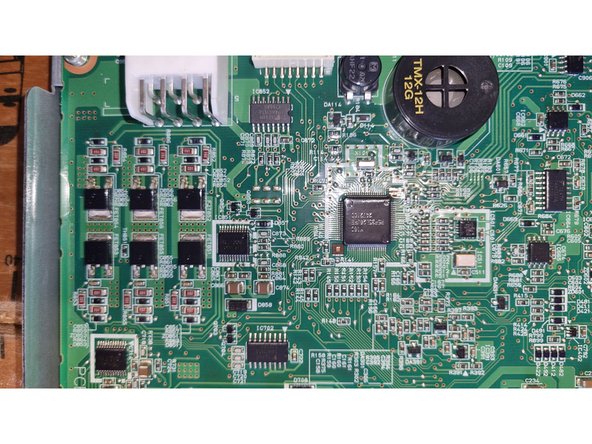
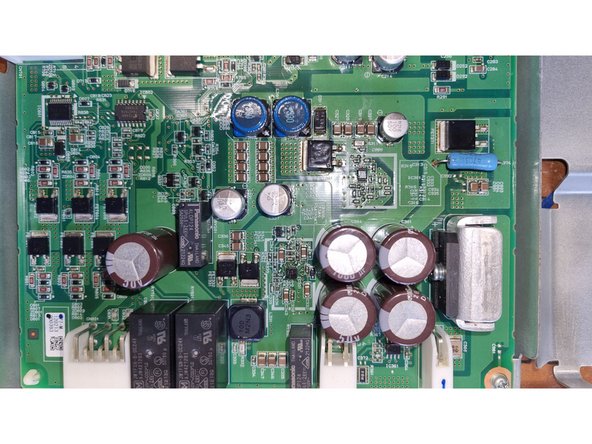
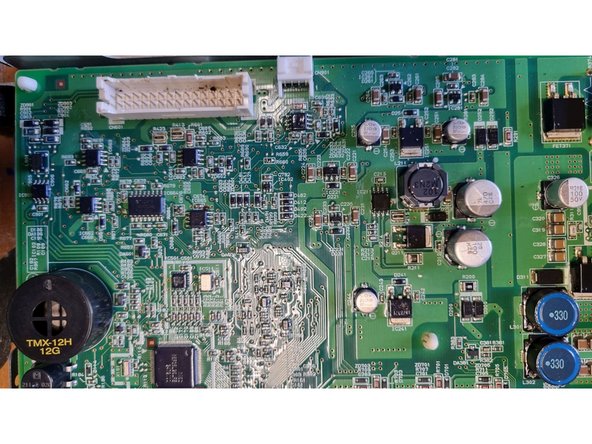
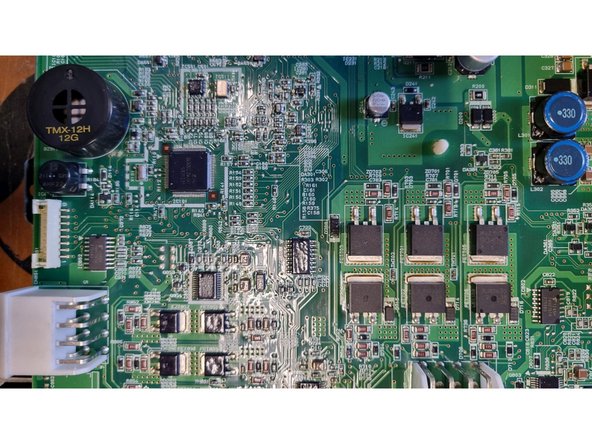
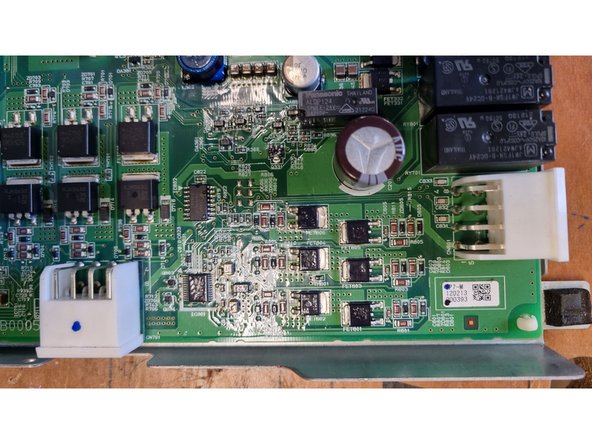
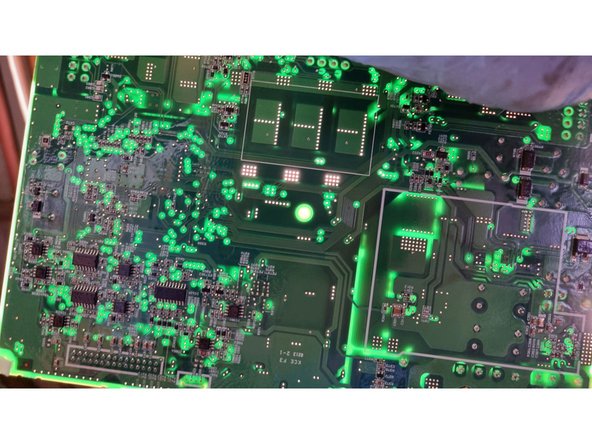
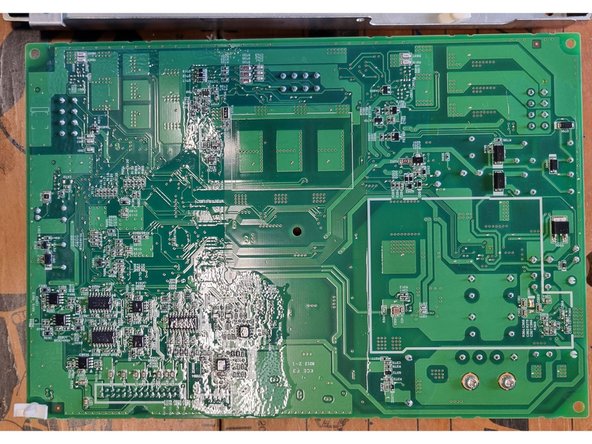
- looks like dual layer PCB when holding near a light
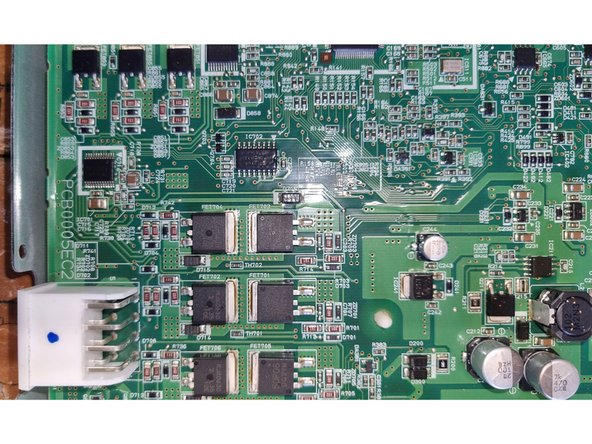
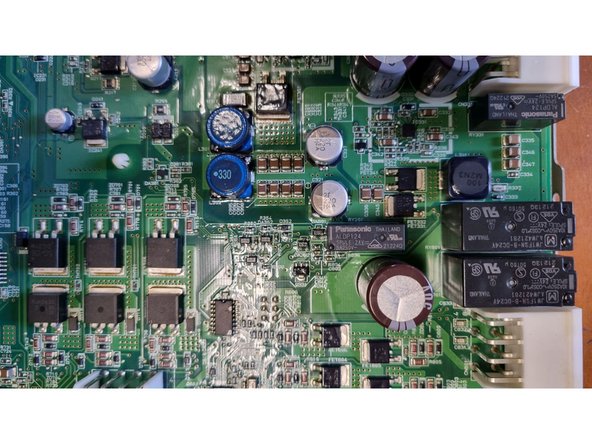
- silicon heat transfer to metal shield for probably the motor cutter driver
- Insert wisdom here.
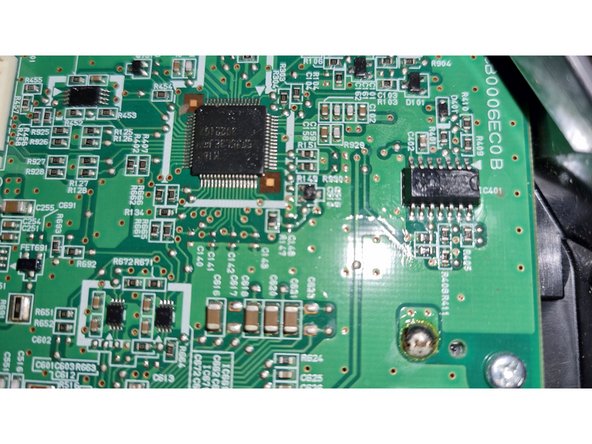
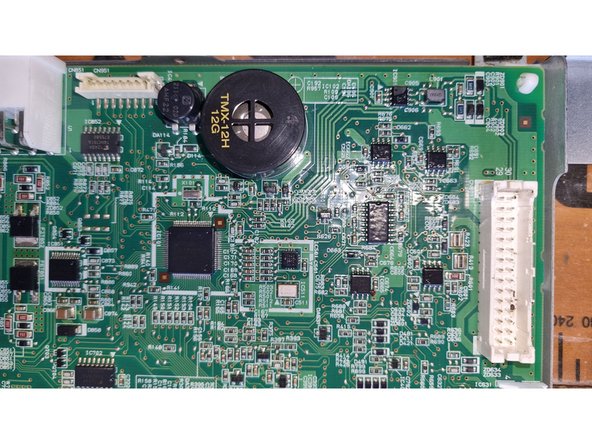
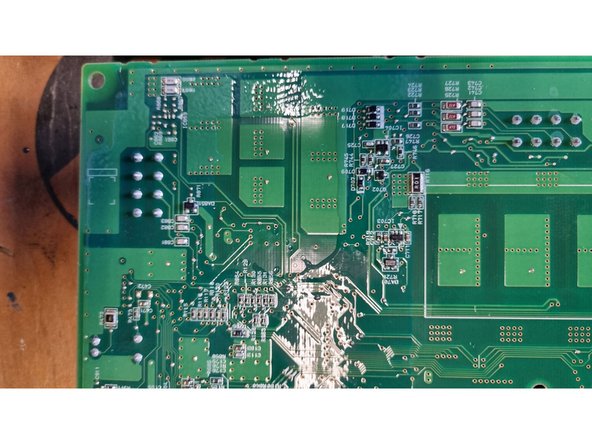
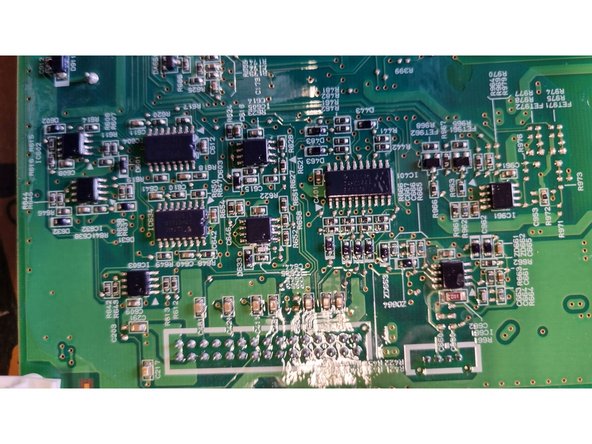
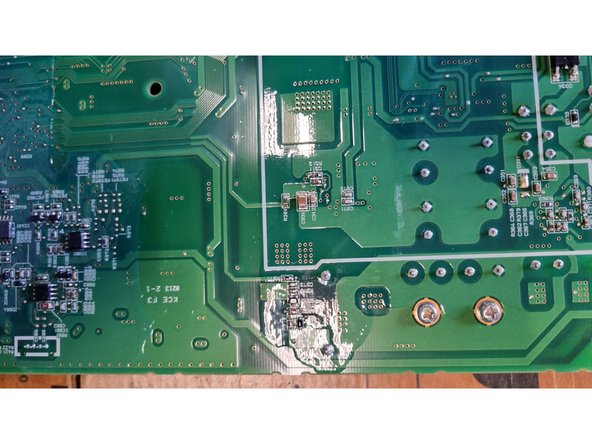
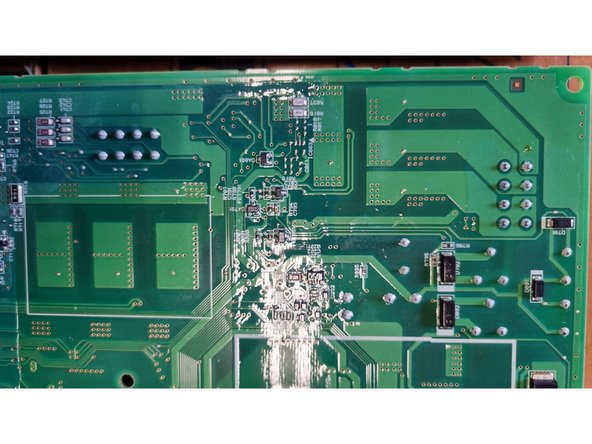
- localized coating against water for longer lifetime
- Insert wisdom here.
- probably 4 layer PCB