ViewSonic VG2438Sm Teardown
ID: 164833
Description: A short look inside a ViewSonic VG2438Sm Model...
Steps:
- Model No. VS15964
- Remove the stand by unscrewing the four Philips screws at the Vesa mount
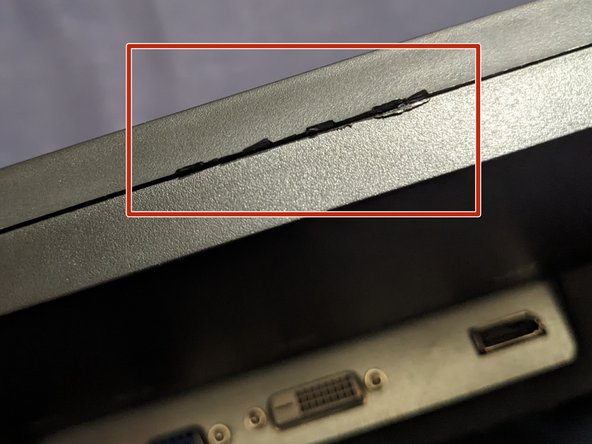
- Open the case by prying on the edge with a suitable tool. I had to use a a opening pick to open the gap wide enough to be able to insert a flat screwdriver.
- After inserting the screwdriver or a jimmy, bend the handle to the backside of the monitor. So that you lift the front bezel from the hooks and free it.
- After opening two edges, be careful, since the panel and the logic board are only held in place by the closed case.
- You probably will damage the case a bit during the process.
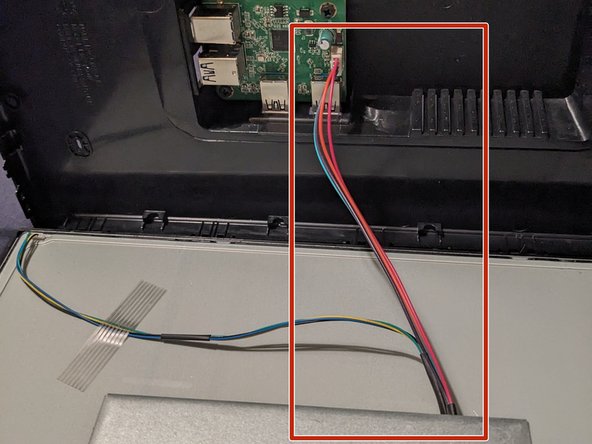
- Flip the back side of the case to the right
- Be careful with the wire to the USB hub. It's just long enough to flip the case and lay it down.
- A Samsung LTM240CL04 panel
- 1920(RGB)×1200, WUXGA 94PPI
- Active Area 518.4(W)×324(H) mm
- Here is the PSU and the logic board.
- This is not secured against the panel. It's only laying on it and is held in place by the back side of the case.
- The USB Hub is a separate module
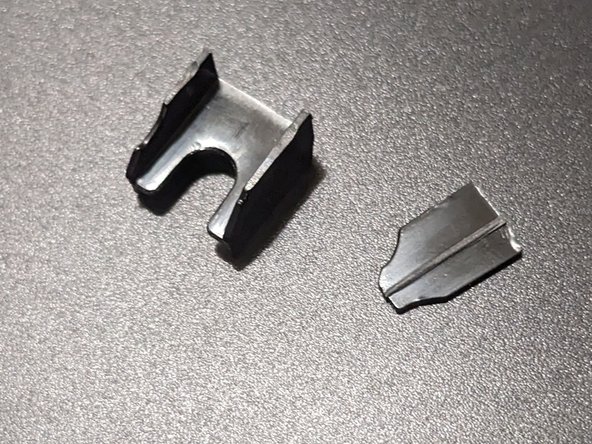
- After this monitor was shipped there was a lose thing, that was making sound when moving the monitor.
- Since I didn't know what was making the sound and it could have been conductive, I wanted to check the inside before powering it up. Thankfully it were only some plastic things.
- They probably came lose from the back cover, where they hold the logic board in place.