Hamilton Beach 31334Z Disassembly
ID: 165162
Description: This is the disassembly guide for the Hamilton...
Steps:
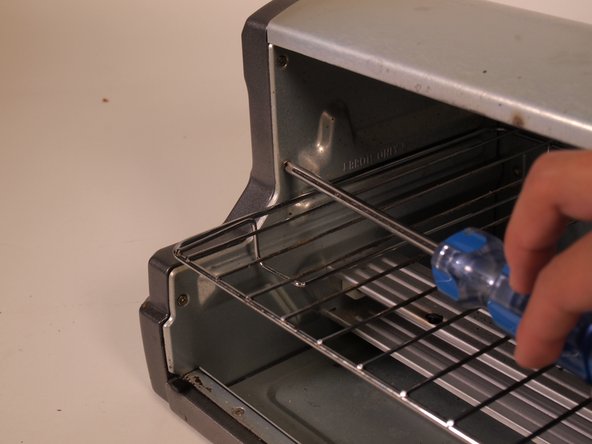
- Tilt the door into the open position and pull straight up and away from the rest of the oven.
- It may take some wiggling in a side to side motion to remove the door, but it is not affixed to the oven with fasteners.
- Place the oven upside down so the bottom is accessible.
- Remove the rubber feet with fingers (or pliers) to reveal the screws on each foot underneath.
- Remove the five 14mm screws from the feet using a Phillips screwdriver.
- The wider foot below the knobs has 2 screws, so make sure to remove both.
- Remove the two Phillips screws on the outer edges of the bottom of the oven as shown.
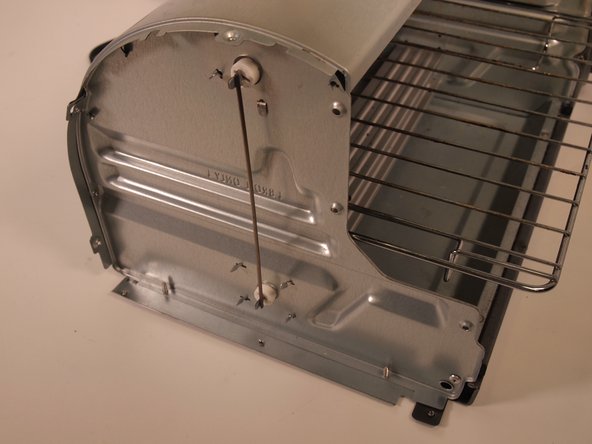
- Remove the three countersunk, 9 mm Phillips head screws along the dark grey curve.
- Remove the three Phillips screws on the inside edge of the oven, as shown.
- Remove the side panel by pulling gently away from the oven.
- One side of the heating elements can be seen on this side of the oven. The two elements are connected in series with each other so operate simultaneously, and are 6.5 ohms each.
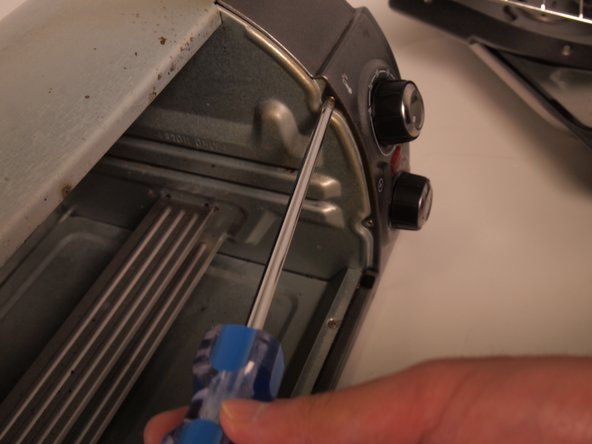
- On the other side, remove the 3 countersunk Phillips head screws above the dark grey panel.
- Remove the two Phillips screws on the inside edge of the panel next to the knobs as shown.
- The two interior screws are very different from each other - the top is only threaded for some of it's length, but is 67mm long. The lower screw is 8.6mm long, threaded fully.
- Remove the side panel by gently pulling away from the oven.
- The serviceable components of the oven are now accessible.
- This reveals the other sides of the heating elements, the timer and thermostat circuitry, as well as the main power input.
- The oven pulls an estimated 1150w at full draw. There are no fuses or safety mechanisms.
- The timer knob functions as an on-off switch to the rest of the oven. There is no variability to the amount of current flowing through the elements, they are either on or off, controlled by the bimetal thermostat above the timer knob. See the schematic PDF for more information.