Frigidaire CFEF3012PWC Heat Switch Repair
ID: 165255
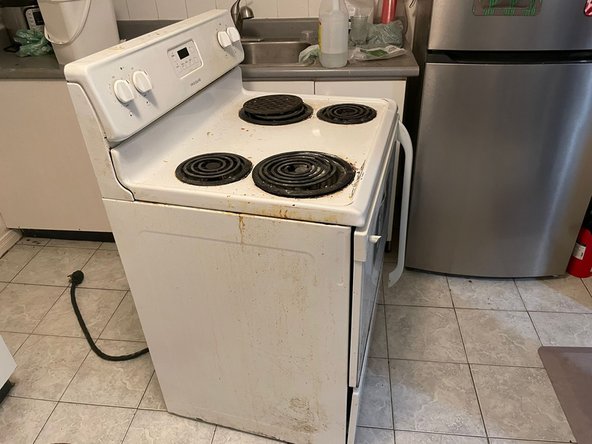
Description: If your Frigidaire Electric Stove CFEF3012PWC...
Steps:
- To be safe, disconnect the power at the breaker. This avoids electrical injury when working with the oven.
- Unplug the oven from the receptacle to be safe.
- Move it to an open area so there is enough space to work with.
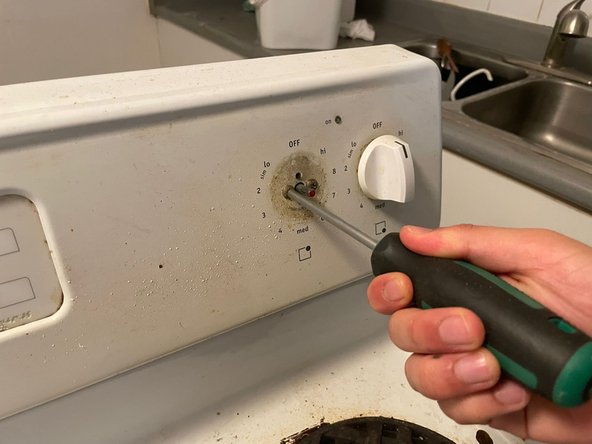
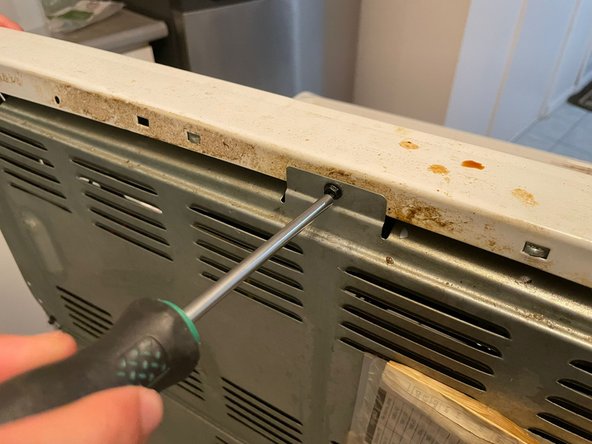
- Unscrew the back panel of the stove. Depending on your model, the cover may be located on the top or bottom.
- Use a square head screwdriver.
- If the screws are tight, use pliers to remove them.
- Set the multimeter to ohms. Otherwise, you may generate a short circuit if you do not have the correct setting.
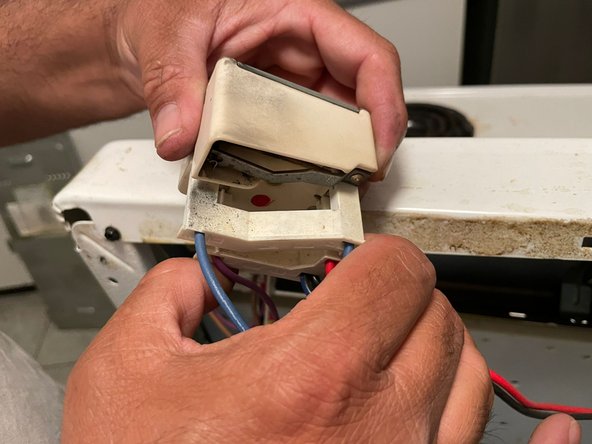
- You must disconnect the wires to prevent electrical issues from occurring.
- Remember where the original wires were placed. It's good to take a photo before doing so.
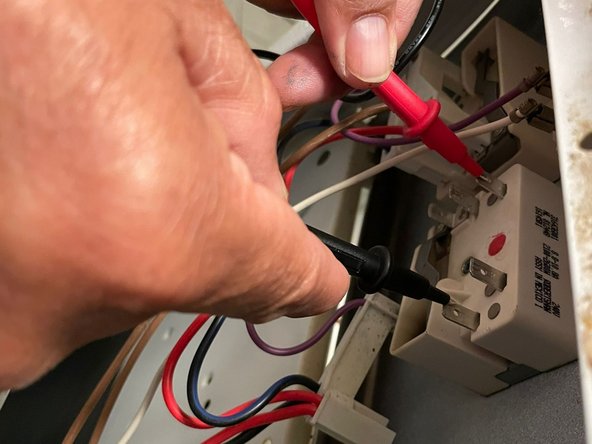
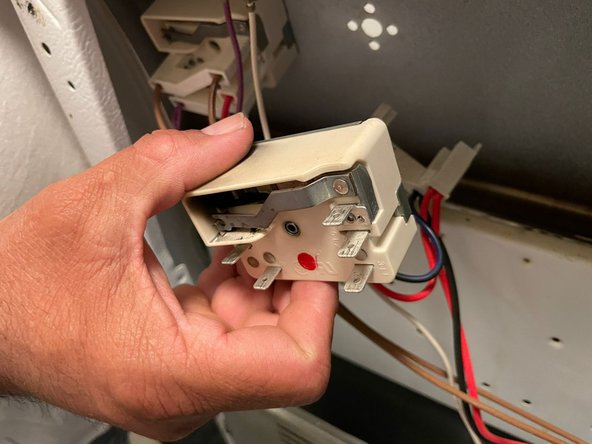
- Find the terminals on the switch. These can look different depending on whether your burner is a standard or a dual burner. Each terminal should be labeled.
- In this case, the L1 to H1 and L2 to H2 terminals will be checked. (L=line, H=heat). Black goes on L and Red goes on H. The position may differ depending on your switch. Read the label on your switch.
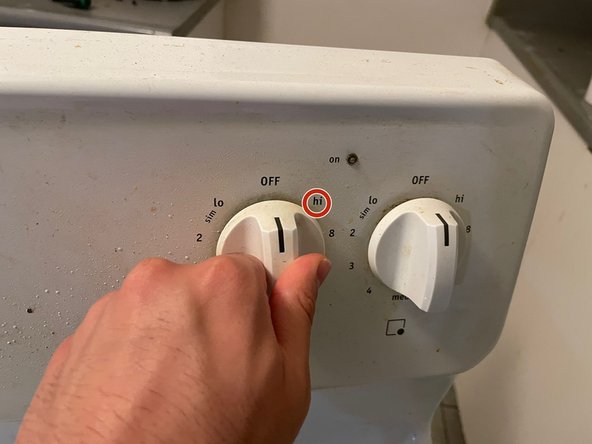
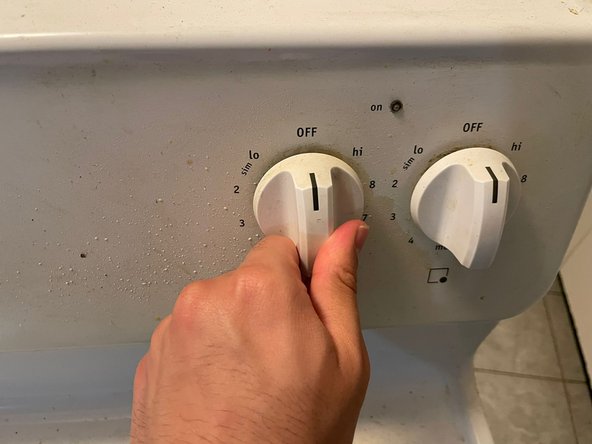
- After finding the terminals, turn the heat dial to “HI”.
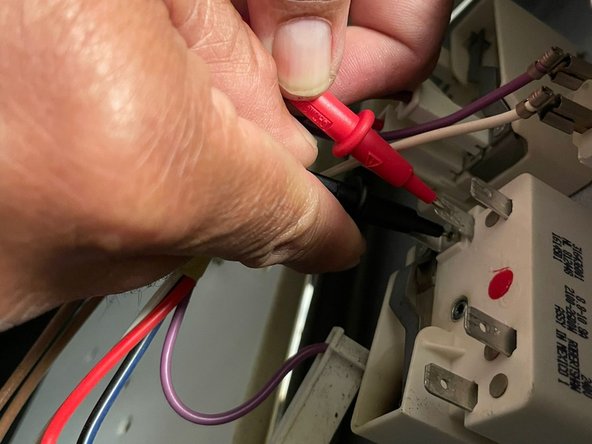
- Check the switch for the L1 to H1 terminals
- Check the switch for the L2 to H2 terminals.
- If the multimeter does not read between 0 and 1, the switch has no durability and must be replaced.
- If you have a dual burner, test both sets of terminals for durability.
- You may have other power models, but the process remains the same. If there is no connectivity, it has to be replaced.
- Once the switch is confirmed to be faulty, pull the heat dial out and remove the screws that are holding the switch in place.
- Once the heat dial is removed, remove the old switch and replace with the new switch.
- After the switch, connect the new switch to the heat dial.
- Reconnect any remaining parts that were removed earlier.