How to Tighten the Alternator Belt on your 1990-1993 Honda Accord
ID: 165290
Description: If your 1990-1993 Honda Accord makes a squeaky...
Steps:
- Before you begin, make sure your car is off and in park with the emergency brake engaged.
- Pull the hood release inside the driver's side door.
- Move to the front of the car.
- Reach under the hood and release the hood latch.
- Lift the hood.
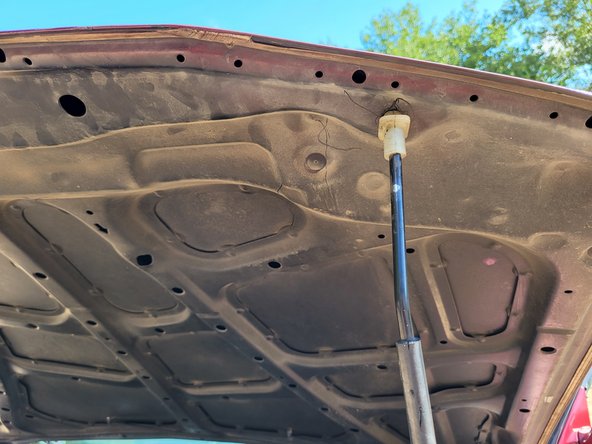
- Find the prop rod and lift it to prop the hood up securely.
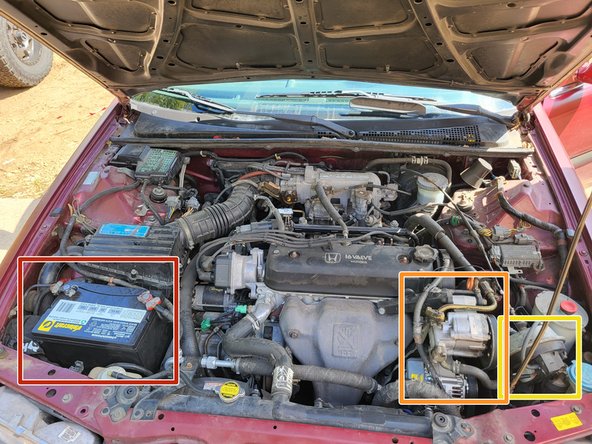
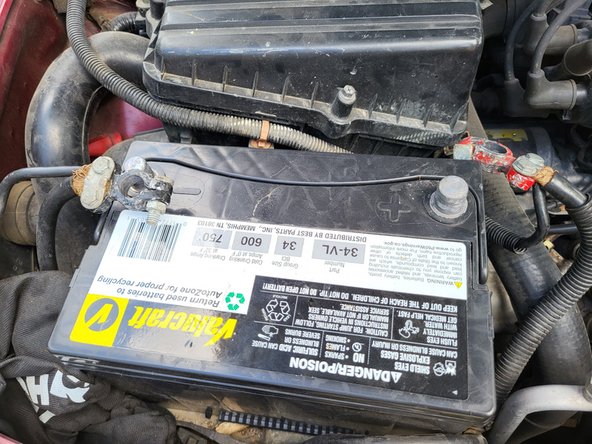
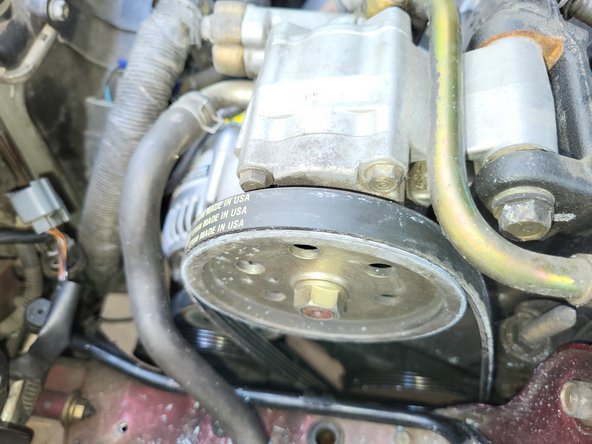
- Under the hood, it will look like photo 3. Take note of the following components:
- Battery
- Alternator
- Brake System
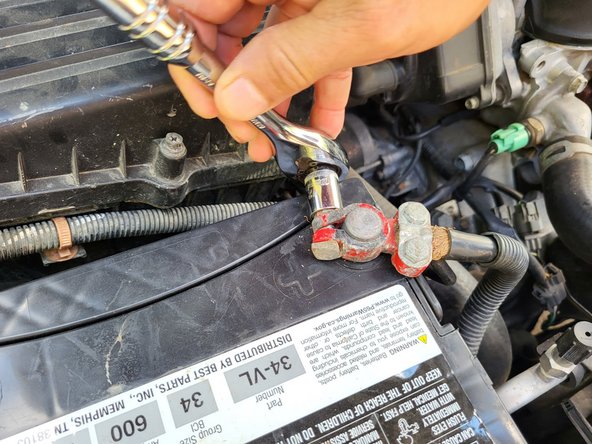
- Make sure the car is turned off before disconnecting the battery.
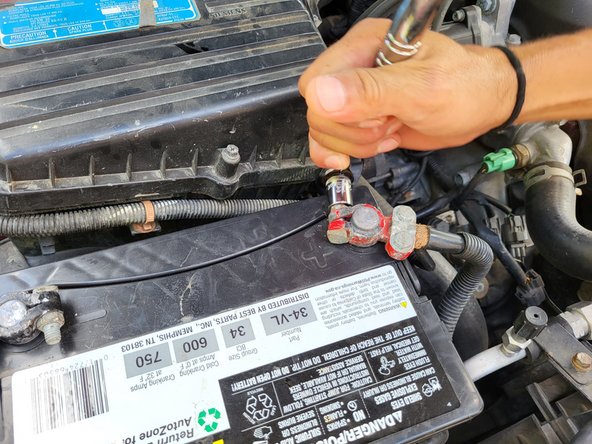
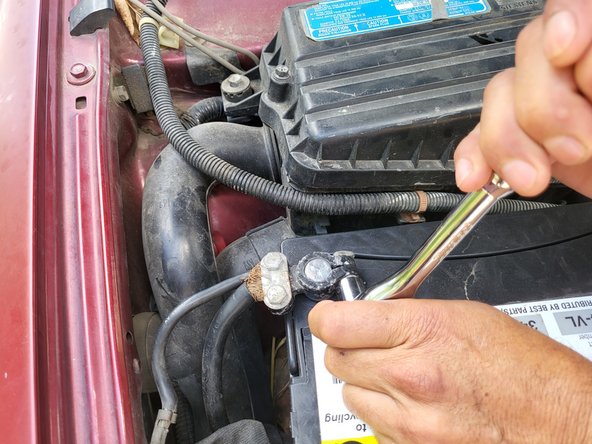
- Use a socket wrench to loosen the 12 mm bolt on the red battery terminal.
- Use a socket wrench to loosen the 12 mm bolt on the black battery wire.
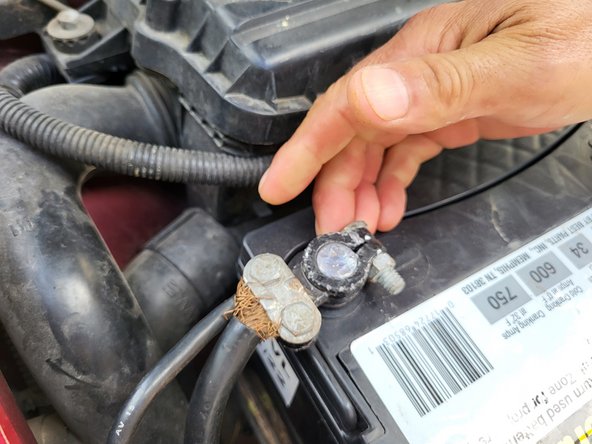
- Disconnect the negative battery terminal.
- Disconnect the positive battery terminal.
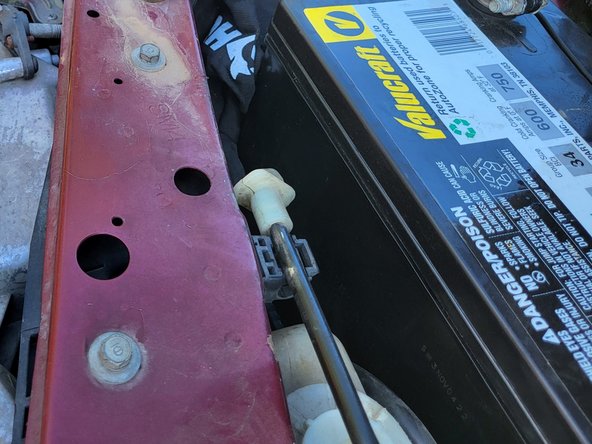
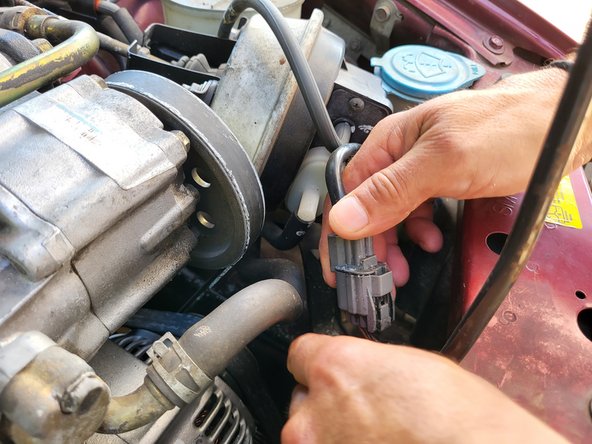
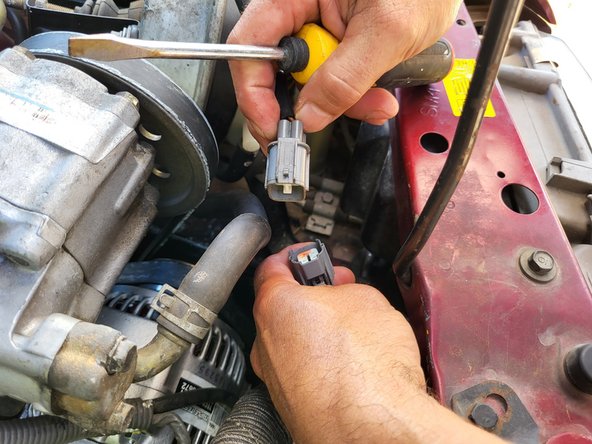
- Disconnect the brake system.
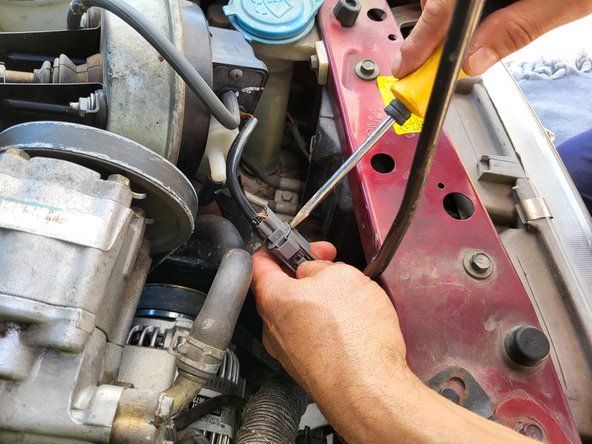
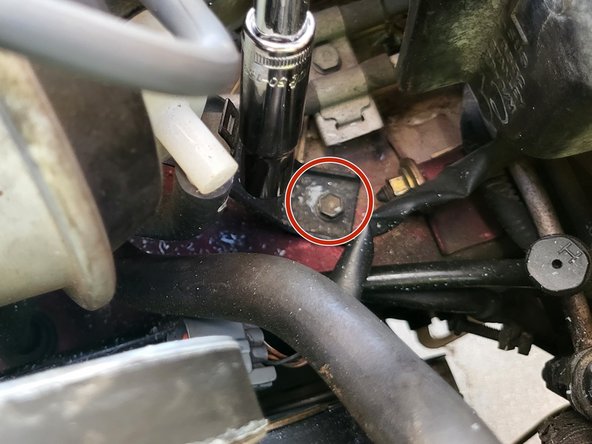
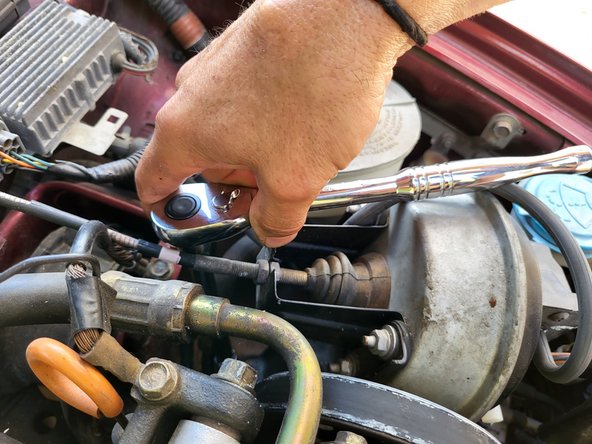
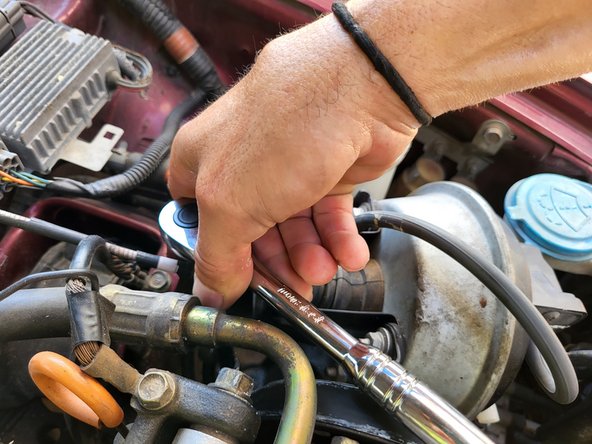
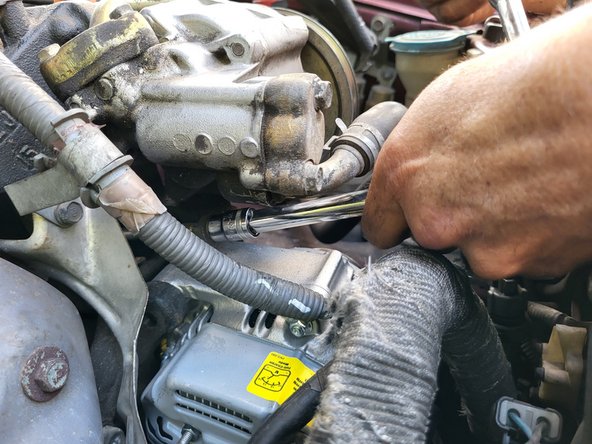
- Remove the 10mm bolt securing the brake system using the socket wrench with extension and a long socket.
- Use the socket wrench with an extension and a long 10 mm socket to remove the 10 mm bolt securing the brake system on the other side.
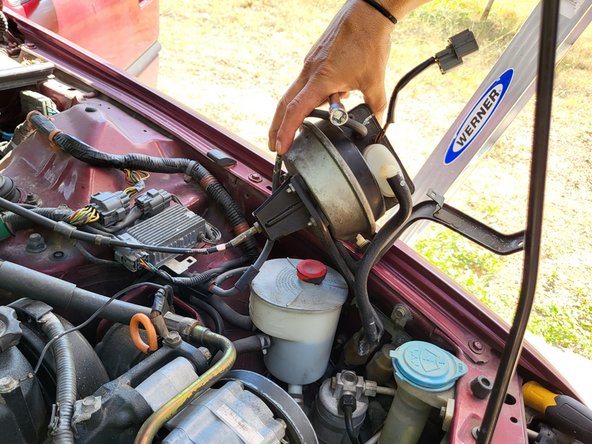
- Disconnect the black hose.
- Remove the brake system and set it out of the way.
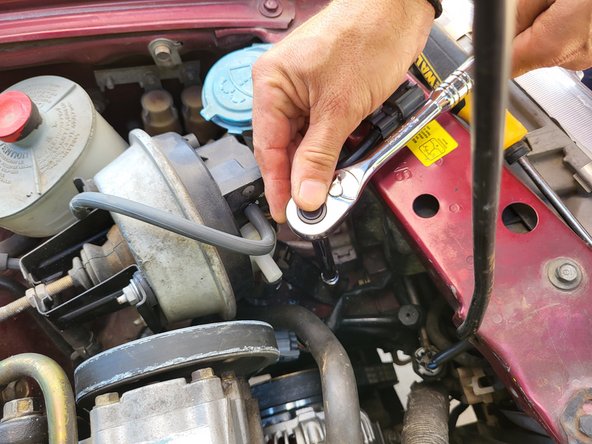
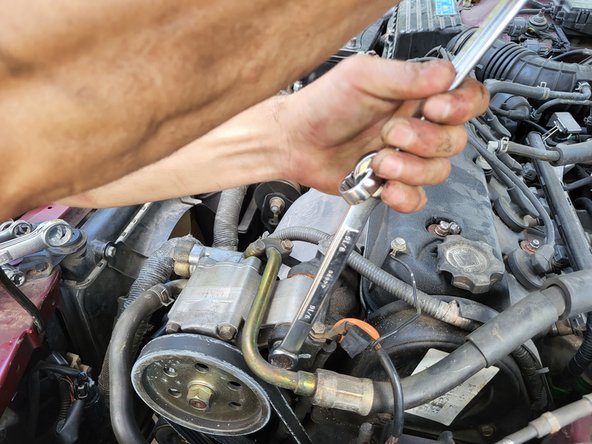
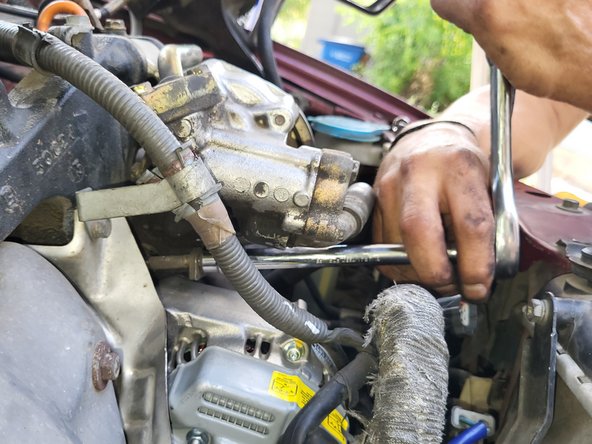
- Use a socket wrench to remove the 14 mm bolt above the top belt.
- In case it's too stiff, use an extension to create more power.
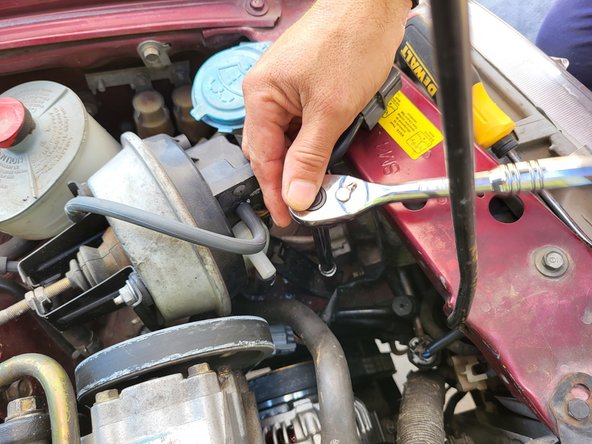
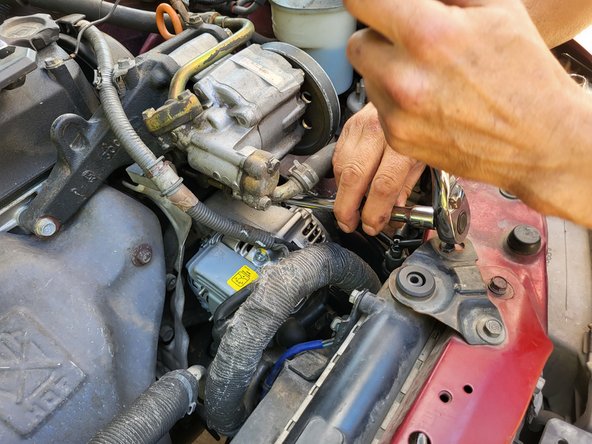
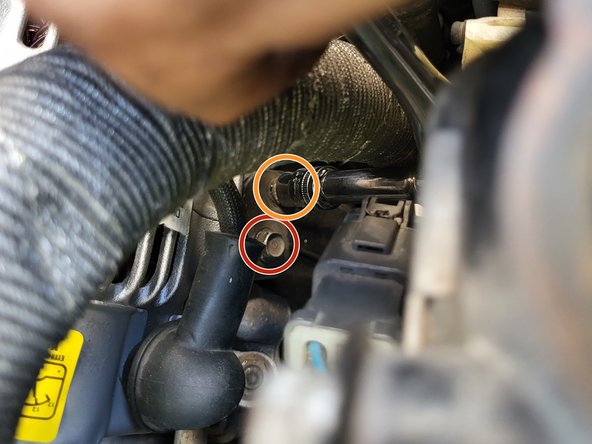
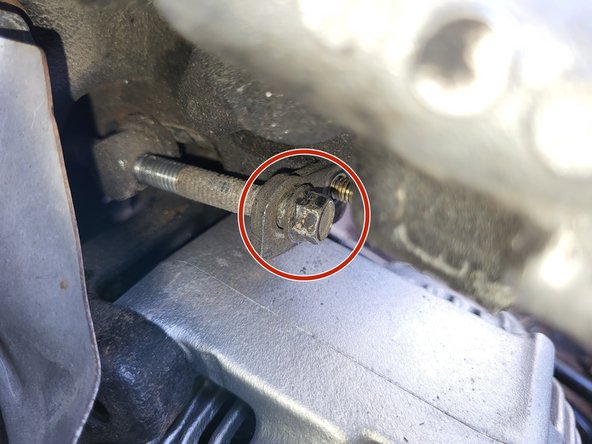
- Remove the 10 mm bolts found under the top part of the alternator using a socket wrench with an extension.
- The left screw will lower the alternator if unscrewed and raise it when screwed in. The right screw keeps the alternator in place.
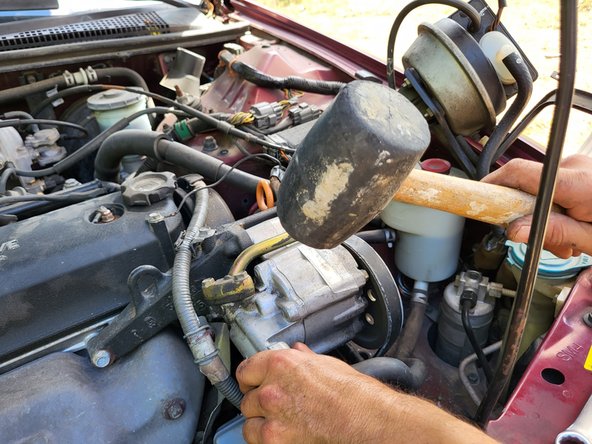
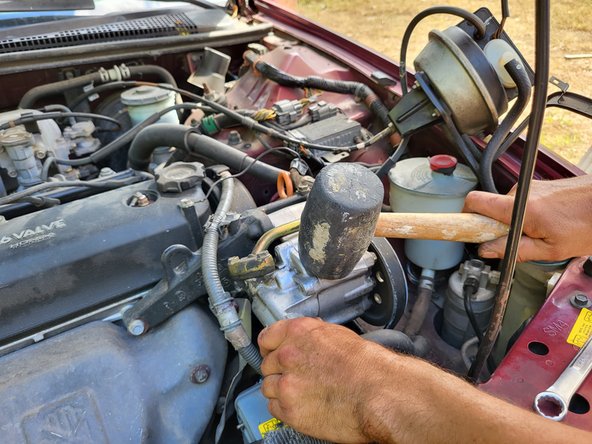
- Lower the alternator by about 3.2 mm.
- If it's too stiff, use a plastic hammer.
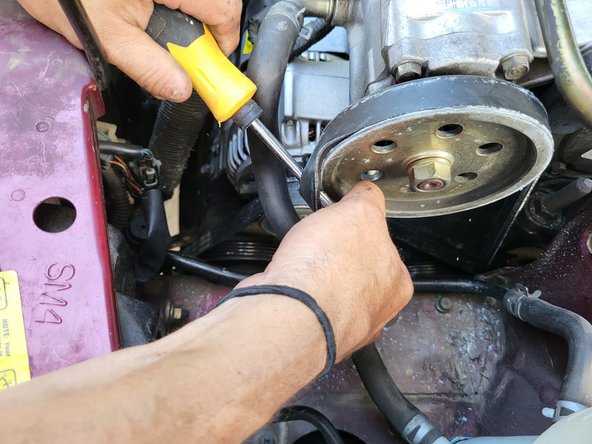
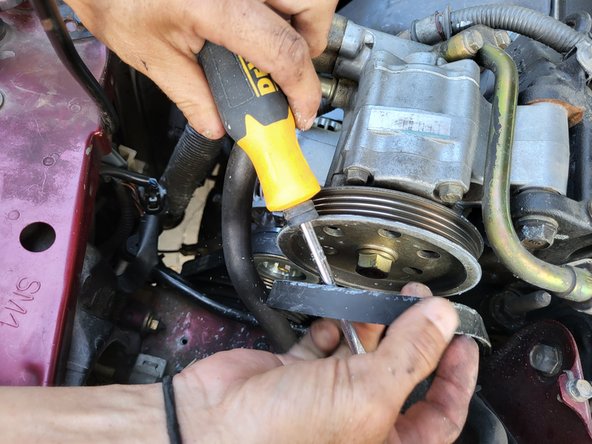
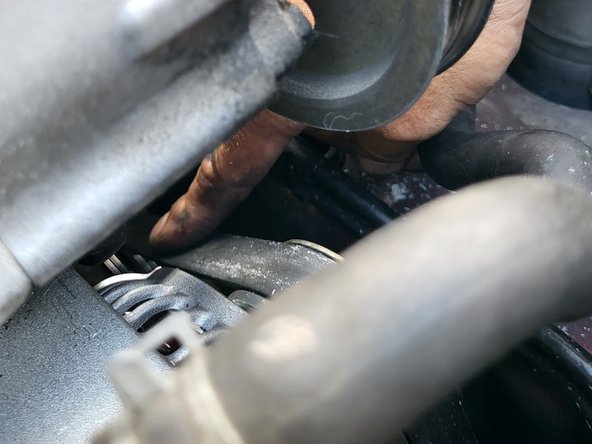
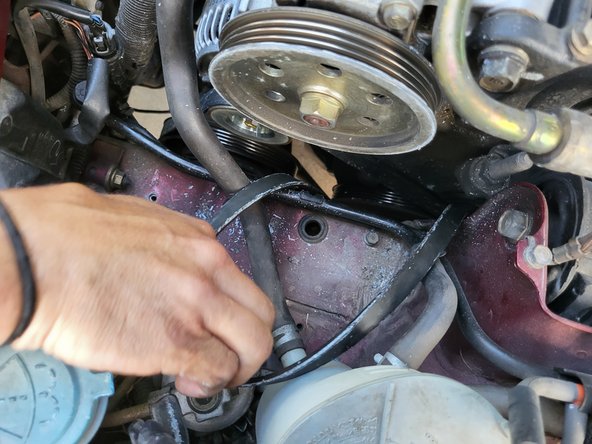
- Use a screwdriver or other long object to remove the top belt.
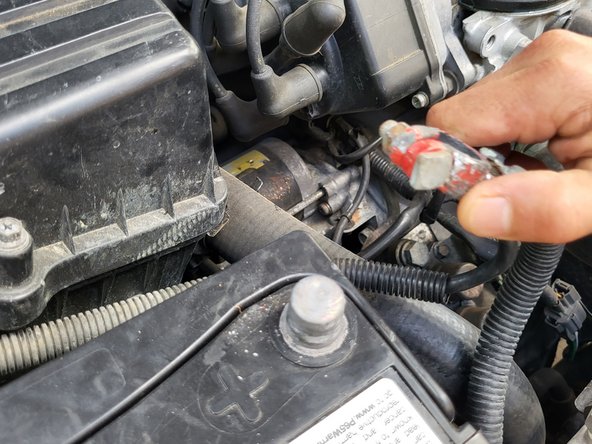
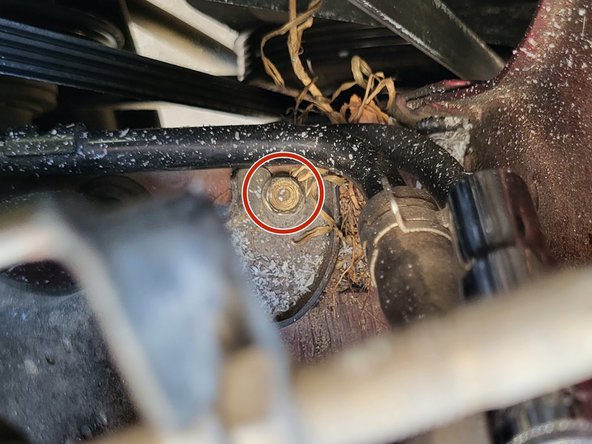
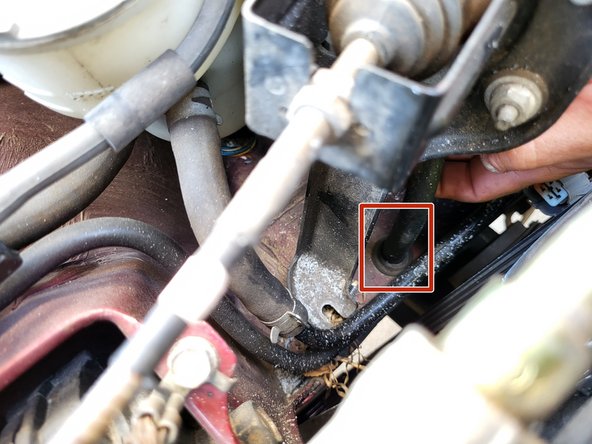
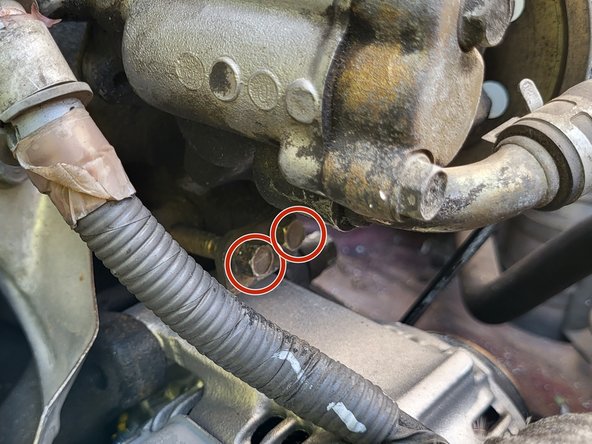
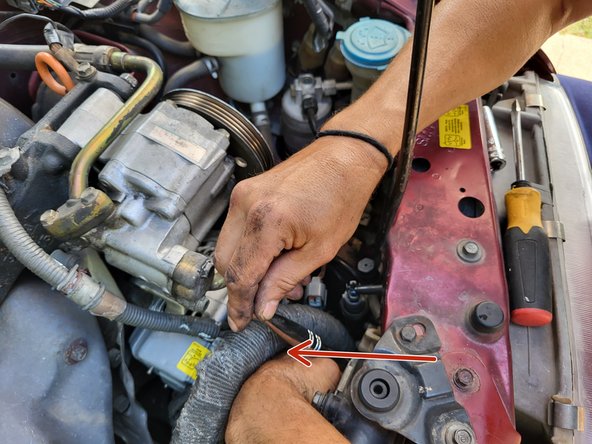
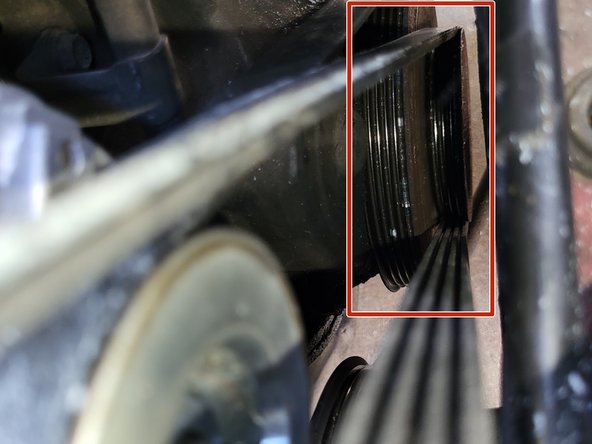
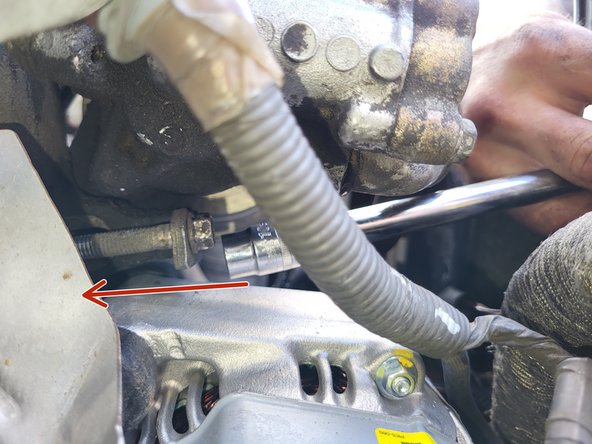
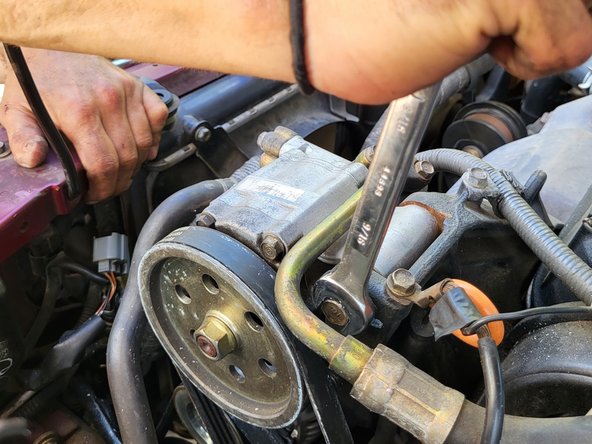
- Tighten the 10 mm bolts under the bottom part of the alternator hidden by the black hose (where the red arrow points) using the socket wrench.
- It's especially important to tighten the right screw/bolt.
- Check the tightness of the belt with a finger test. If you can press it down, tighten the belt a little more.
- Continue tightening the screws and checking the belt until there is no slack in the belt.
- Remove the 10 mm bolts under the top part of the alternator with a socket wrench.
- This will allow for an easier reinstallation of the top belt.
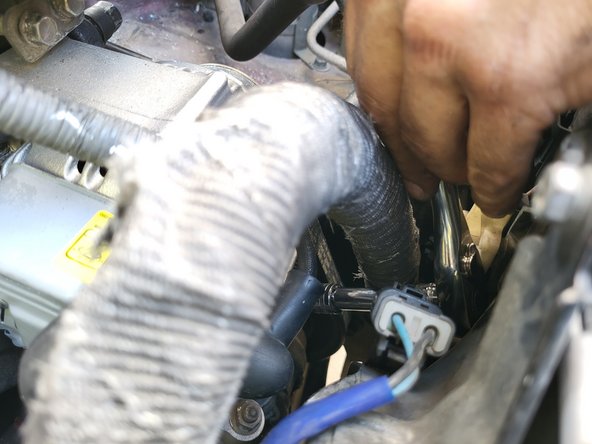
- Reinstall the belt around the bottom and top wheel.
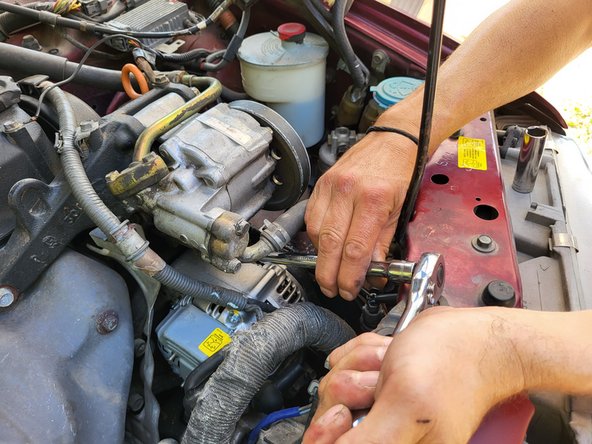
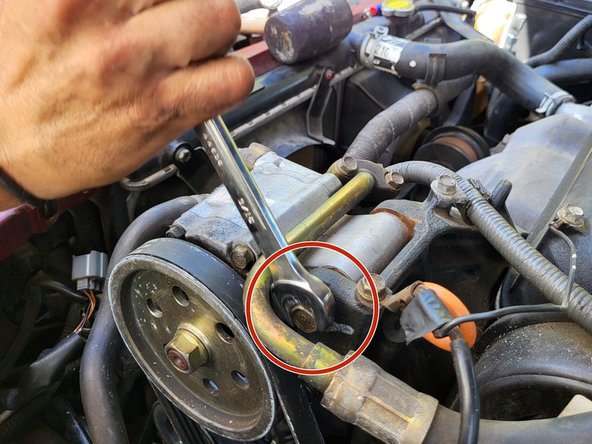
- Use the socket wrench with the extension to screw the left and right 10 mm bolt until the belt is tight.
- This step may be confusing because it is hard to know which direction the bolt needs to move. The bolt will move slightly inwards and that will tighten the belt.
- Tighten the top 14 mm bolt with the socket wrench.