Lifetime 4-Foot Adjustable Table Leg Replacement
ID: 165385
Description: This is a guide will show you how to fix a...
Steps:
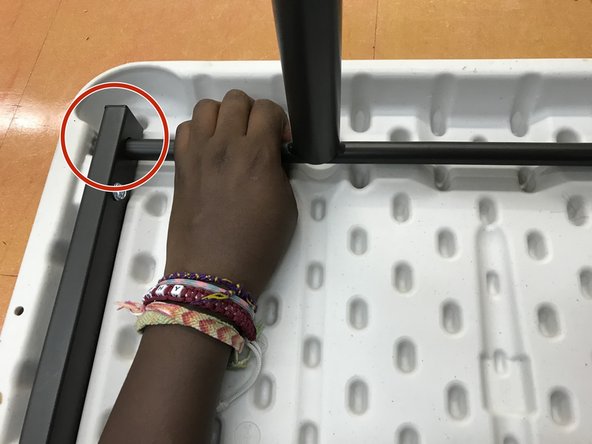
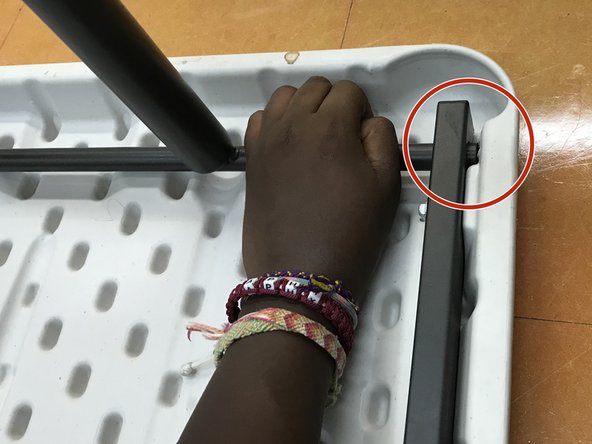
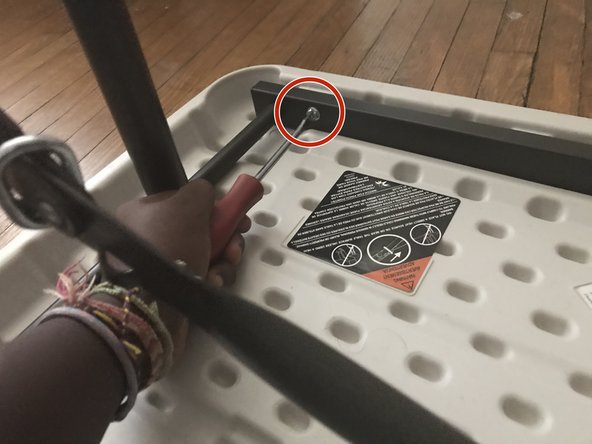
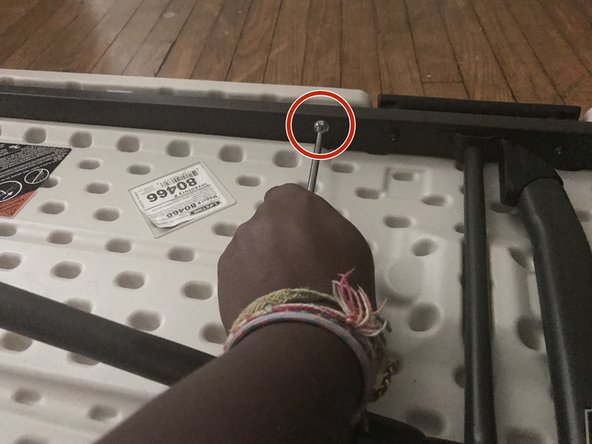
- Use the 6 mm Flathead screwdriver to remove the four aluminum slotted screws located on the edges of the table.
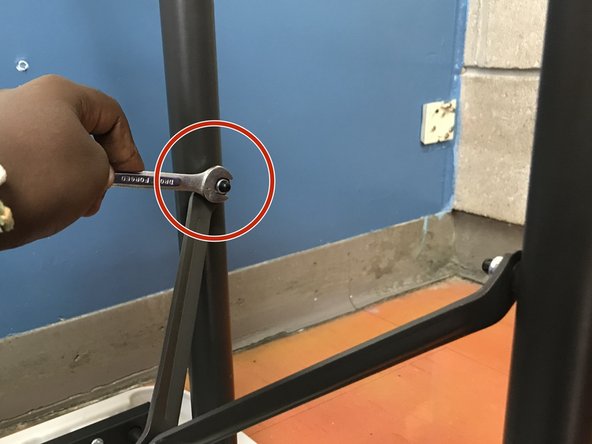
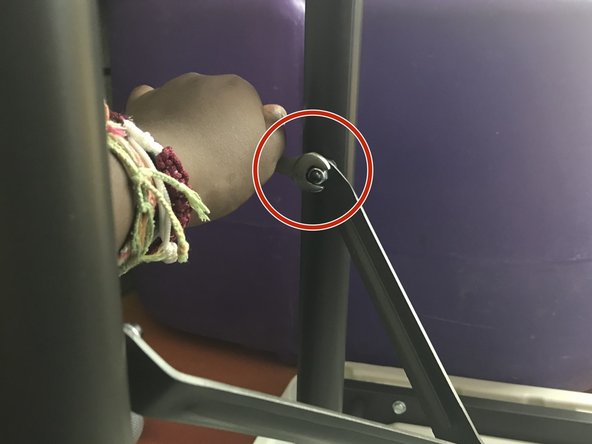
- Use a 5/32" Allen Wrench or 19 mm wrench to remove the two stainless 8-18 steel hex screws from the braces of the table.
- Clean any glue or adhesive from the braces and hinges before putting it into place.
- It’s important to clear the screw holes of any material, so that the screws can fit without obstruction.
- Align the screw holes of the braces with the new leg by inserting it into the frame.
- While aligning, make sure the new leg fits into the frame slots.
- Place the two stainless steel hex screws inside of the screw holes located on the leg, and secure each screw with your Allen key or wrench.
- Screw the four slotted screws back into the frame using a 6 mm flathead screwdriver. Ensure that the entire side where the new leg is being inserted is securely connected to the table once again.
- Test out the table by unfolding it, and setting it up in a standing position.
- If the leg is not aligned properly, has loose screws, or missing some screws, make the proper adjustments before using it.