How to Remove and Clean the Kenmore 575-0 Float Switch
ID: 165421
Description: In this tutorial, we'll cover every step of how...
Steps:
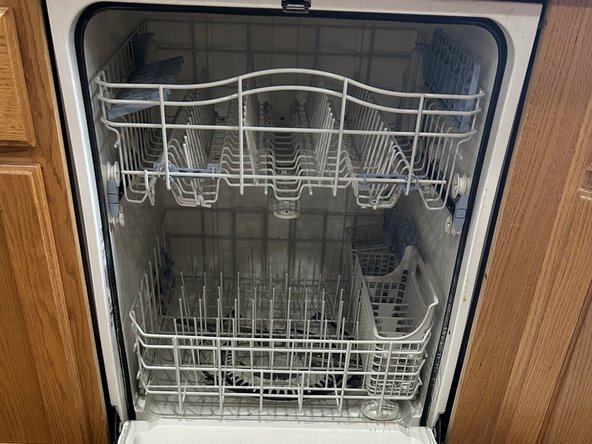
- To easily access the float assembly, open the dishwasher and carefully slide out the lower rack.
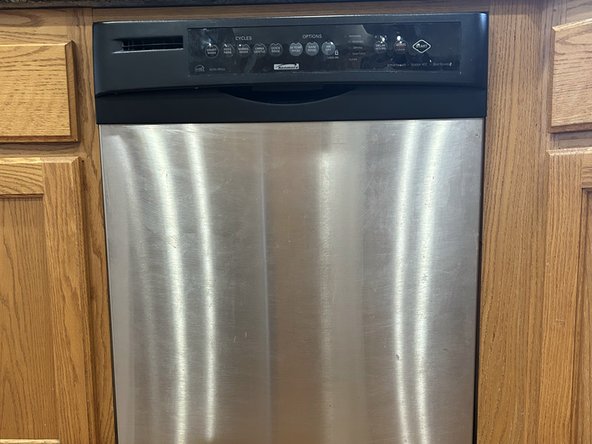
- To prevent accidents, make sure the dishwasher is disconnected from both power and water sources.
- Use a Phillips #1 screwdriver to remove two 5 mm screws from the ends of the bottom cover of the dishwasher.
- Remove the bottom cover.
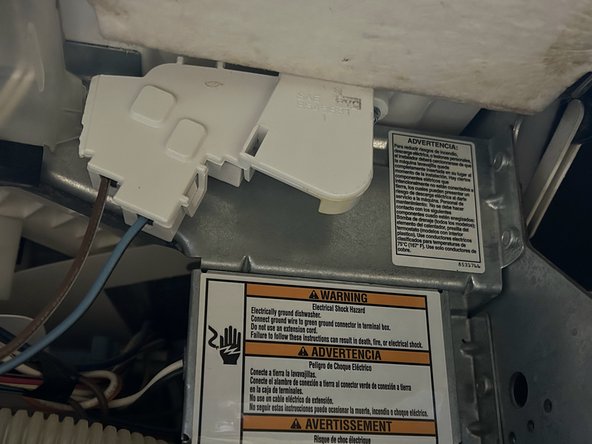
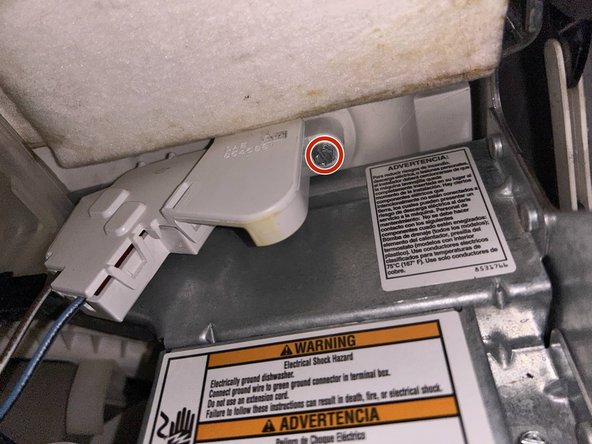
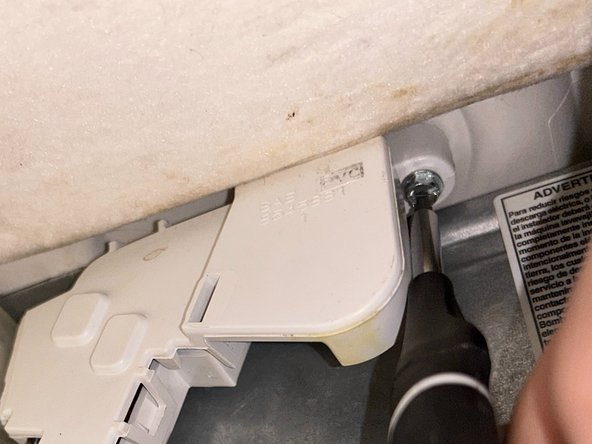
- Loosen the single 5 mm screw at the base of the dishwasher that secures the float switch in place using a Phillips #1 screwdriver.
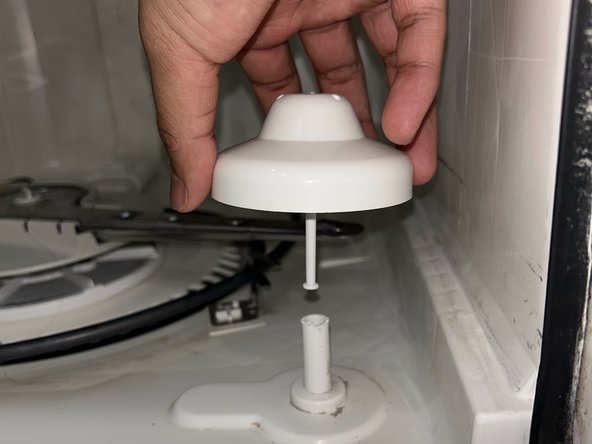
- This will enable you to lift, remove, and clean the float located inside the dishwasher beneath the lower rack.
- Ensure that the lever inside the float switch remains in its position and does not displace when you unscrew the float switch.
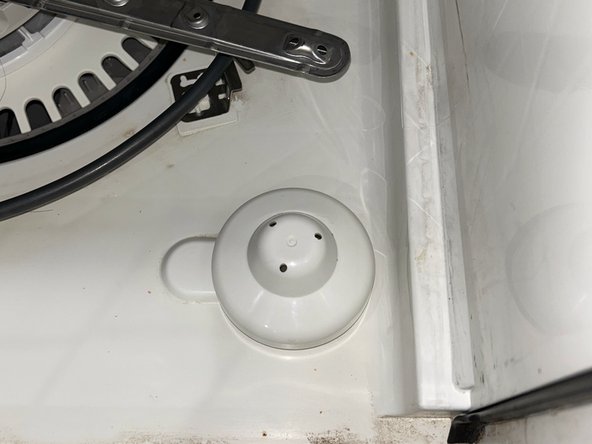
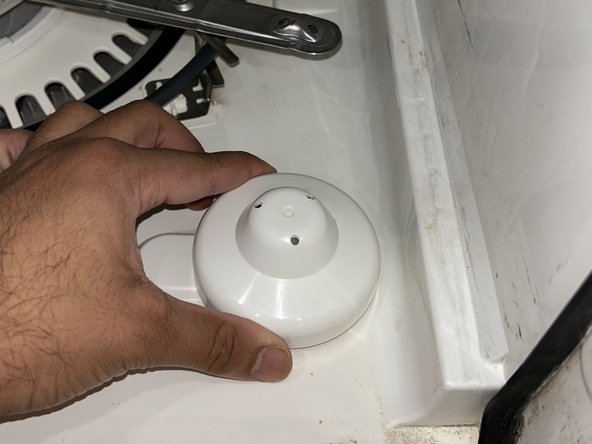
- Find the float assembly positioned near the front, underneath the lower rack.
- Carefully press on top of the float assembly and then release to elevate the float.
- Avoid excessive force when lifting, as it may result in damage to the float.
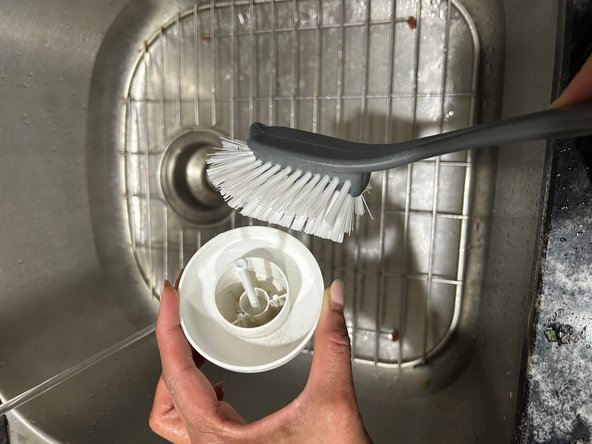
- Check the float for any debris or residue. If it's dirty, clean it thoroughly with warm, soapy water and a soft brush. Also, clean the area where the float was installed.
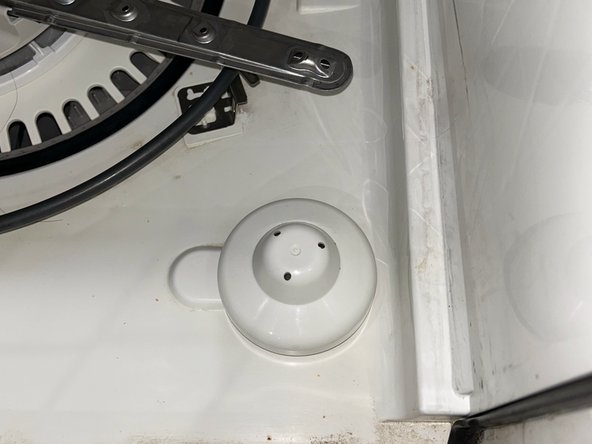
- Reconnect the float assembly to its initial position and fasten it securely. Verify that it moves smoothly and without obstruction.
- Now that the float switch is clean, reinsert the lower rack.
- Reassemble the base of the dishwasher.
- Close the dishwasher and turn on the power and water.