Guide 3: Xiaomi Air Fryer NTC thermistor failure – Error E1. 200K Ohm NTC thermistor
ID: 165439
Description: Related guide:...
Steps:
- Document dedicated to the test of the 200 K ohm NTC temperature probe of the AIR FRYER XIAOMI hot air fryer, applies to this fryer and many others very similar
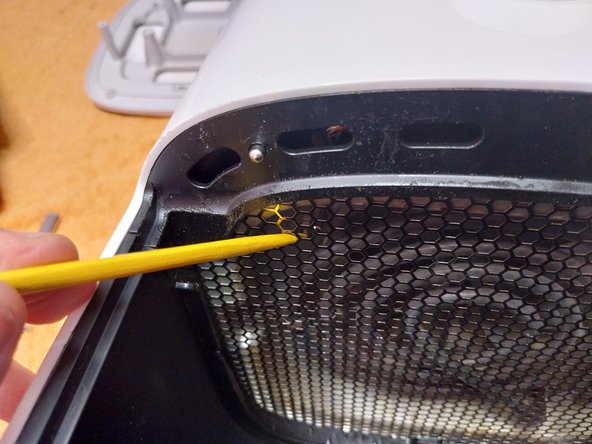
- PHOTO 3: NTC PROBE is located next to the resistance.
- Images showing the machine displaying Error E1 that will trigger roughly after a minute of being on. It can occasionally work normally by turning it on and off.
- Image 1: Display of Error E1 which prevents the machine from functioning.
- Image 2: View of the NTC probe connector on the control board.
- Photo 3: Location of the NTC thermistor cartridge as seen from the outside.
- For the disassembly of the machine, you can use the following document and the videos linked within it as your reference.
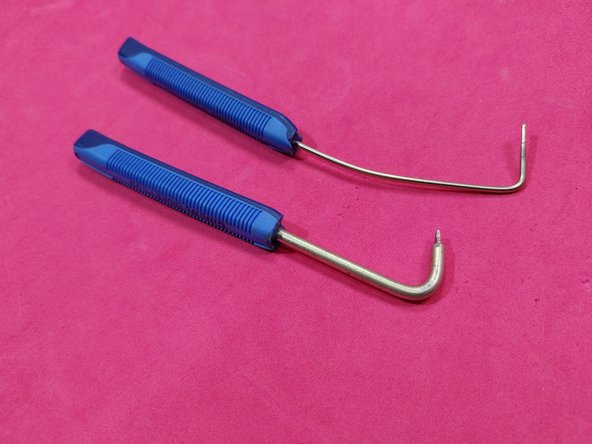
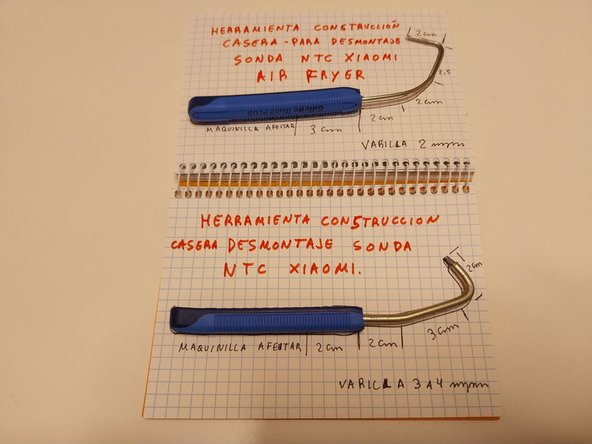
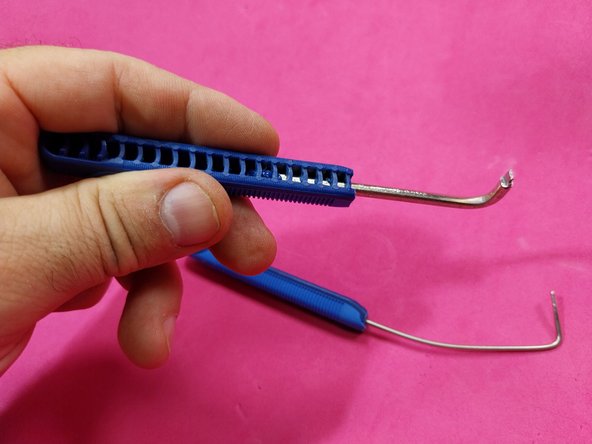
- Guide for a homemade hooking tool to take apart the air fryer's NTC thermistor probe.
- Bill of materials required for the test:
- Multimeter with a 200K Ohm scale.
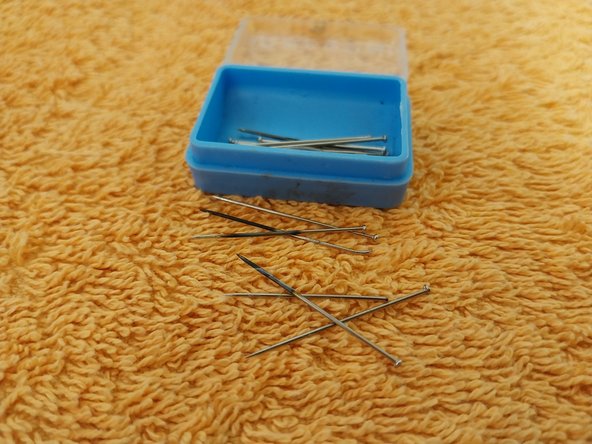
- Sewing needles, since the probe connector is quite small.
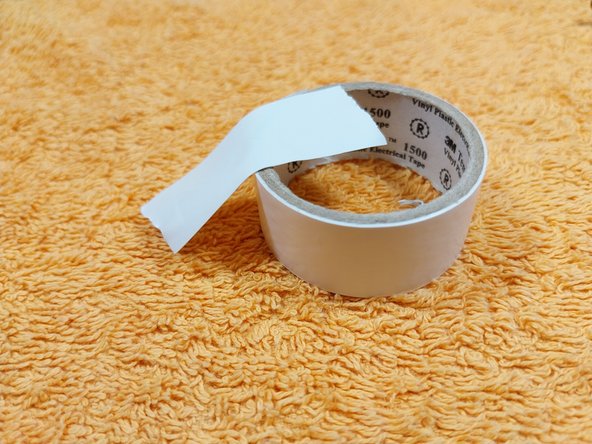
- A strip of electrical tape.
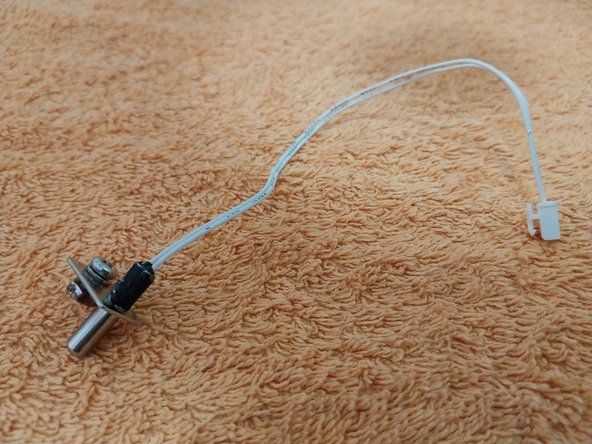
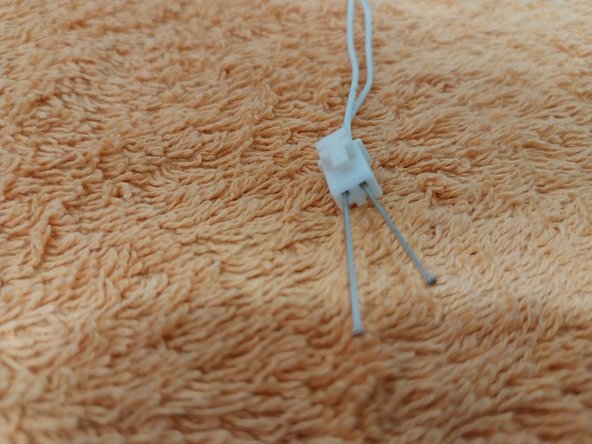
- Image 1: Damaged/broken NTC air fryer probe.
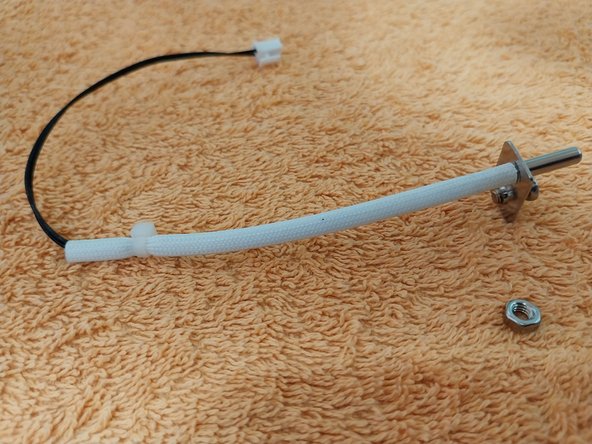
- Image 2: Replacement NTC 200K Ohm thermistor acquired from Aliexpress/Amazon.
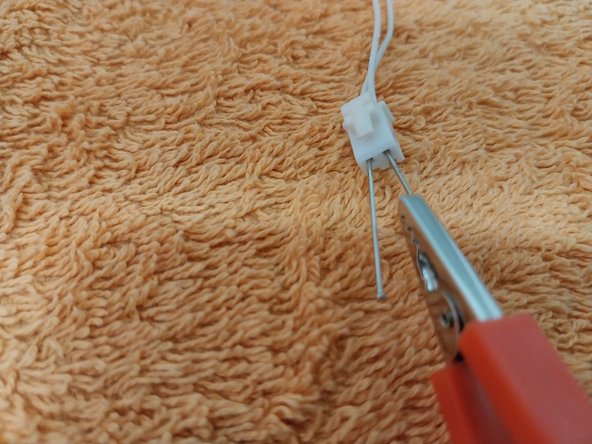
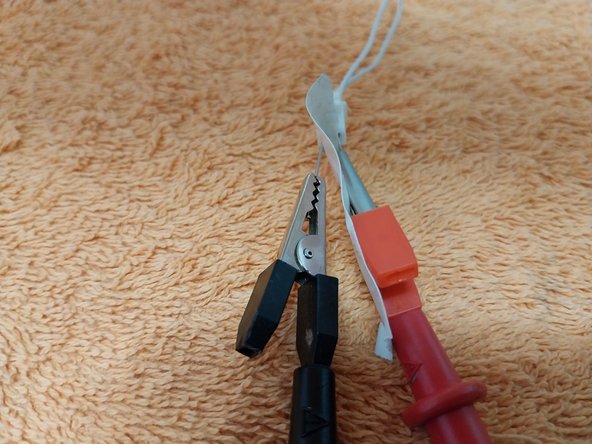
- Insert 2 sewing needles into the 2 connector terminals as shown in image 1.
- Connect one end of an alligator clip to each one of the sewing needles and connect the other end of the wire to the multimeter as shown in image 2.
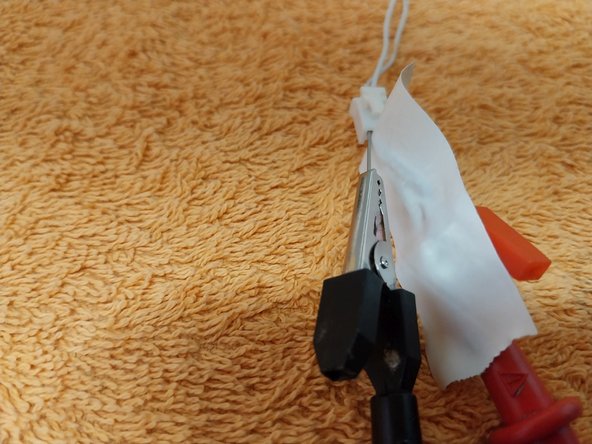
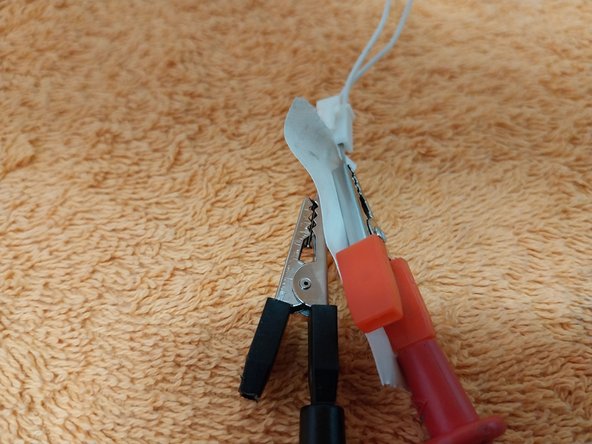
- Place some electrical tape in between the red and black alligator clips to electrically isolate them from each other as shown in image 3.
- The two alligator clips should be electrically isolated as shown in the image.
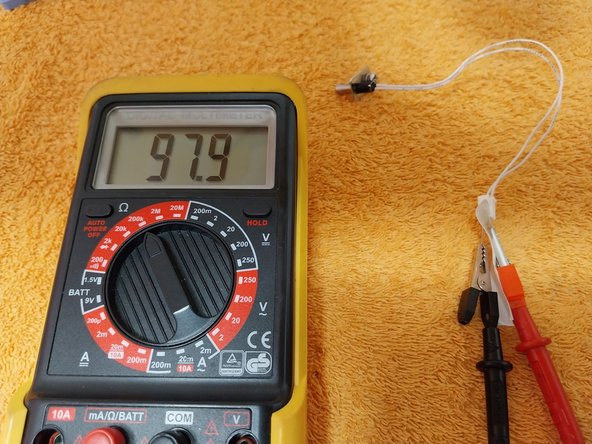
- Check the initial reading: At 25ºC (or anywhere near that temperature), the thermistor must have a resistance of roughly 100K Ohms.
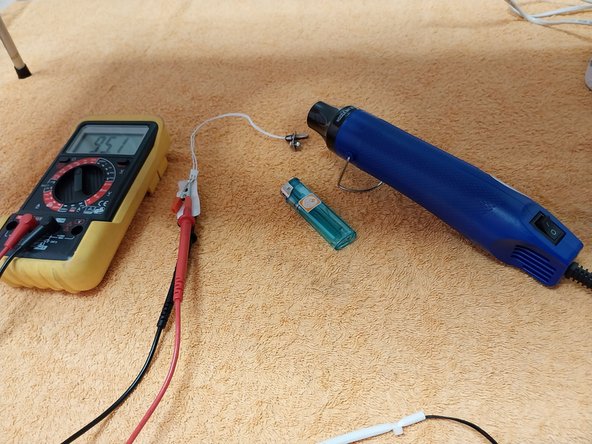
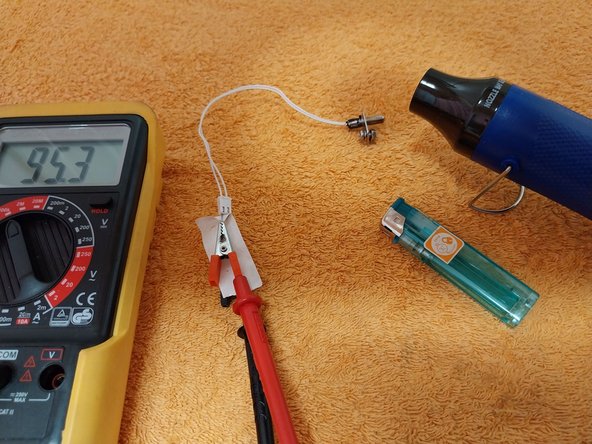
- Apply heat to the thermistor/probe using a heat gun or a lighter. The probe resistance readings should gently decrease as the temperature increases. Since this one is damaged, it works unpredictably. Refer to the video for more clarification.
- Youtube video that goes explaining each step, comparing the behavior of a malfunctioning probe with a normal one.
- Other guides for this device: AIR FRYER XIAOMI