How To Fix a Sharp LC-55Q7530U LED Backlight Issue
ID: 165547
Description: Welcome to my comprehensive guide on...
Steps:
- If the TV screen is completely dark, or it turns on and turns back off instantly, there is likely a backlight problem.
- If there is a backlight problem, fixing it will require you to remove the back of the TV
- Remove the screws from the back panel. Carefully open the back panel, then gently pry open the housing, being careful not to damage internal components.
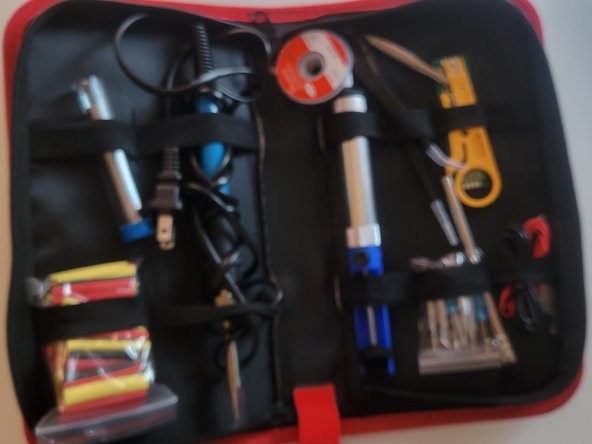
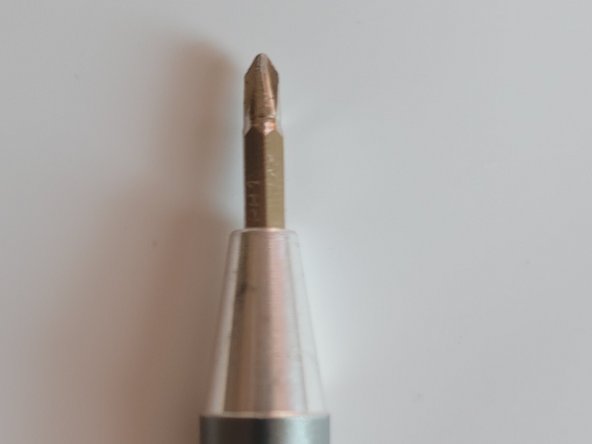
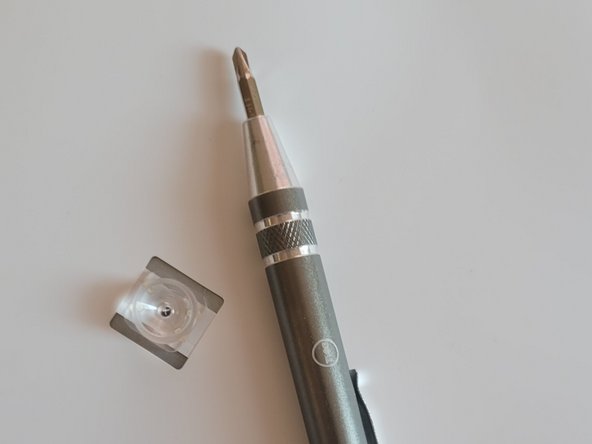
- Use a Phillips #1 screwdriver to remove the screws and gently pry off the cover using your fingers.
- If the cover doesn't come off easily, wiggle it gently until it loosens and can be removed.
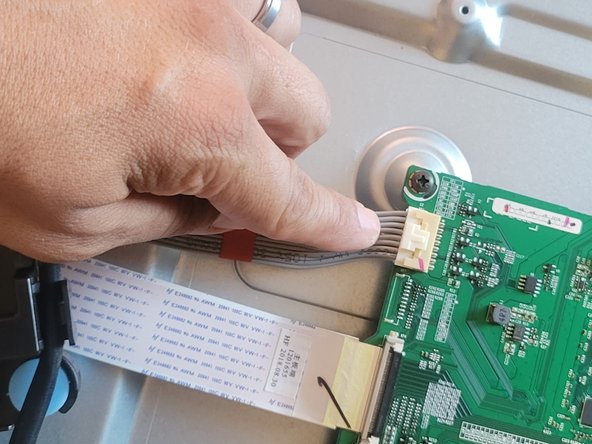
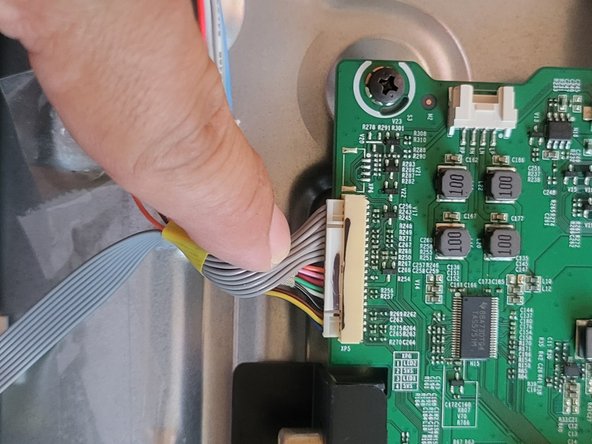
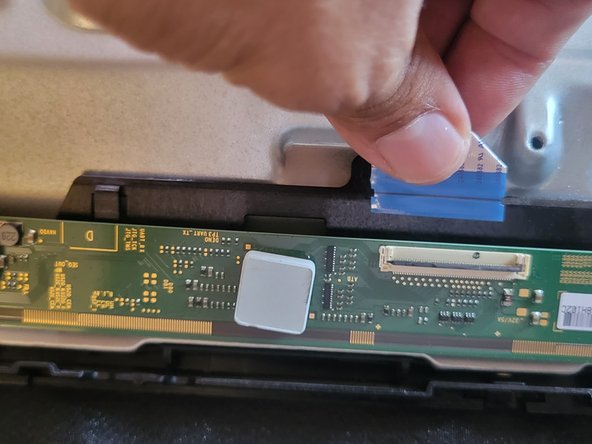
- Carefully unplug the wires from their connectors.
- Some connectors may have a latch that needs to be pressed before pulling them apart. Be gentle to avoid breaking the connectors.
- With all screws and wires detached, lift the speaker unit gently out of its spot, holding it from the sides or bottom to prevent any damage.
- To disassemble the on/off button, remove the surrounding panel or cover, then unscrew any screws holding the button in place. Carefully disconnect any wires or connectors; this will allow you to separate the button from the device.
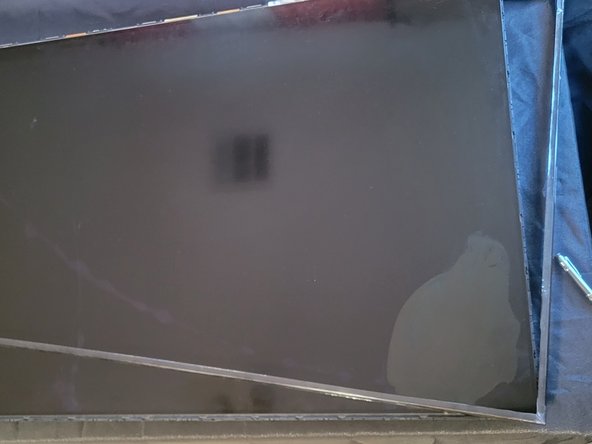
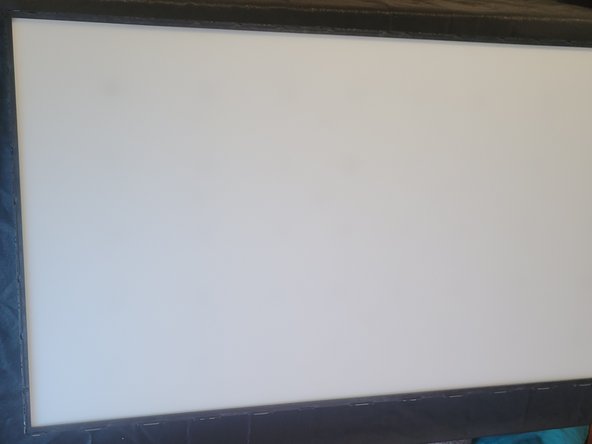
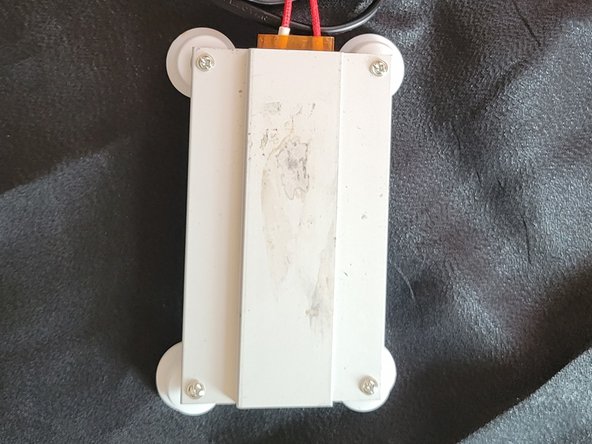
- To remove the LCD screen, attach suction cups to opposite ends, apply even pressure, and gently lift the screen from the device. Ensure careful handling to avoid damage.
- Wipe the LCD screen clean with the microfiber cloth to ensure a good grip. Firmly press a suction cup onto the center of the screen, eliminating air bubbles to create a seal. Apply gentle, even pressure to lift the screen slightly.
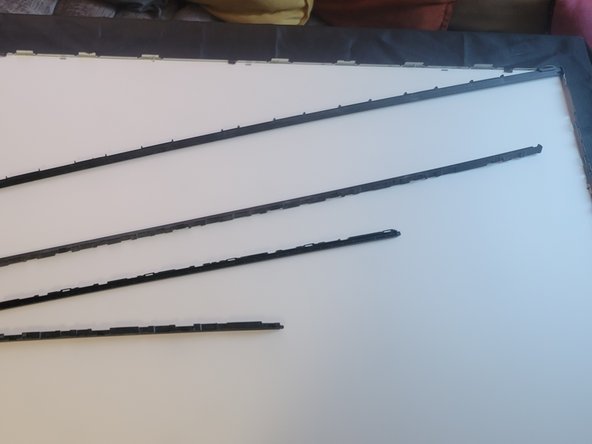
- If resistance is encountered, gently wiggle the suction cup to create a gap. Carefully move the suction cup or use your fingers to widen the gap, maintaining gentle, even pressure. Continue lifting the screen, moving the suction cup around the edges, until it is completely detached.
- Avoid straining cables or internal components during the process. Place the removed LCD screen in a secure, soft location to prevent scratches or damage.
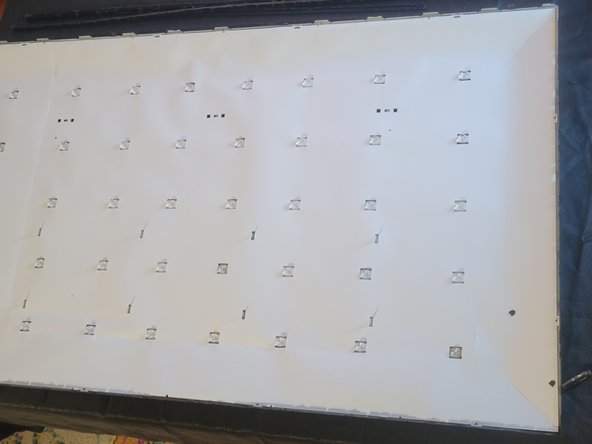
- Look for burnt-out LEDs, which might appear dark or black. If you find faulty LEDs, they need to be replaced.
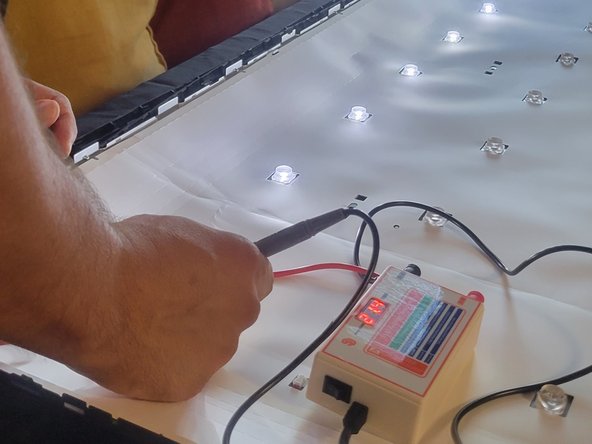
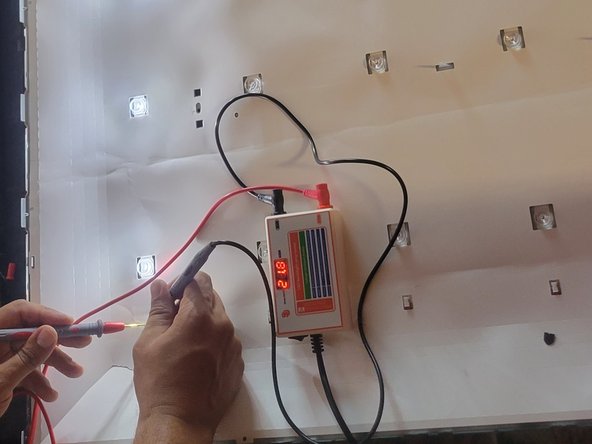
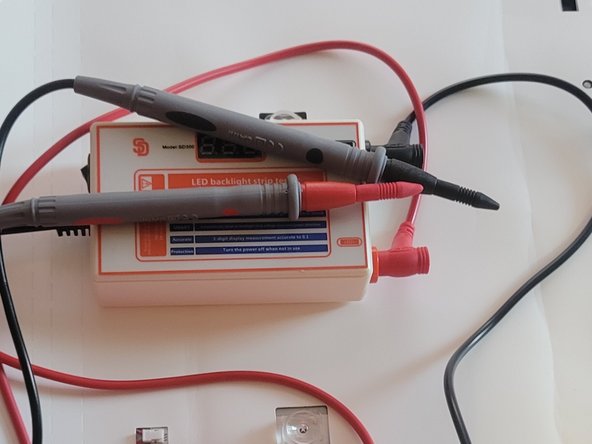
- Use a multimeter or backlight tester to test the voltage output of the LED driver board. If the voltage is incorrect, the LED driver board might be faulty and needs replacement.
- None
- If individual LEDs are the issue, you can replace them by using soldering kits and a compatible replacement LED strip. Make sure to get a model compatible with your TV.
- Carefully reassemble after replacing the faulty components, making sure all connections are secure.
- Plug in the TV and turn it on to see if the backlight issue is resolved. Monitor the TV for some time to ensure the problem doesn’t recur.