Bathroom Sink Knob Replacement with the "Danco Faucet Remodeling Kit for Delta"
ID: 165552
Description: Over time bathroom faucet knobs crack or age...
Steps:
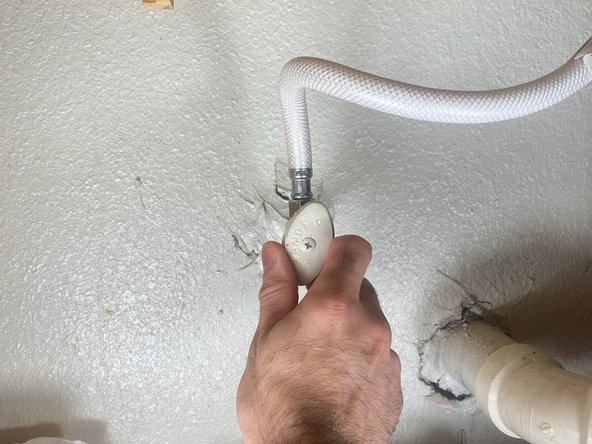
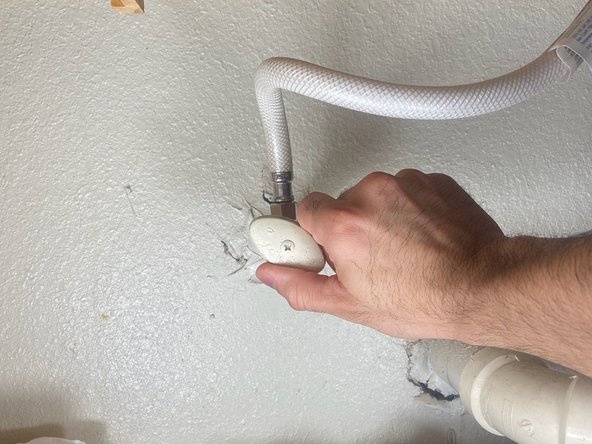
- Underneath the sink there are two valves that supply water to each knob. Turn off the supply by twisting the valves tightly to the right.
- The water supply needs to be off before starting the replacement. Failure to do so can result in water spouting all over the area, causing damage.
- Double-check that the water supply is off by twisting the faucet knobs to the left.
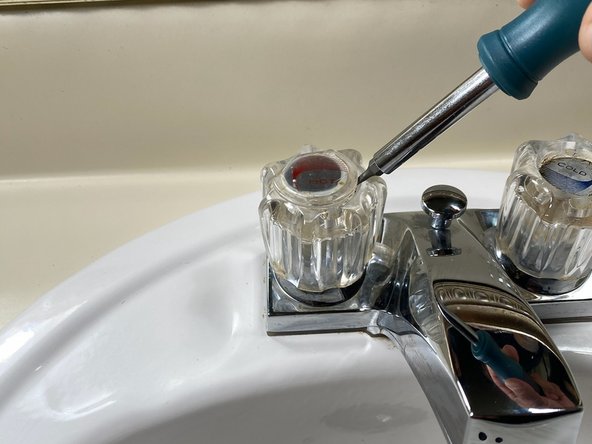
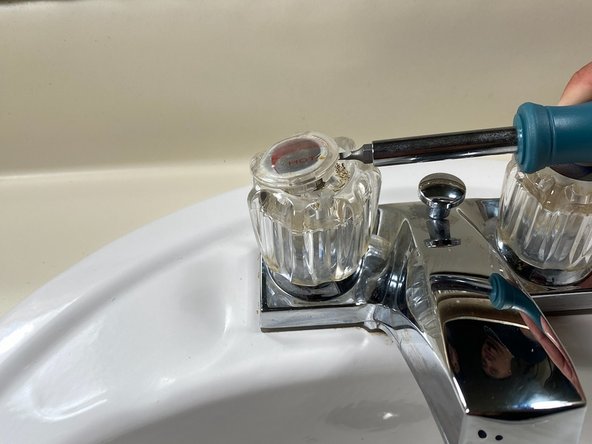
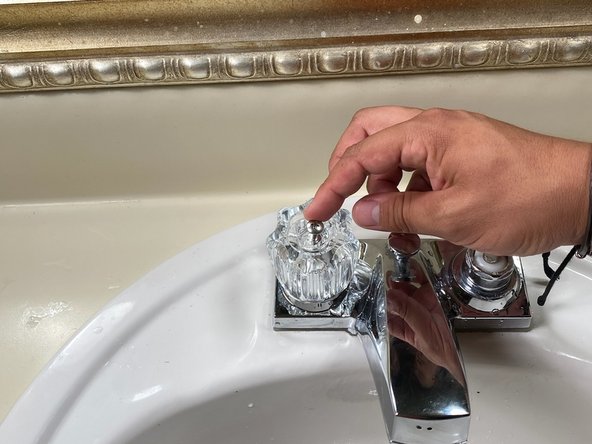
- With the 1/8” flathead screwdriver, insert through the groove on the edge of the hot-n-cold caps, loosen, and remove them.
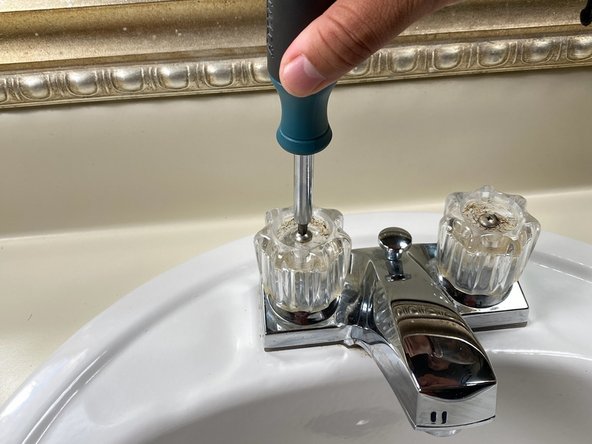
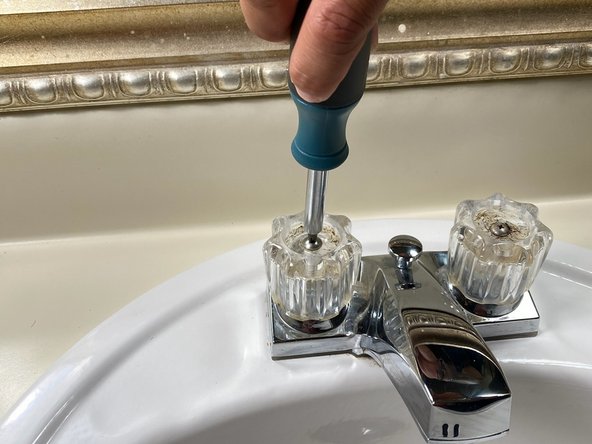
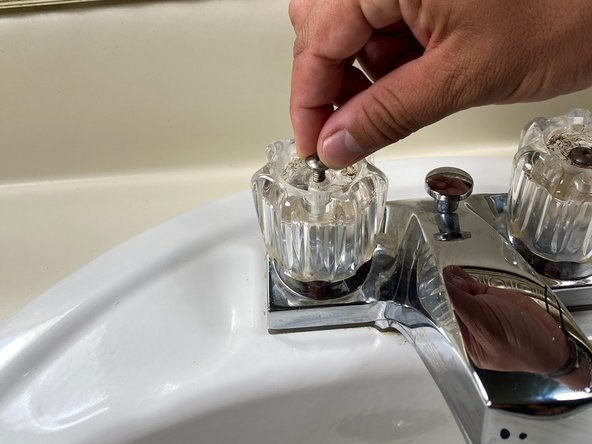
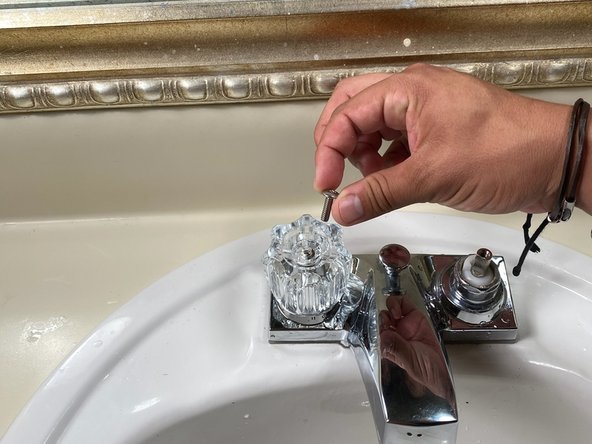
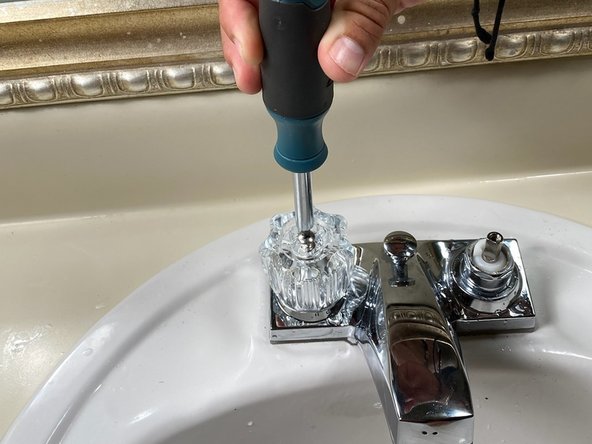
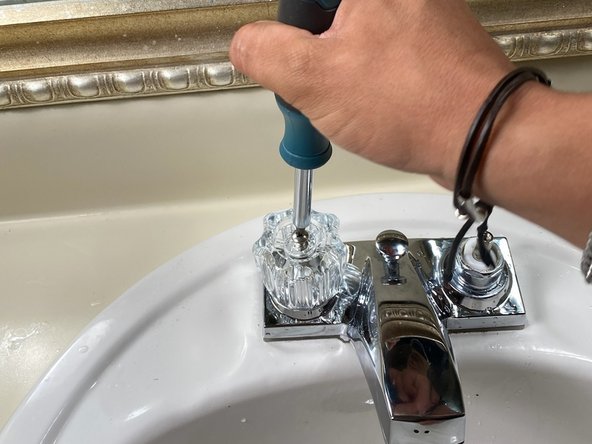
- Using the PZ1 starhead screwdriver, loosen the 19.1 mm oval head screw.
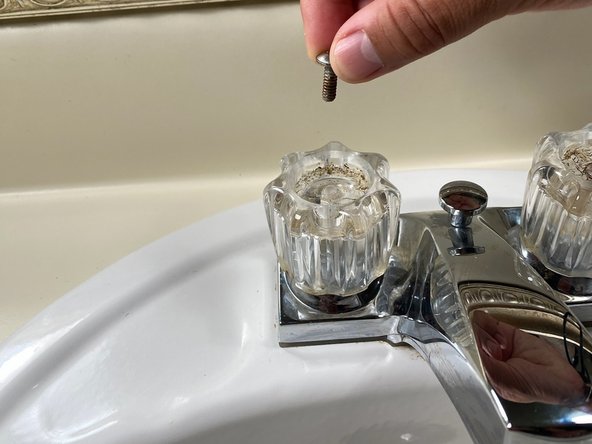
- Remove the 19.1 mm oval head screw by pulling it up from the knob.
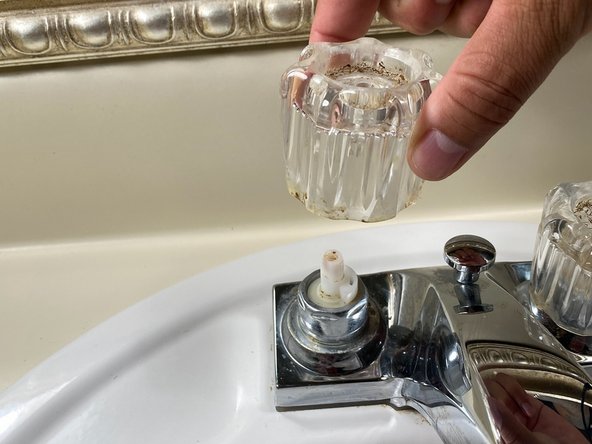
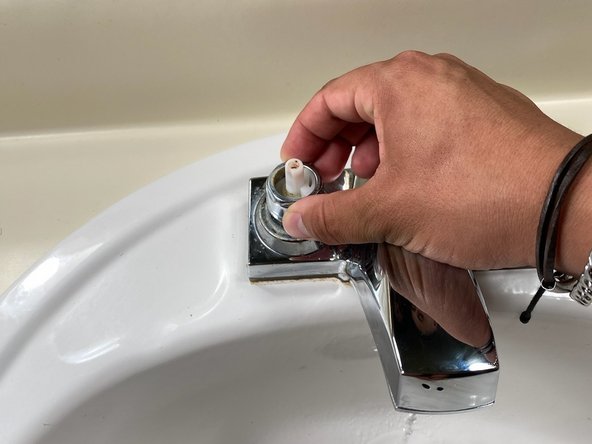
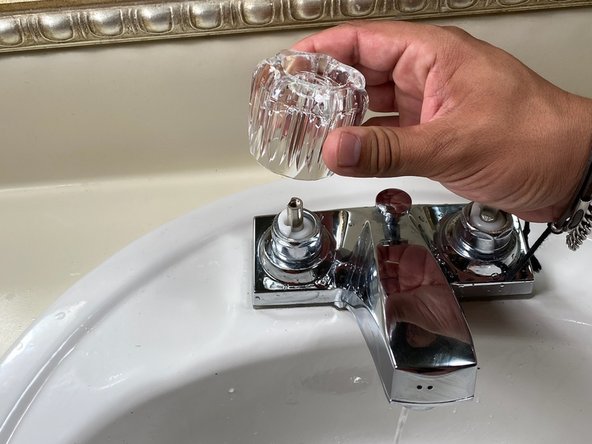
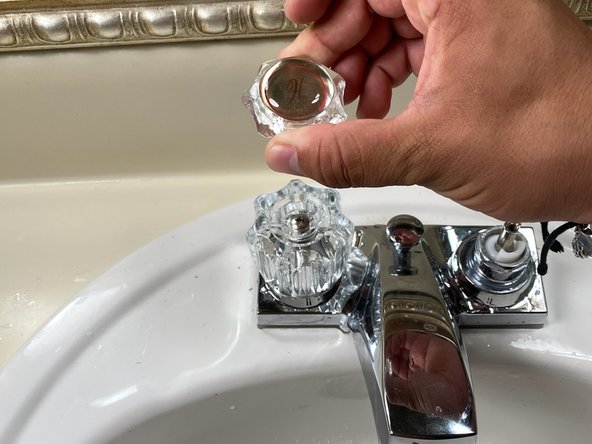
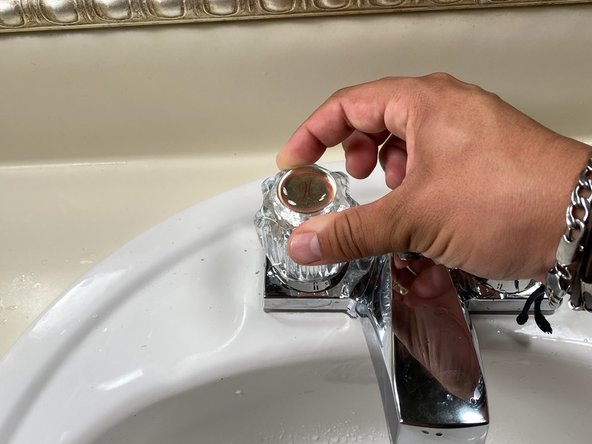
- Lift the knob from the faucet to remove it.
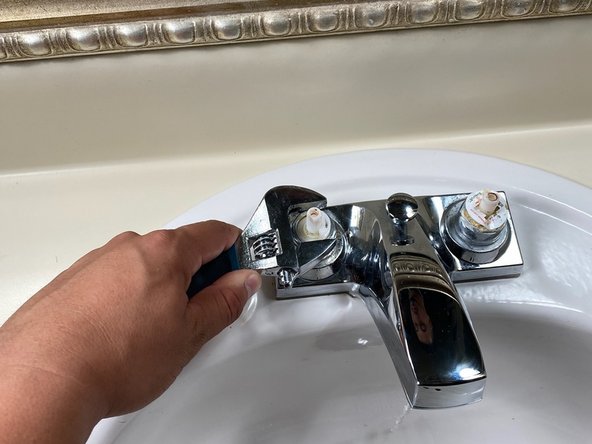
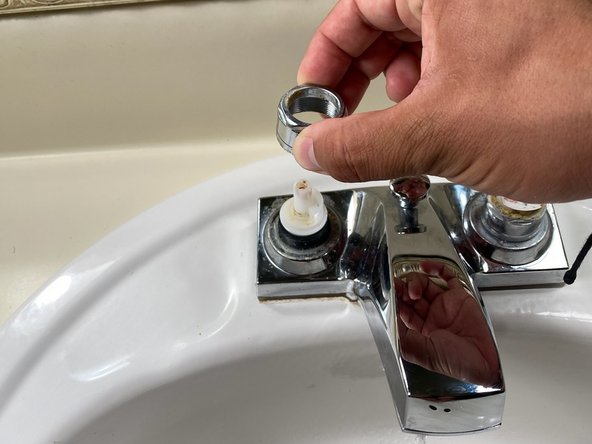
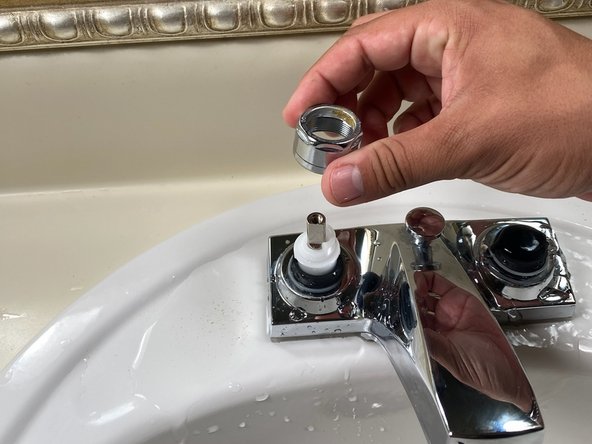
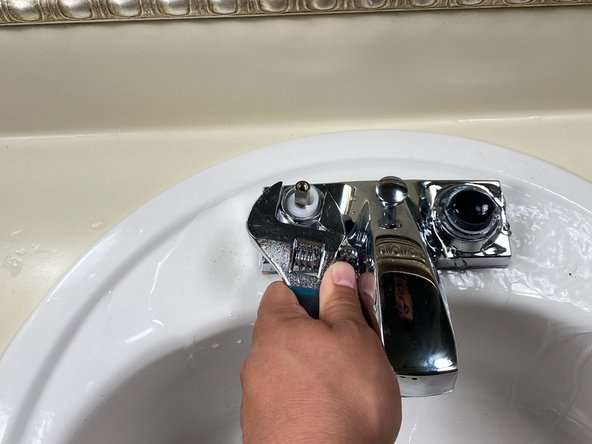
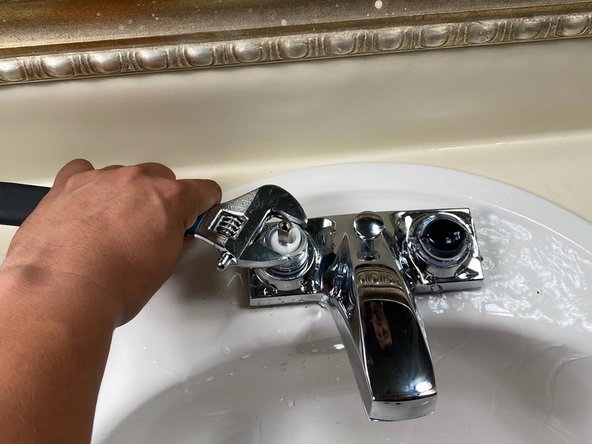
- Use an adjustable wrench to loosen the bonnet nut.
- Remove the bonnet nut from the faucet.
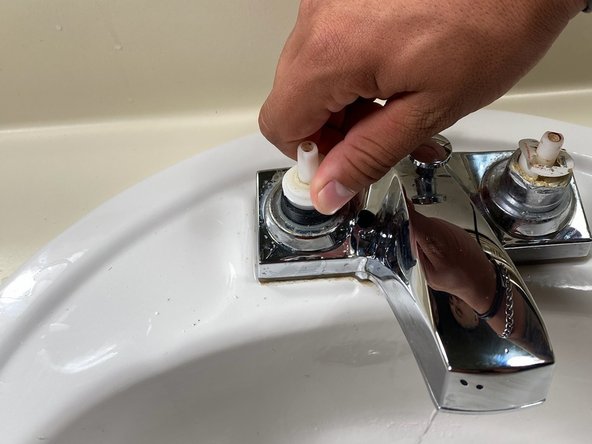
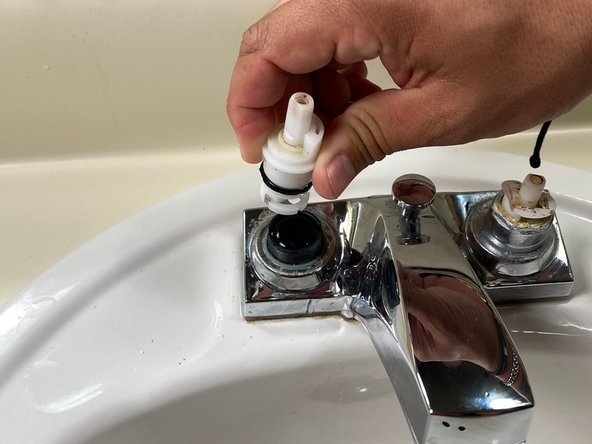
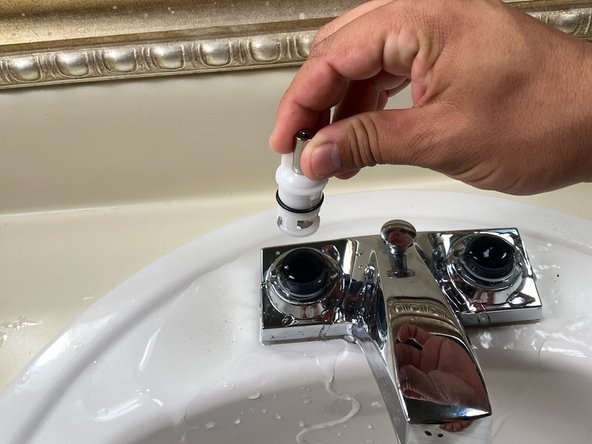
- Remove the escutcheon by pulling it out from the valve.
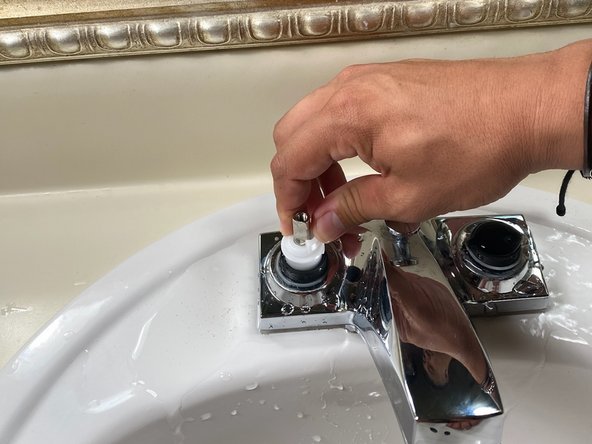
- Place the new escutcheon by pushing it down into the valve.
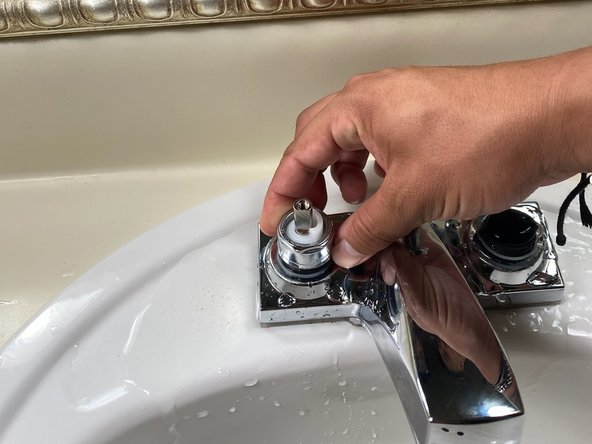
- Install the new bonnet nut by placing it over and around the escutcheon.
- Using an adjustable wrench, tighten the bonnet nut by twisting it to the right.
- Install the new knob by placing it on top and around the escutcheon and bonnet nut.
- Insert the 19.1 mm oval head screw into the top of the knob.
- Using the PZ1 starhead screwdriver, tighten the screw by twisting it to the right.
- Install the new hot-n-cold caps by snapping them onto the top of the knobs.
- Turn on the water supply by twisting the valves to the left.