Carrier Performance™ 17 2-Stage AC Unit Capacitor Replacement
ID: 165629
Description: If you need to replace the capacitor from your...
Steps:
- To ensure complete safety, turn off the power supply from the electrical panel or disconnect switch.
- Wait for a few minutes to allow any electrical charge to dissipate. This will ensure safety and prevent any potential hazards.
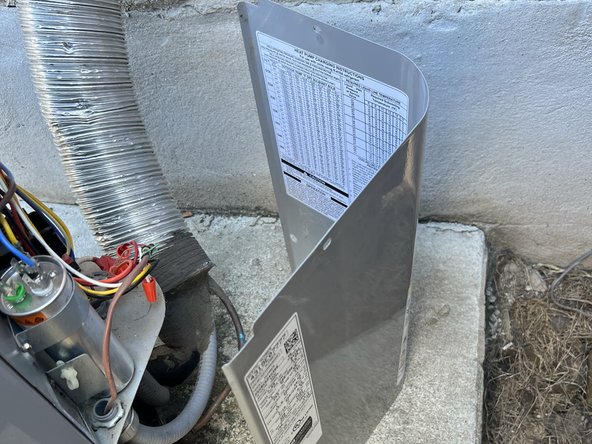
- Use an insulated socket wrench to remove the four 38 mm bolts that secure the access panel to your AC unit.
- Open the panel carefully.
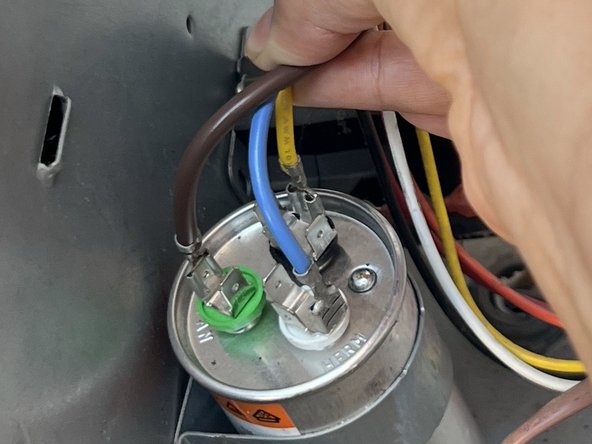
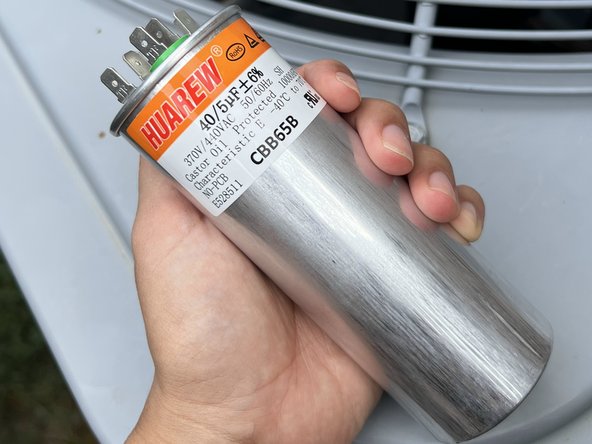
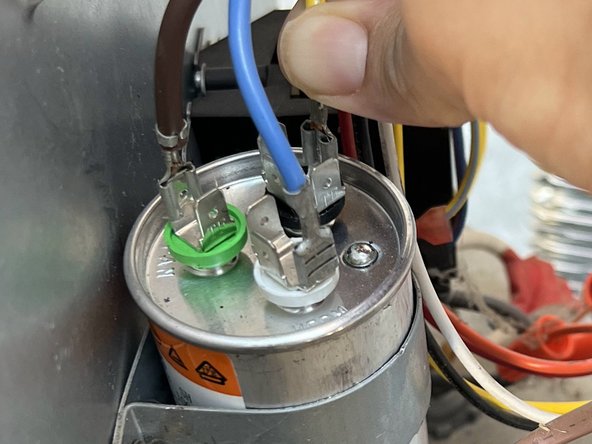
- Capacitors are usually cylindrical in shape and come in different sizes.
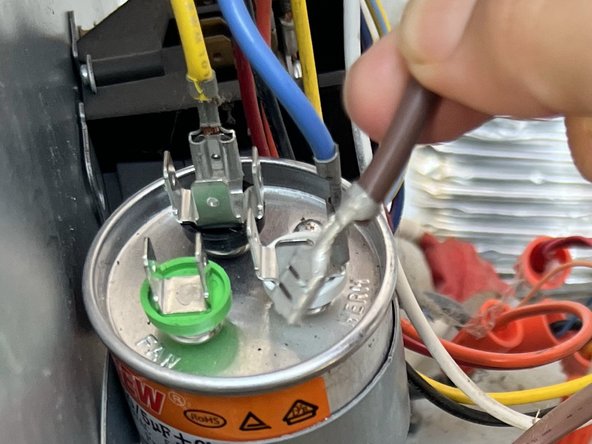
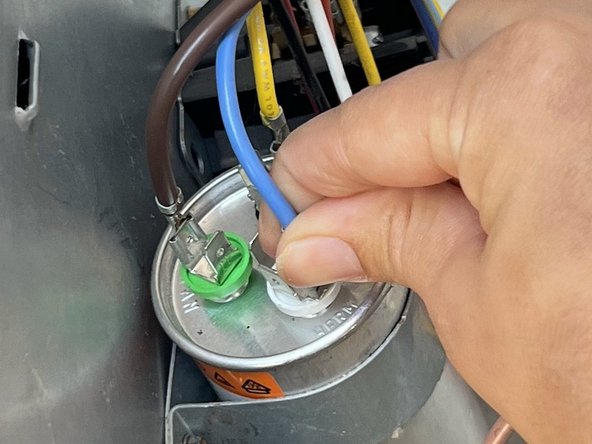
- It's a good idea to either take a photo or make a note of the wiring for future reference.
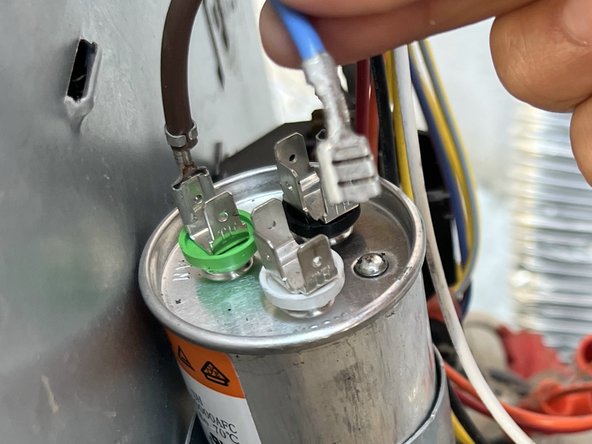
- To remove the old capacitor, carefully unscrew the mounting brackets and disconnect the wires.
- When you disconnect the wires, make sure to wear safety gloves.
- Make sure to take note of the exact location where each wire connects.
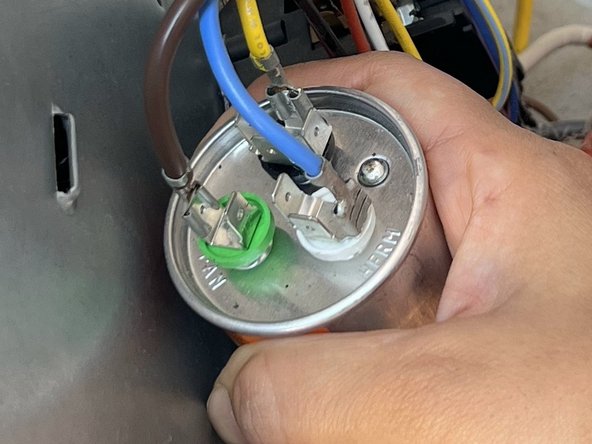
- To remove the old capacitor, first unscrew or unclamp it from its mount.
- If the capacitor is secured with screws, use a screwdriver to carefully remove them. If it's clamped in place, use an appropriate tool to unclamp it.
- Carefully note down the specifications of the old capacitor for the replacement.
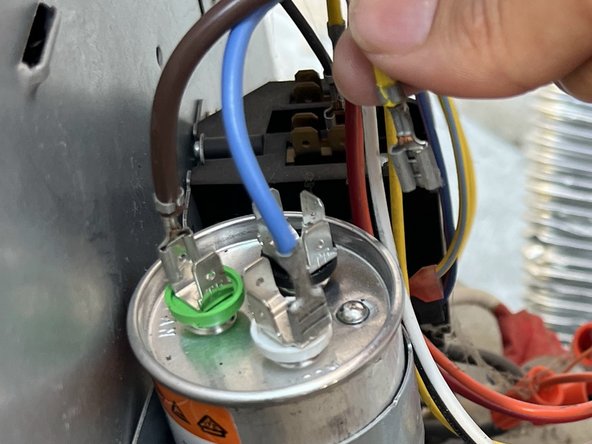
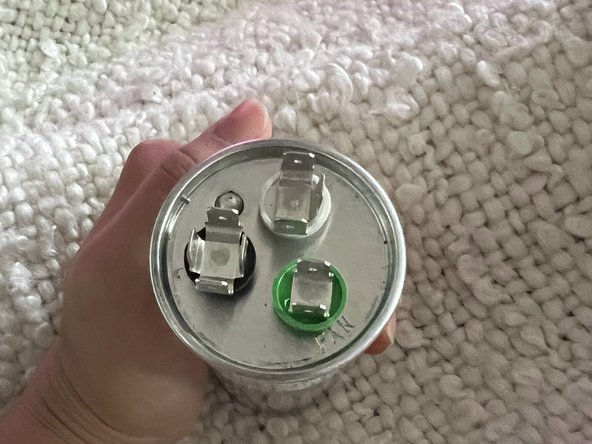
- Secure the new capacitor and make sure it is securely mounted or clamped in place.
- Carefully reconnect the wires to the corresponding terminals on the new capacitor.
- It is crucial to connect the wires correctly by matching the color-coded or labeled wires to the appropriate terminals on the capacitor.
- Wear gloves when handling the capacitor to prevent electrical shocks.
- Place the access panel cover securely back onto your AC unit.
- Use a socket wrench to insert and tighten the screws you removed earlier. Make sure the cover is firmly attached.
- Restore power to the AC unit by resetting the circuit breaker or following the unit's power control instructions.
- Ensure that the AC unit is functioning properly and the air is cool.