Eureka PowerSpeed NEU182B Belt and Roller Brush Replacement
ID: 165632
Description: Vacuum cleaners are essential household...
Steps:
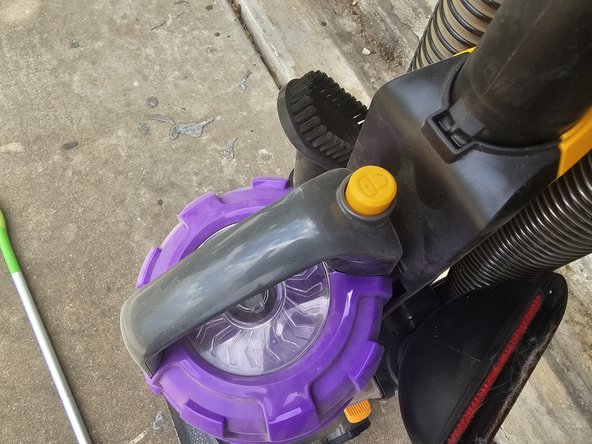
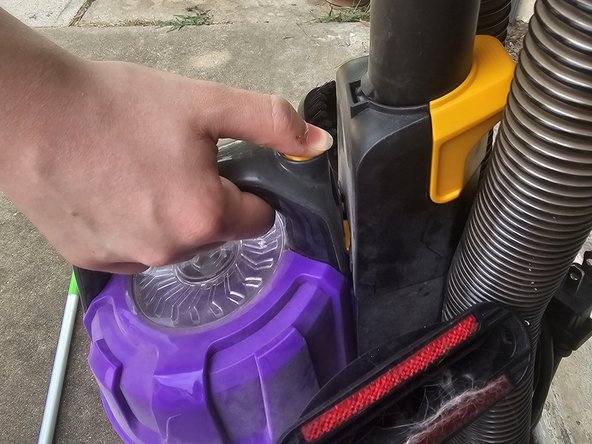
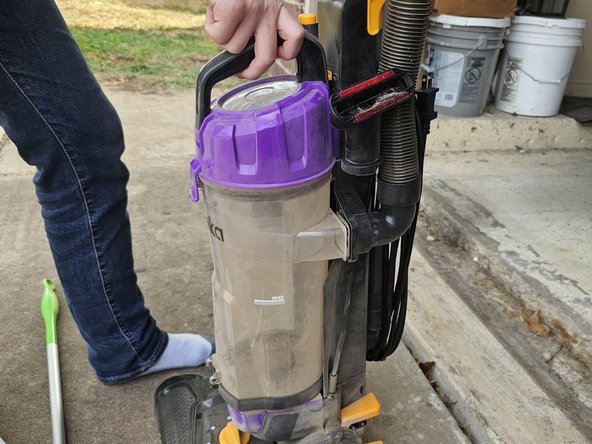
- Press the orange button on the top of the canister.
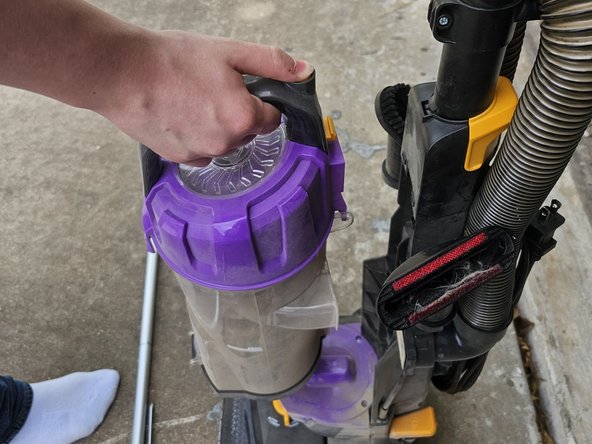
- Pull it towards you to release it from the vacuum.
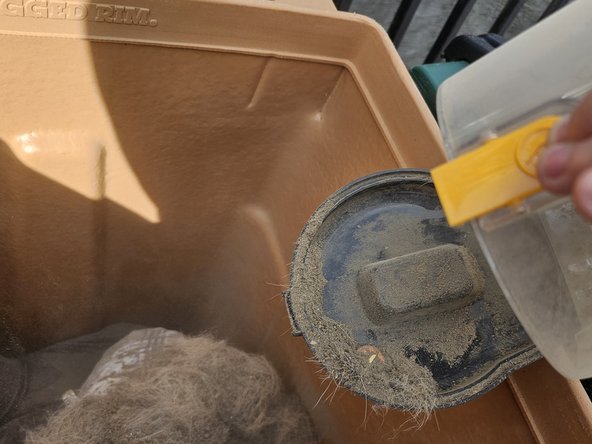
- To empty the dirt and debris from inside the canister, press the yellow tab to the side, near the bottom of the canister.
- The bottom will open, and the contents can be emptied into the trash.
- When finished, close the bottom.
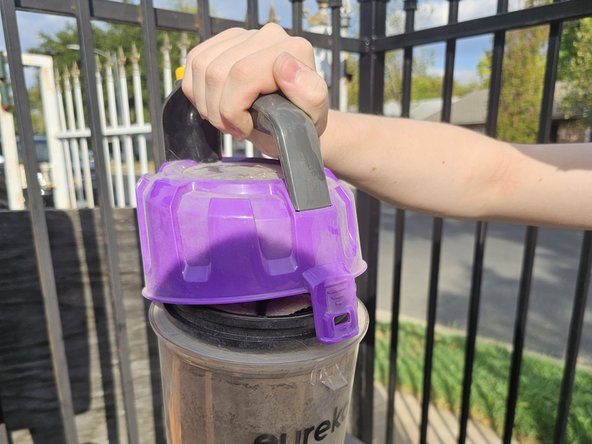
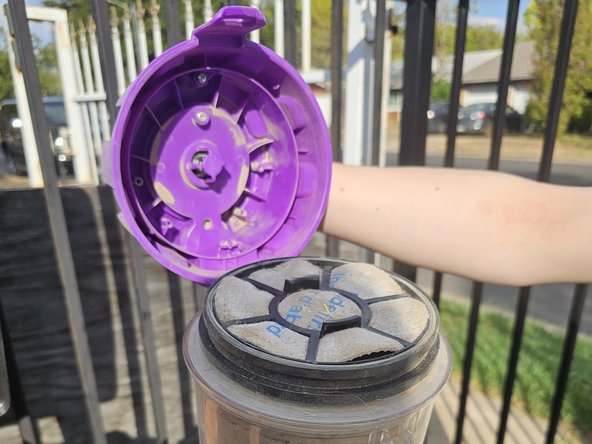
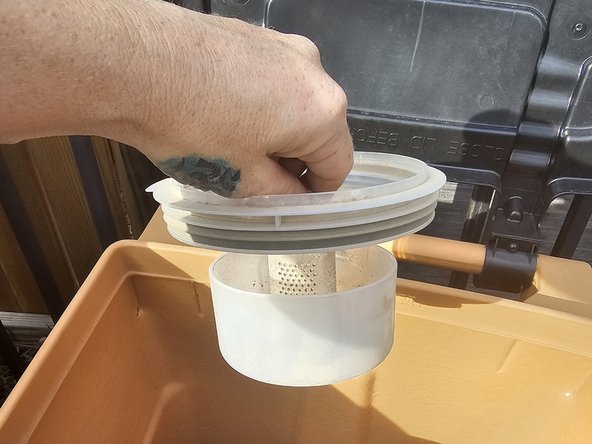
- The purple top of the canister is released by pulling the tab forward.
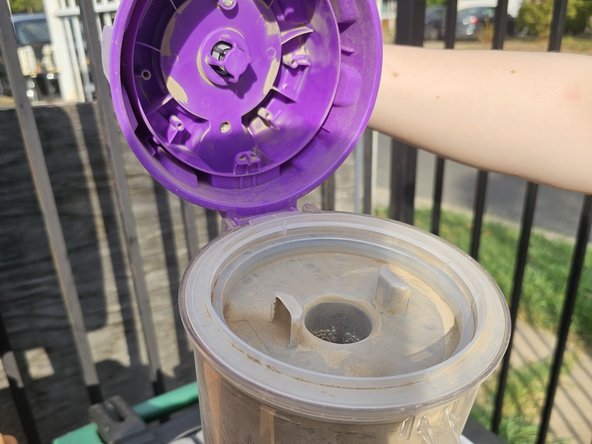
- Lift the lid to expose the filter.
- Lift the filter out and set aside.
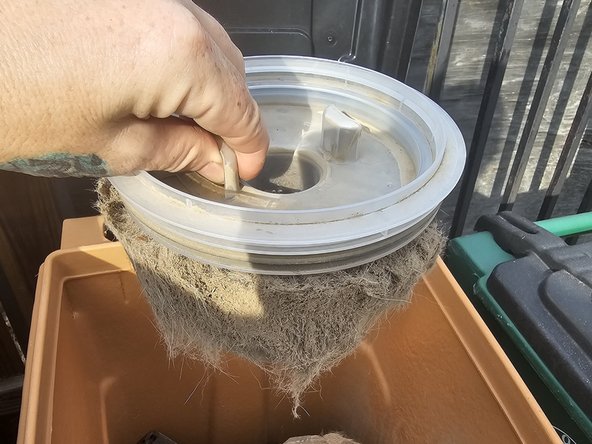
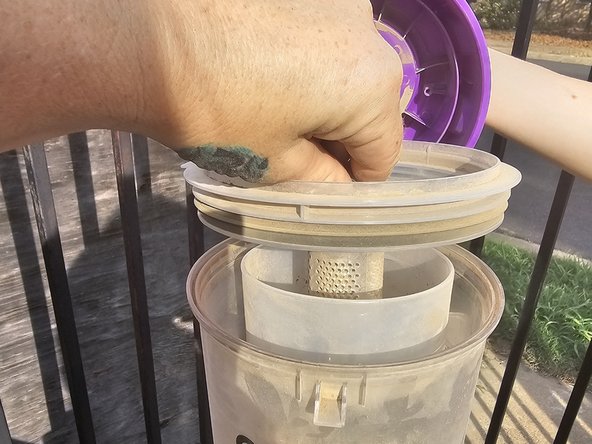
- Under the filter is the filter screen.
- Lift this out of the canister and remove the debris and dirt that has collected in the filter cup.
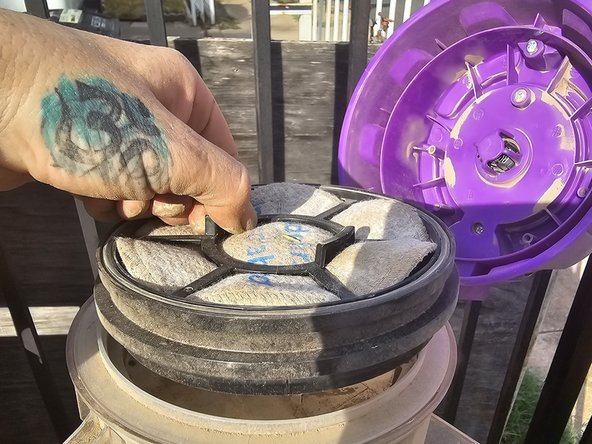
- To put the filter screen back into place. line the groove in the back of the canister to the slot in the back of the filter screen.
- Place the filter back on top of the filter screen and close the lid to the canister.
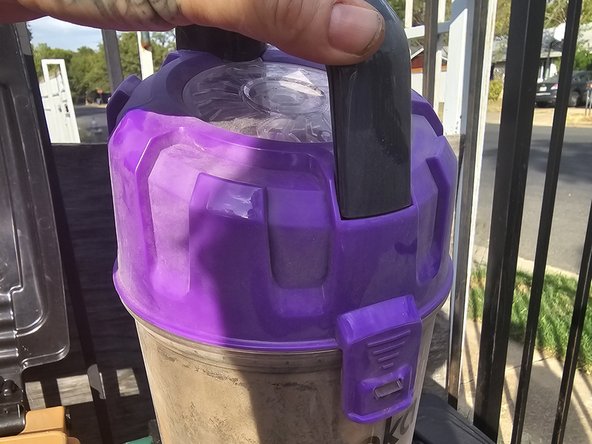
- Make sure the purple tab locks securely to the canister.
- Place the canister back onto the vacuum.
- Place the bottom onto the vacuum first, then tilt the top to lock it back into place.
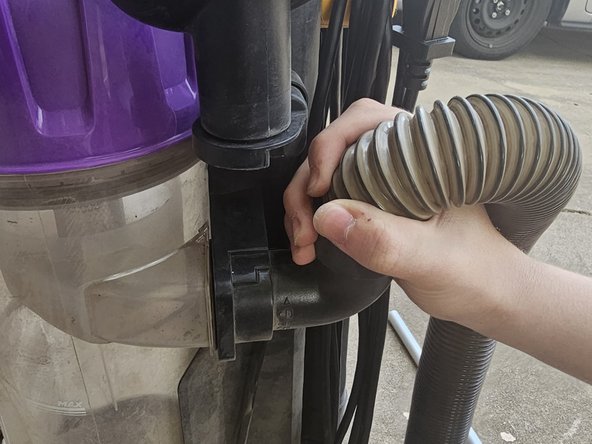
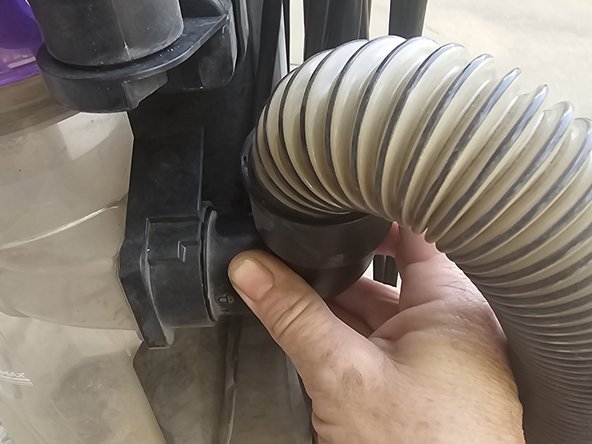
- To remove the hose, lift the end of the hose on the right-hand side of the vacuum near the base.
- The left-hand side of the hose is located near the top of the canister.
- To remove it, twist it towards you and pull away from the vacuum.
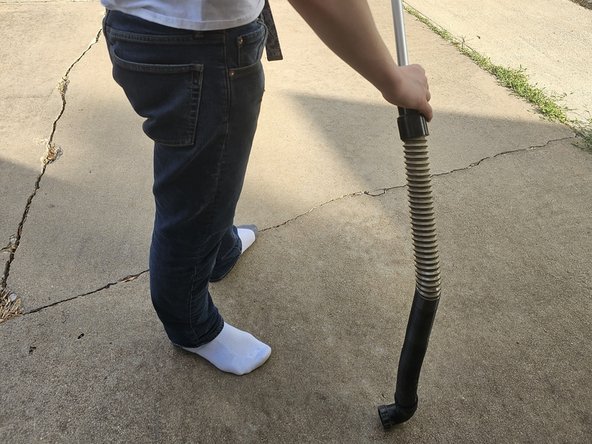
- Use the broom handle or something similar to thread into the hose and remove any blocked debris or trash.
- Use caution with things like broken glass.
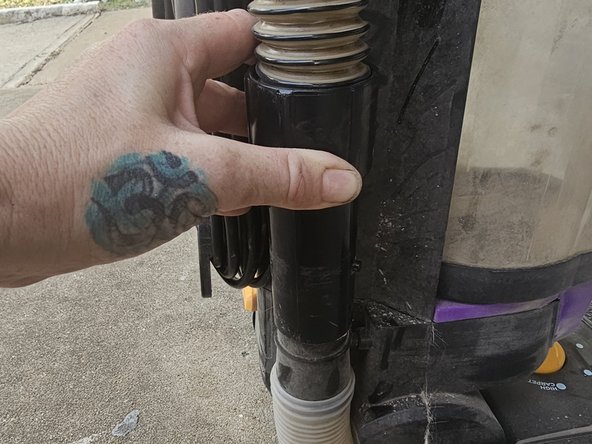
- To replace the hose with the vacuum, you can place the end of the left-hand side into its opening so that it is angled towards you and then twist towards the vacuum to secure it.
- The right-hand side slips back onto the opening at the base.
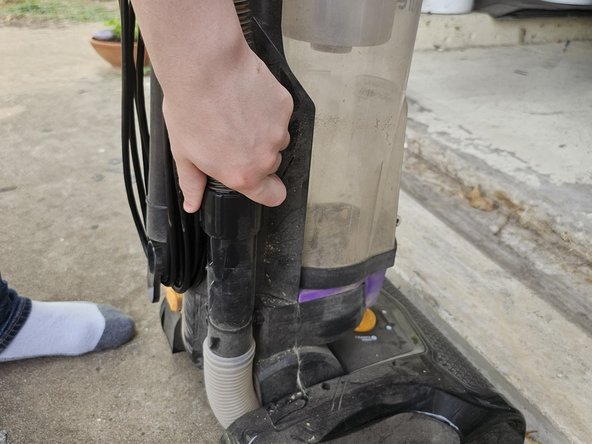
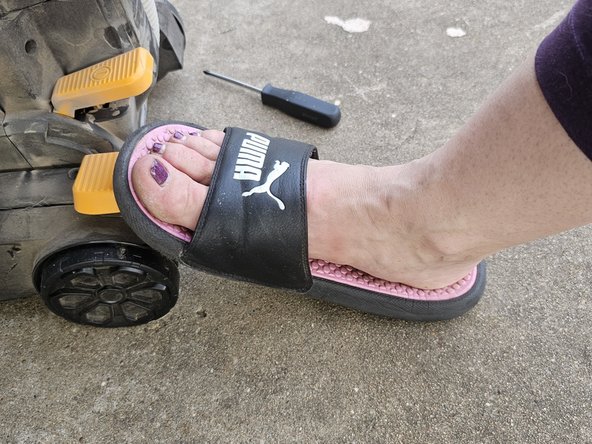
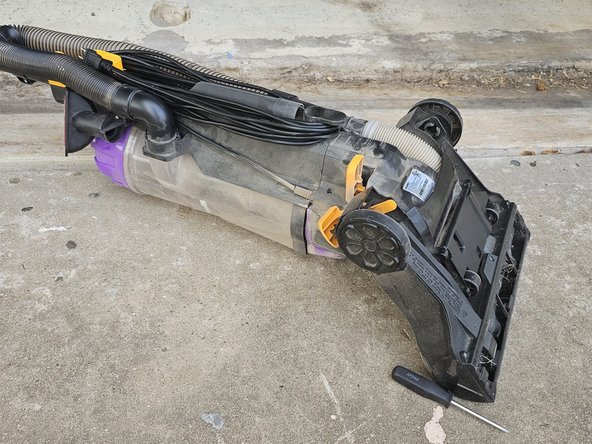
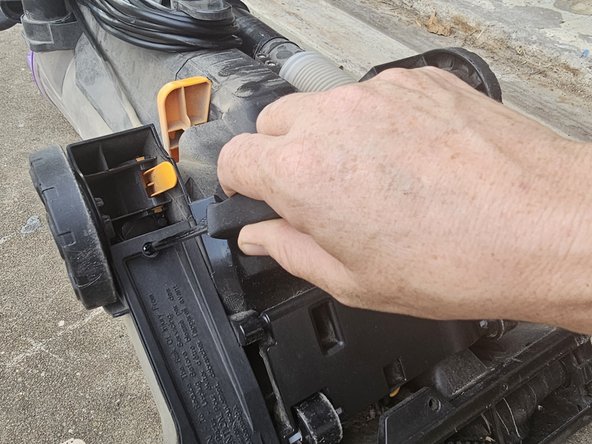
- Find the orange pedal at the bottom left-hand side of the vacuum.
- Press on it with your foot.
- This will unlock the vacuum from the base, allowing the vacuum to lay flat.
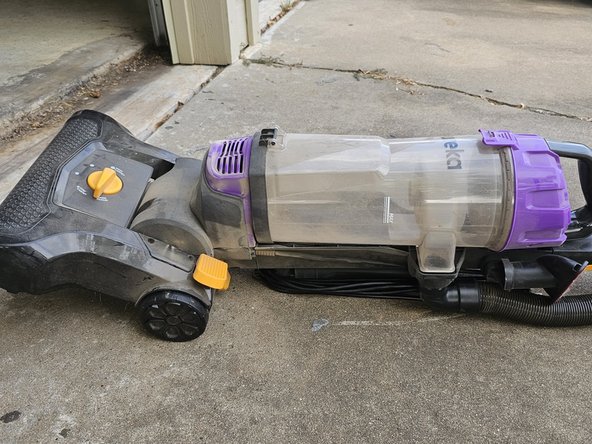
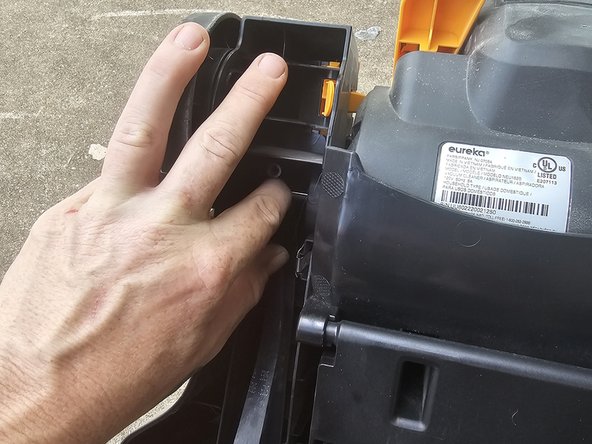
- Gently lay the vacuum face down so the underside of the base is exposed.
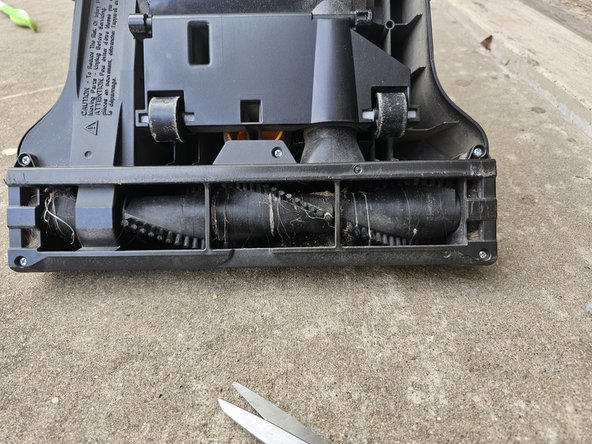
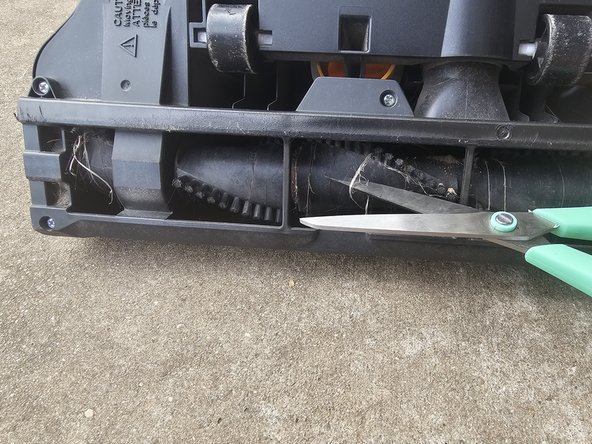
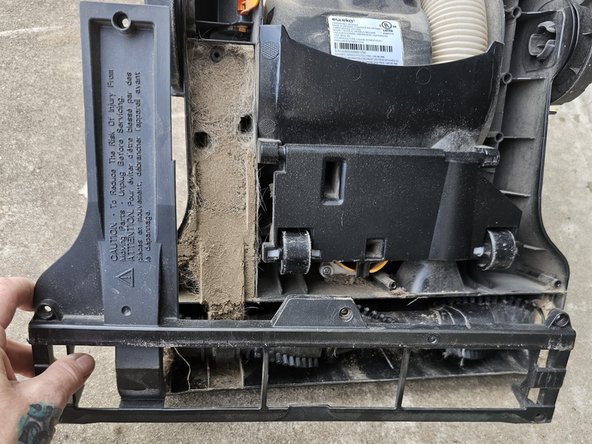
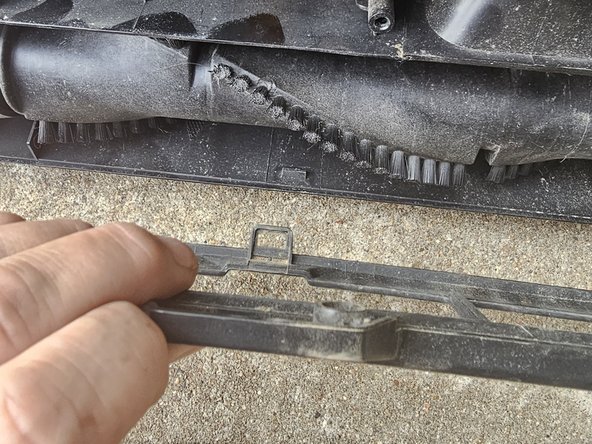
- Check the brush roll for debris and use the scissors to cut away heavy string or thread.
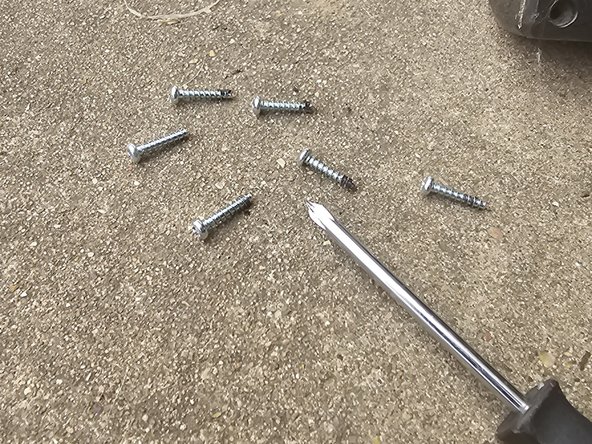
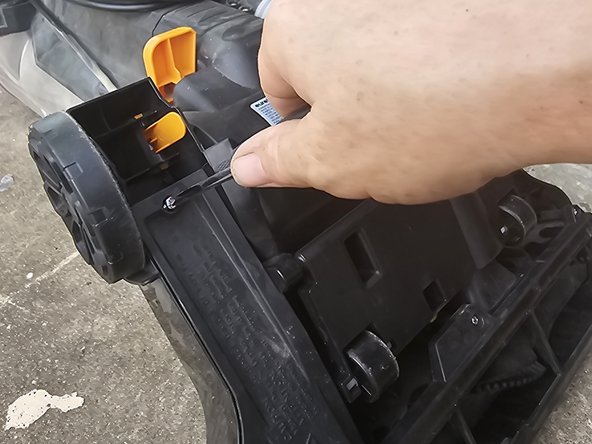
- Use the Phillips head screwdriver to remove the six screws that attach the plastic guard to the outside of the brush roll compartment.
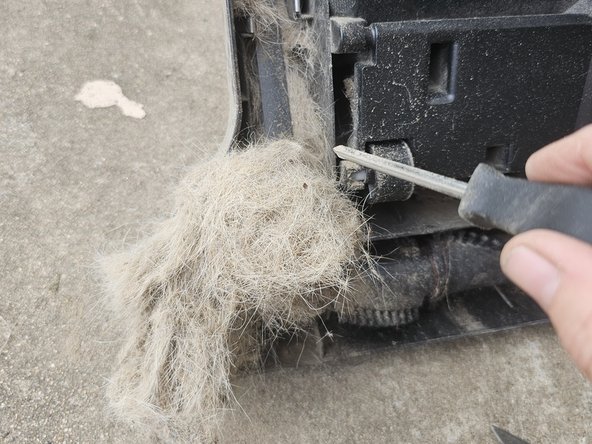
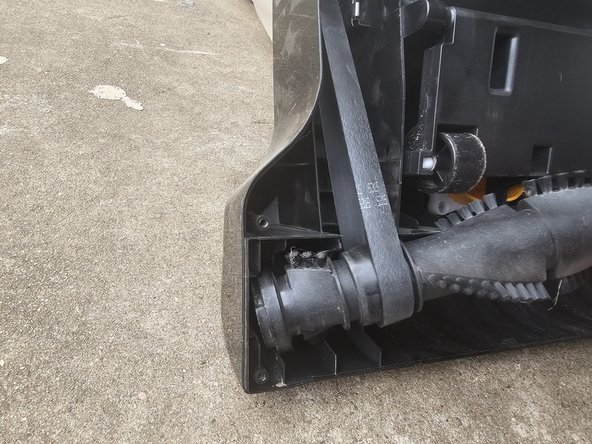
- Lift off the cover. Remove any of the debris that has collected around the belt.
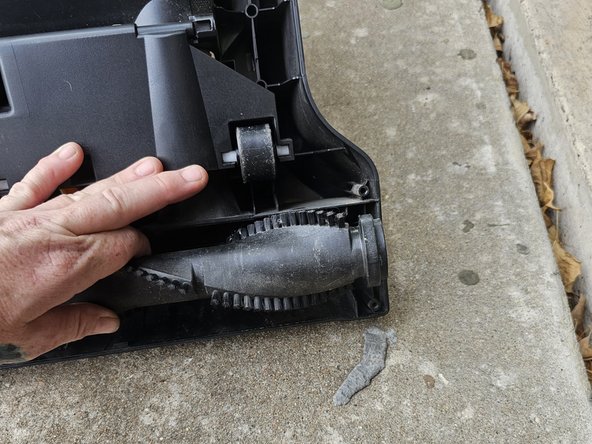
- The belt is located on the right of the belt.
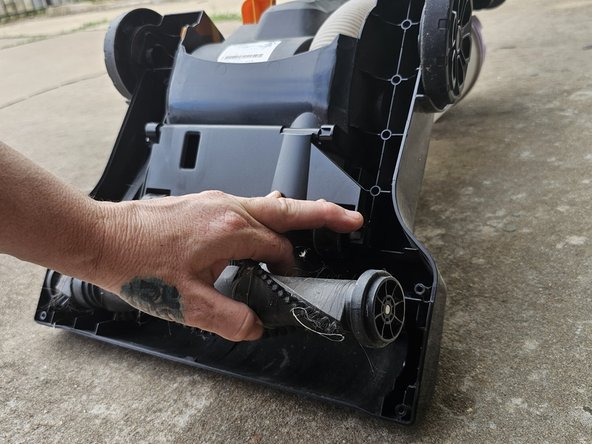
- To remove the brush roll, twist the right end towards you and lift it from the base.
- The left side of the brush roll with now lift out quickly and the belt will still be attached to it.
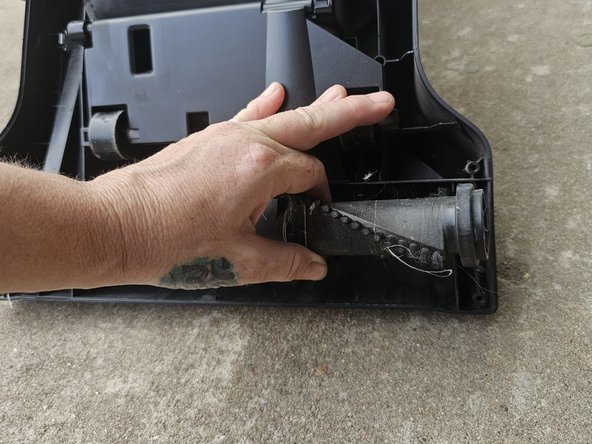
- To remove the belt, lift it off the silver peg at the top of the base on the left-hand side.
- The belt can be easily slipped off the end of the brush roll.
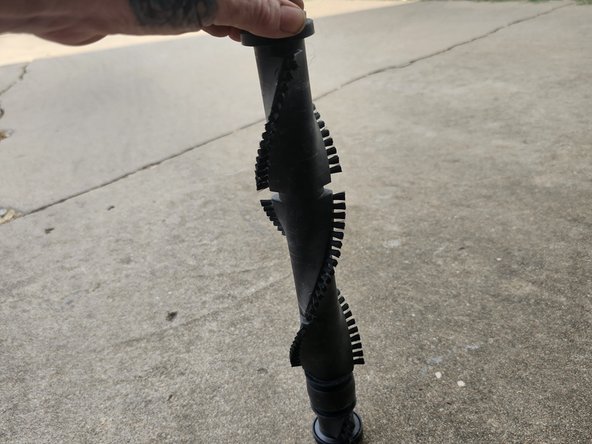
- Now that the brush roll and the belt have been removed, any additional debris, dirt, and hair can be easily removed.
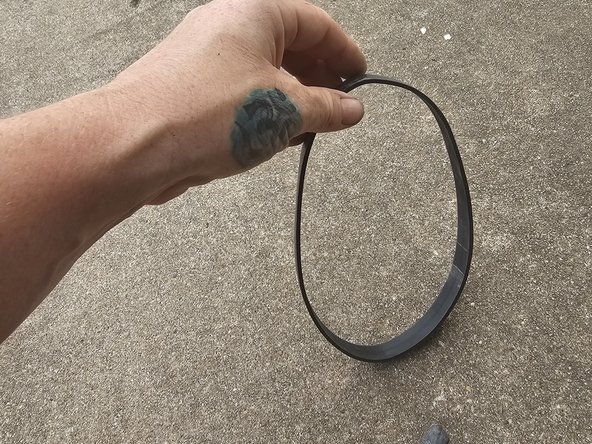
- You are now ready to install the new brush roll and belt to the vacuum.
- Have both out and unpackaged.
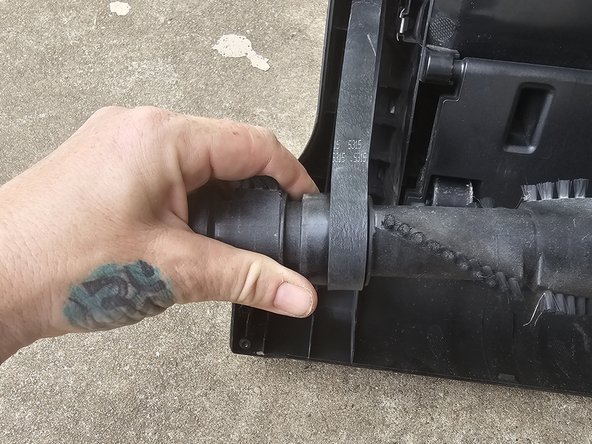
- The belt is the first to be installed.
- Take one end of the belt and slip it onto the silver peg at the top, left-hand side of the base.
- The bottom end of the belt will be placed onto the new brush roll.
- Pay attention to which end of the brush roll has the belt.
- Make sure it is the end that has the open groove without bristles.
- You can pull down to create tension in the belt and place the left end of the brush roll into its slot first.
- With the left end of the brush roll secured into place, insert the right-hand side into its slot.
- You can test whether both ends are correct by gently spinning the brush with your hand.
- If it turns easily, the brush head has been installed correctly. If not, reverse the steps and try again.
- Find the tab that is at the bottom center of the base plate.
- Align it with the tab located at the bottom center of the base and push the base into place.
- Pay attention to the holes for the screw and ensure everything aligns.
- Insert each screw back into place, and tighten each one using the Phillips head screwdriver.
- Once finished, you can stand your vacuum back up, plug it in, and test it out!
- You should have a clog-free, dust-free, and well-working vacuum.