How to Mend Clothing with a Darning Loom
ID: 165656
Description: Have ever found yourself with a piece of...
Steps:
- Gather all your materials.
- A needle threader and a silicon grip thimble are optional tools you may use, but don't need in order to complete the project.
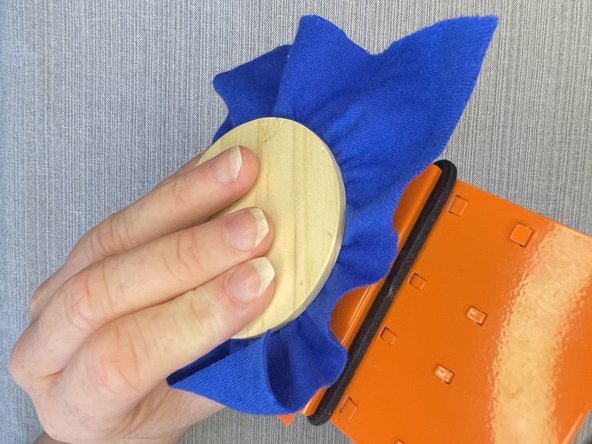
- Attach the fabric to the wooden part of the loom using a rubber band or other elastic band.
- Affix the top part of the loom in the ridge of the wooden part, centering it with the hole.
- Secure the top part of the loom to the bottom using another elastic band.
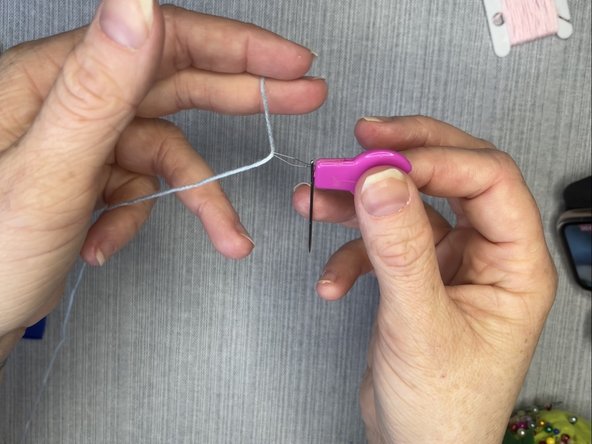
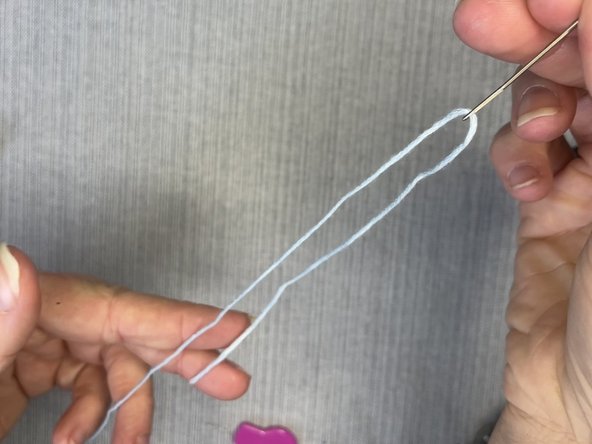
- Cut a piece of embroidery floss or thread to a length at least 10 times the width of the hole.
- Thread the needle with the floss or thread.
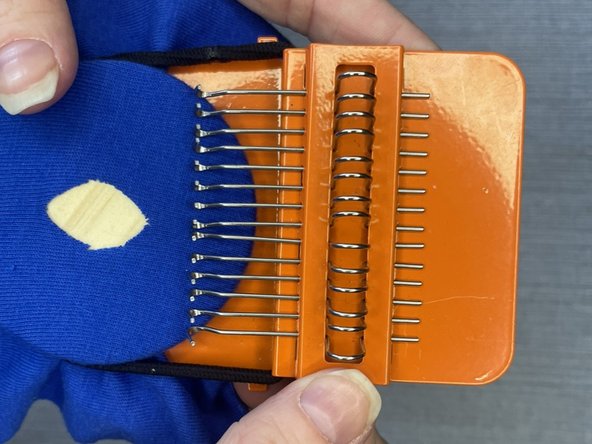
- Ensure that the hooks of the loom are facing upwards.
- This will make it easier to loop the thread around them.
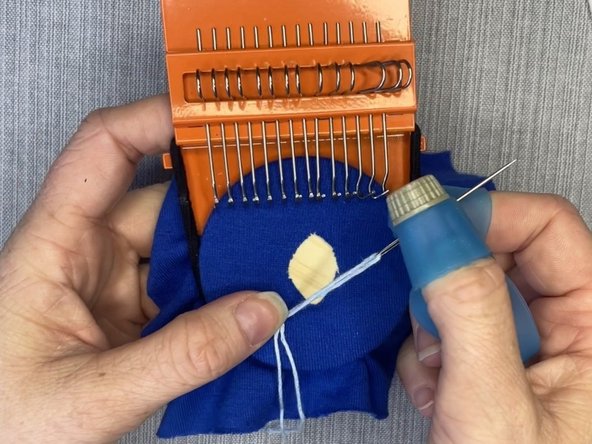
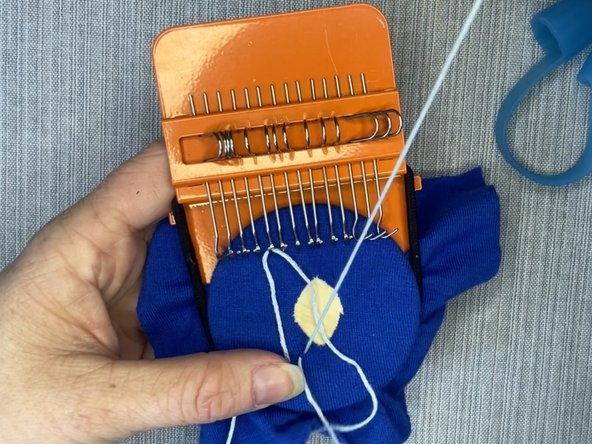
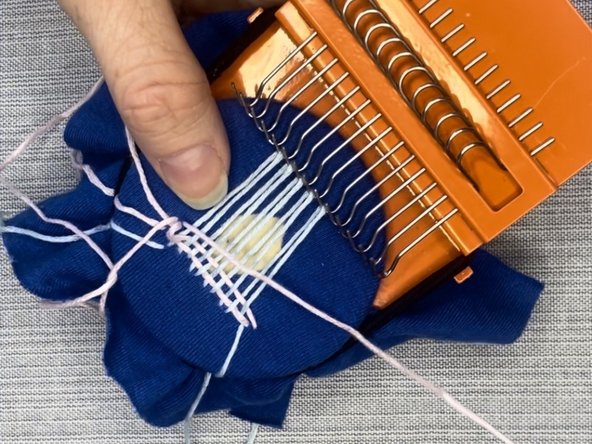
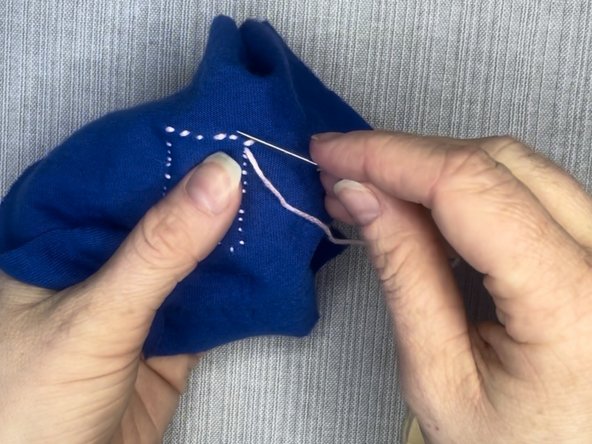
- Make a stitch that is just below and to the left of the left edge of the hole.
- Pull the thread through the stitch.
- Leaving a tail of about two inches, pull the thread around the hook that is directly above the stitch you just made.
- Make another stitch next to the first stitch with the thread remaining around the first hook and pull the thread through.
- This will create a loop of thread around the first hook.
- Move the thread around the next hook to create another loop.
- Repeat this process until the loops of threads suspended on the hooks cover the entire hole.
- After your last stitch, cut off extra thread leaving at least two inches.
- These will be secured later.
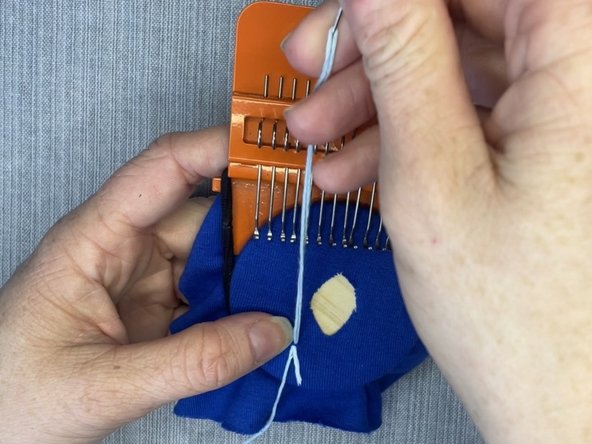
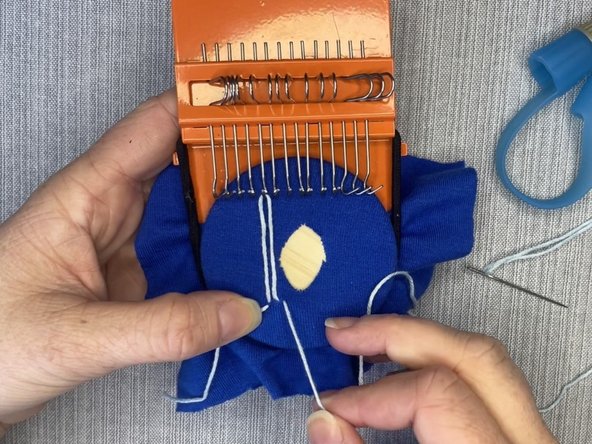
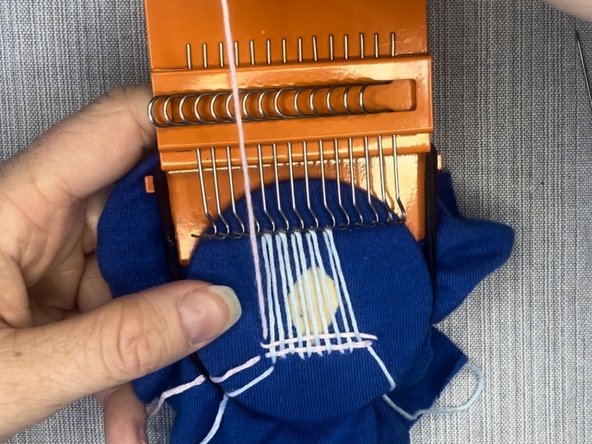
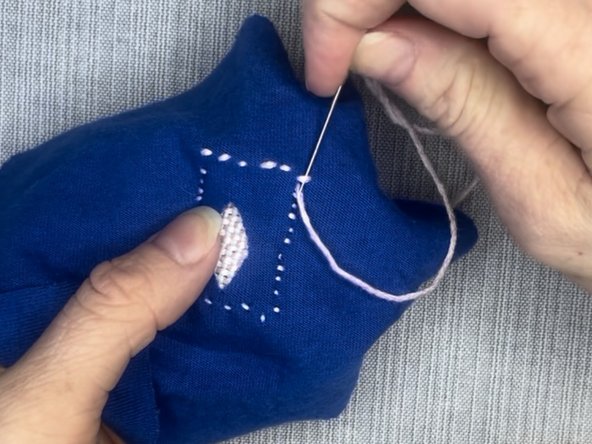
- Thread the needle with the second embroidery floss or thread. Ensure the length of this thread is long enough to cross the width of the hole at least 15-20 times.
- If the hole is larger in length, you may need to cut the thread longer.
- Make a stitch just to the left of the first stitch you made with the first thread used.
- Pull the thread through your stitch leaving about two inches of a tail.
- Thread the needle through the first thread in the space between the two strands separated by the hook.
- Move the needle in the same fashion through each two strands for each hook.
- Pull the thread all the way through all strands.
- Pull the thread to the bottom of the hole as close to the first round of stitches as possible.
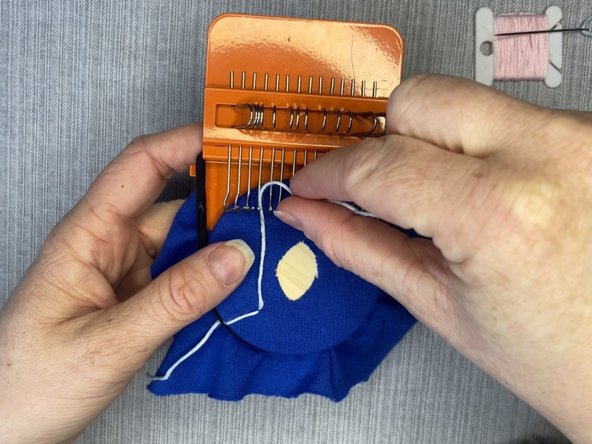
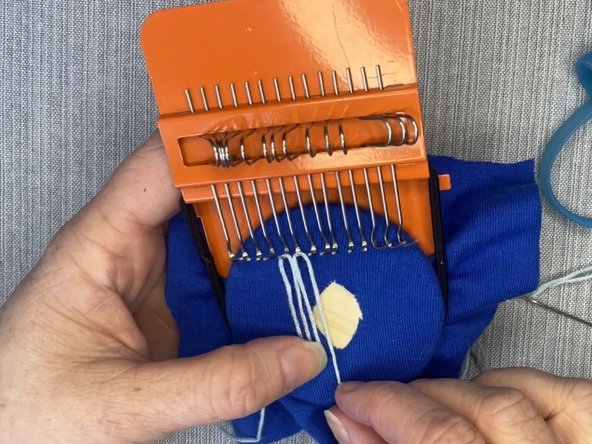
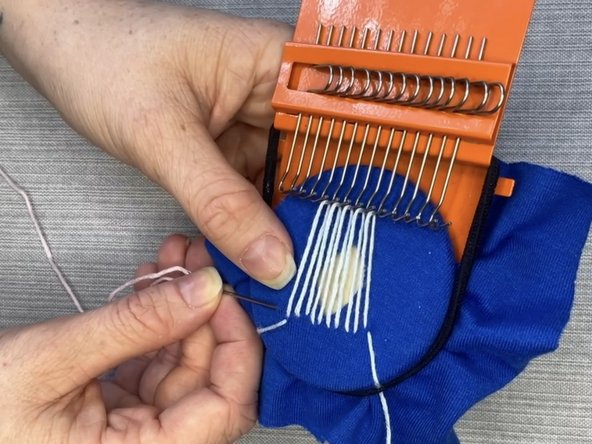
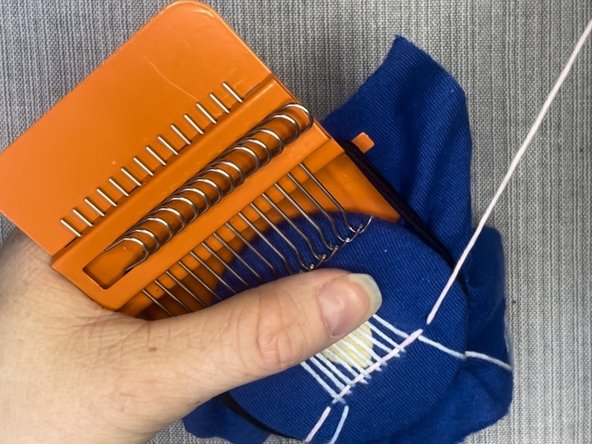
- Make a stitch just to the left of the last stitch of the thread that is hanging on the hooks of the loom.
- Pull the thread all the way through the stitch.
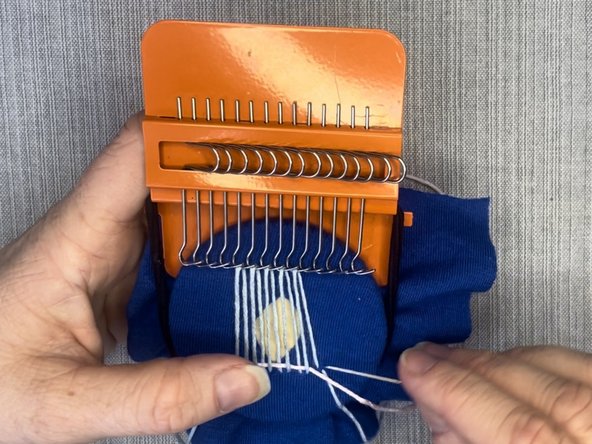
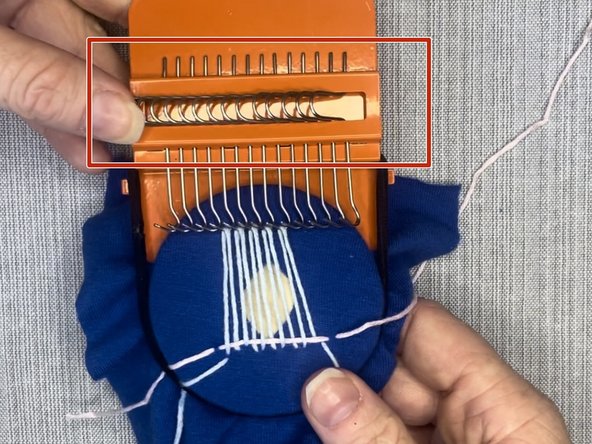
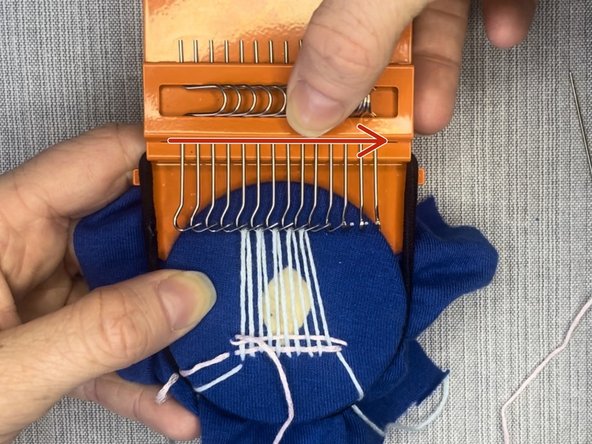
- Using the metal parts of the hooks at the top of the loom, move all hooks to the left side before beginning to move the needle through the threads to the left.
- Move your needle in between the strands suspended on the hooks.
- Pull the thread down as close as you can to the original line of stitches.
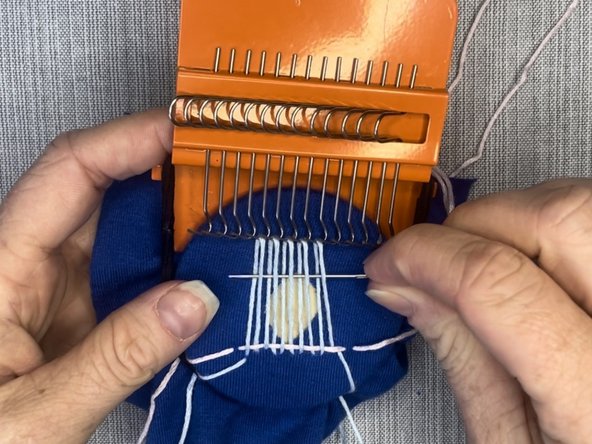
- Make a stitch just above the first stitch you made with this thread.
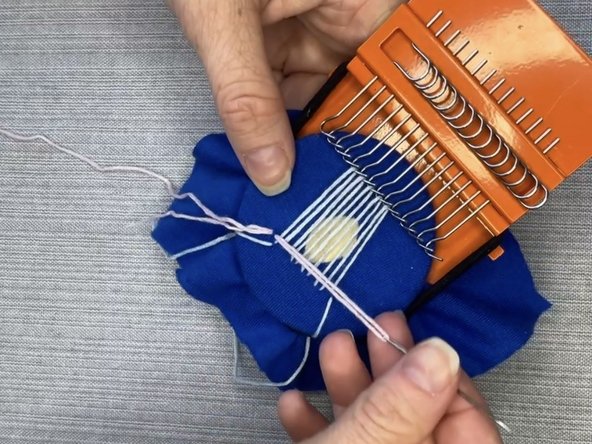
- Using the metal parts of the hooks at the top of the loom, move all hooks to the right side before beginning to move the needle through the threads to the right.
- Repeat these steps, moving the metal hooks every time in between stitching and moving the needle and thread through the vertical strands.
- You can use the needle itself to push the horizontal threads as close to each other as possible.
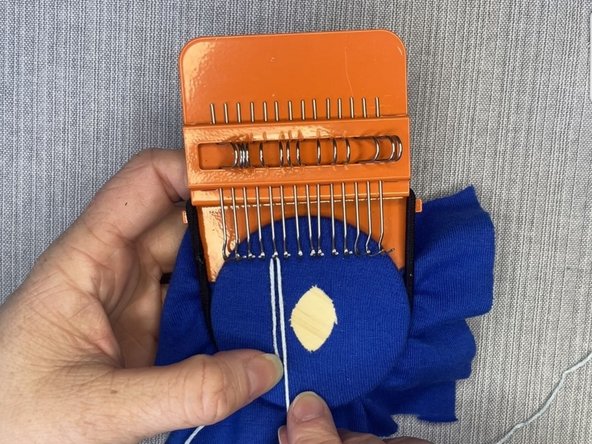
- Continue this process until the horizontal threads cover the hole and reach the top of the loom by the hooks.
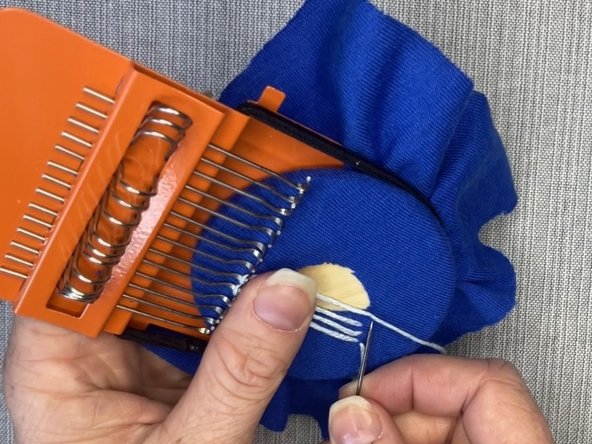
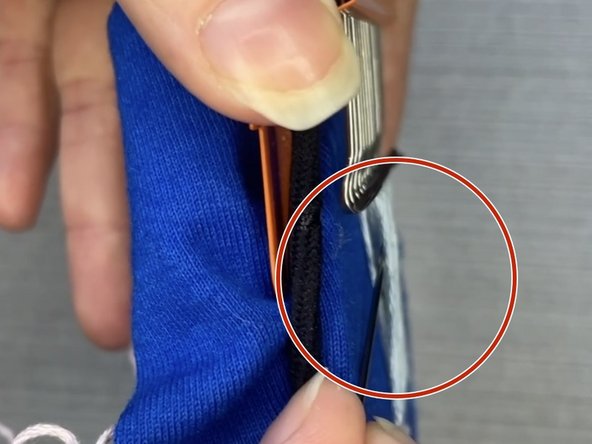
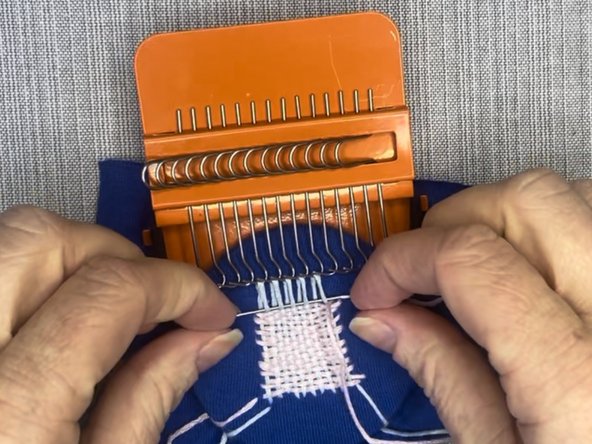
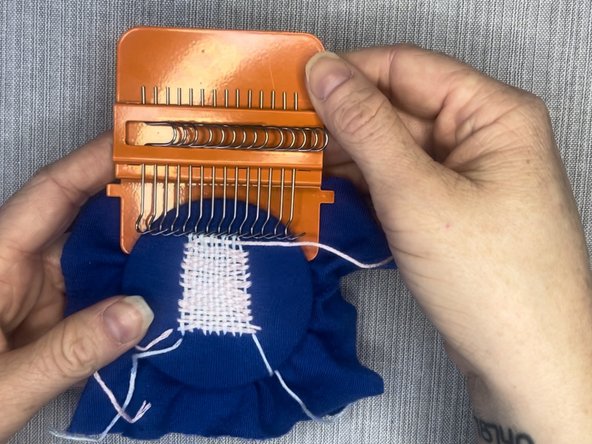
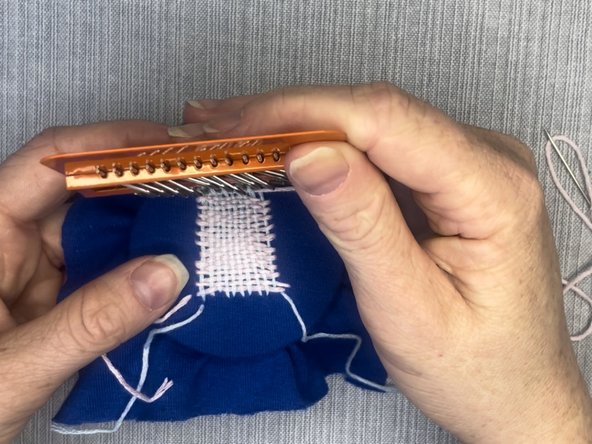
- Carefully remove the hooks from the loops at the top of the stitches.
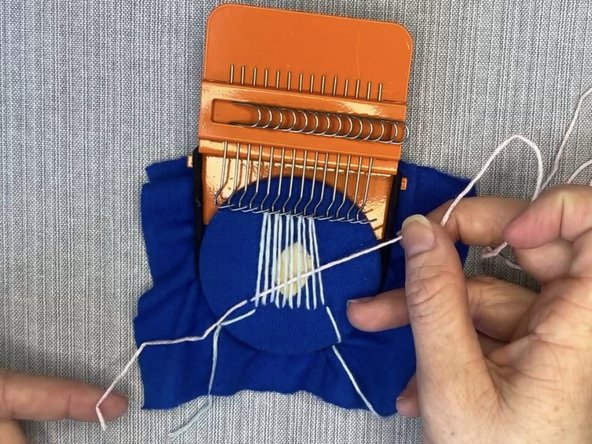
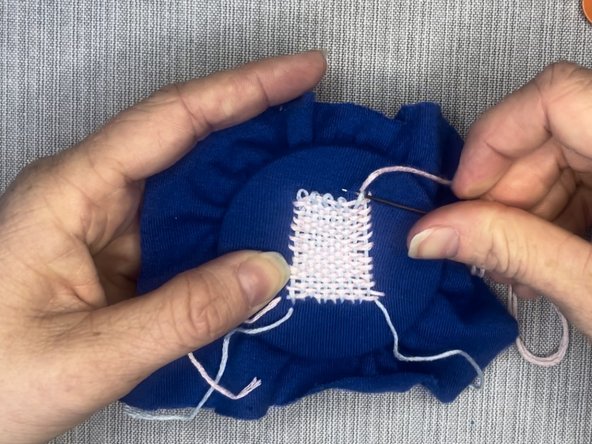
- Carefully stitch each loop to the fabric.
- After stitching each loop at the top of the vertical strands to the fabric, bring the needle through to the other side of the fabric to secure it.
- After the last stitch, secure the thread to the fabric.
- Stitch the thread to the fabric securely before trimming the excess thread.
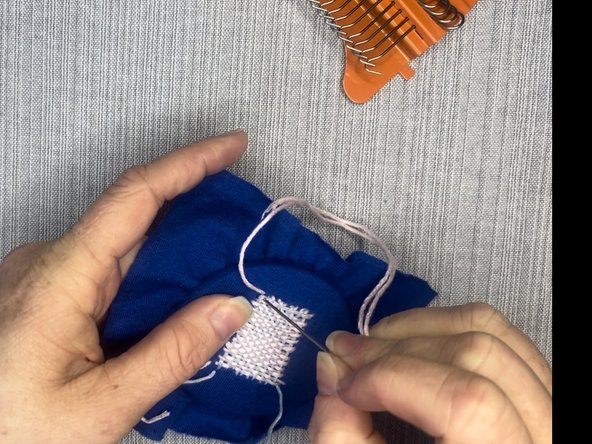
- Thread the strands of thread remaining at the end of the patch through to the back of the fabric and stitch them to the fabric securely.
- All the threads on the back side of the fabric should be securely stitched to the fabric.
- The hole should be entirely covered by the woven patch.