How to Discharge the Capacitor in your Polaroid I-2
ID: 165672
Description: Use this guide to discharge the flash's...
Steps:
- There are two sets of points to apply a capacitor discharge tool: one on the main board and another directly on the capacitor.
- This guide will demonstrate how to apply a capacitor discharge tool to the main board.
- Applying a capacitor discharge tool directly to the capacitor is a similar procedure but requires removing more insulating gel.
- Flip the camera onto its left edge so you can access the main board from above.
- The terminating end of the yellow capacitor wire is insulated with gel.
- The terminating end of the black capacitor wire is hidden behind the board, but it's not insulated with gel.
- Use a spudger to scrape the gel off the terminating end of the yellow wire.
- You don't need to remove all of the gel, just enough to let a capacitor discharge tool lead touch the solder joint.
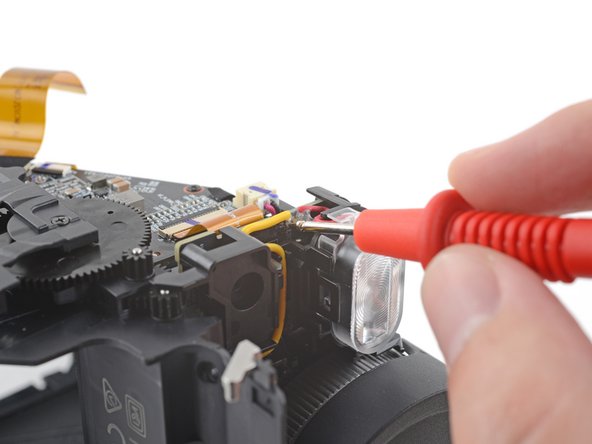
- Touch the terminating end of the yellow wire with the red positive lead.
- You may have to apply some extra force to puncture any remaining gel. If you aren't getting any feedback from your tool, check if this lead is puncturing the gel.
- While applying the positive lead, touch the terminating end of the black wire with the black negative lead.
- Depending on your discharge tool, you may need to hold the leads in this position for a few minutes.
- Follow the instructions included with your tool to determine when your capacitor is fully discharged.