Lenovo IdeaPad 330S-14IKB RAM Replacement
ID: 166963
Description: RAM is a part that does not typically fail,...
Steps:
- Begin by placing your laptop upside down so that you can see the labels on the back.
- Remove the 10 screws from the bottom of the laptop.
- (Silver, 5.8mm Phillips #0)
- Safely store these screws in a secure location, like a magnet pad, to prevent them from getting lost.
- Carefully remove the back panel from the laptop.
- Be sure to proceed slowly and use wedges to avoid damaging the panel.
- Locate the black panel and remove these three black screws.
- (Black, 5.83mm Phillips #0)
- To access your RAM, remove the black panel you just removed the screws from.
- Remember to keep these screws separate and do not mix them with others.
- Your RAM will be a blue rectangle, positioned almost in the center of the device.
- To remove your RAM, gently pull back on the metal clips holding it in place.
- Carefully slide the RAM out of the slot.
- Be gentle to avoid damaging the slot
- Now, take your new RAM module and locate the notch on it.
- Align the notch on your replacement RAM as shown in the previous step with the corresponding slot on the device's RAM slot.
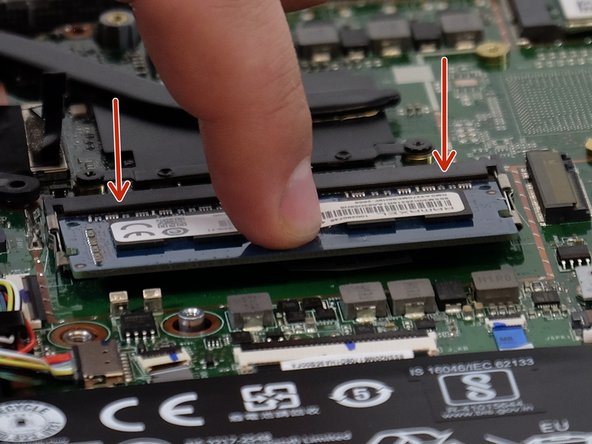
- Gently insert the RAM module.
- Once it's as far in as it can go, lower it slowly until the metal clips lock it into place.
- You should hear an audible click when it's securely in place.