Elero JA06 Disassembly
ID: 167003
Description: This guide is intended to show how to...
Steps:
- Remove this spring washer. Warning: this will likely only be possible with brute force, and the spring washer will be destroyed in the process. Only do this if you know where you can get a new spring washer.
- On the other side of the motor, a circlip is attached; this does not need to be removed.
- Now, release the two screws at the orange marking. These are Torx screws with a pin in the middle; a regular Torx screwdriver will not fit here. A special tool is required.
- Release the gray cable grommet at the top right of the image using combination pliers or water pump pliers.
- Cut the label at the indicated spot so that you can release the cap later.
- The cap can now be unplugged. Be careful not to pull too hard, as the cable feed-through fits relatively tightly.
- If you hold the cables inside (red marker) while the cap is open, you can pull the cap further off to have more freedom for the following steps.
- There is a plastic sleeve on the axle (orange marker); this can simply be pulled off.
- Warning it is now potentially dangerous that you irreversibly destroy the motor.
- Release the three screws marked in red. However, do not unplug the housing yet.
- The gear housing has a cover; the edge of the cover is marked in red. Do not open this cover.
- The gear housing can be unplugged as shown in the image. However, because of the cables, only pull it a few centimeters.
- The gear cover may come off easily, which will cause the individual parts to fall out, and I doubt that anyone can reassemble it. If you can describe how to do so, please let us know and improve the guide.
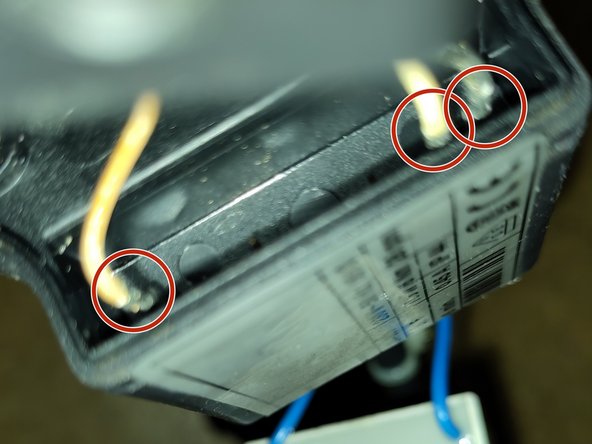
- The cables can be unplugged using a pair of small needle nose pliers.
- The gearbox housing can now be completely removed.
- Release the four screws to be able to remove the rotor.