ring Indoor Cam Camera Replacement
ID: 167005
Description: Is your ring Indoor Cam's camera...
Steps:
- Place the cam with the base facing towards you.
- Loosen the 21.6 mm silver screw using a Phillips #1 screwdriver.
- Remove the base from the rest of the camera.
- Place the cam with the top facing toward you.
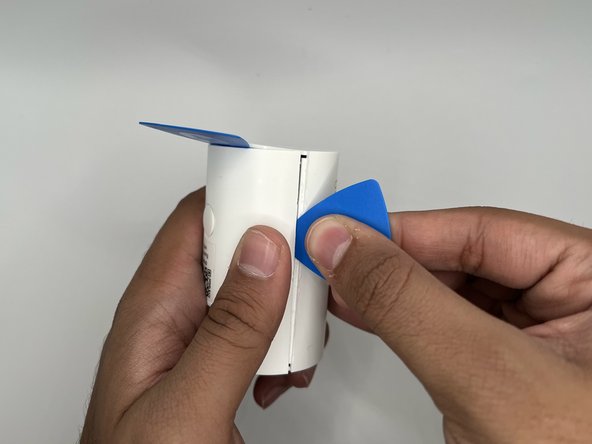
- Insert the iFixit opening pick into the crease at the top of the camera.
- Slide the pick along the crease until you can separate the top cover of the camera from the backing.
- Leave the pick in the crease.
- Place the camera on its side where the horizontal crease is facing you.
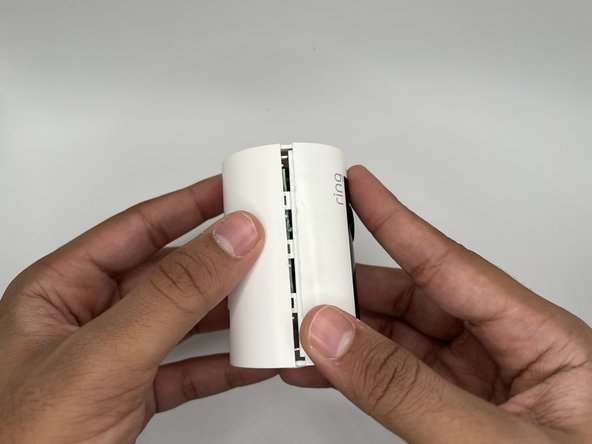
- Insert another iFixit opening pick into the crease between the front and back portions of the camera.
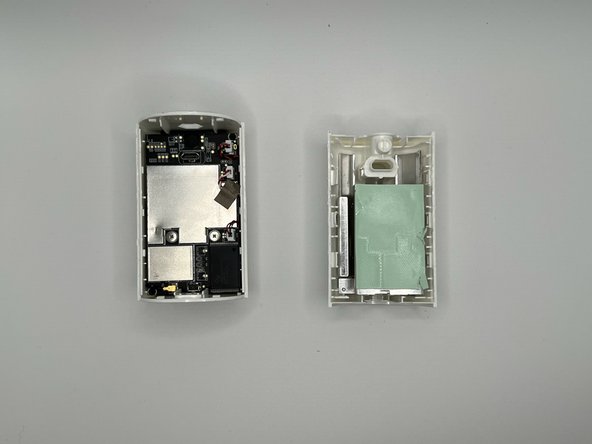
- Slide the pick along the vertical crease until you can remove the back cover of the cam, using the opening tool to pry the portions apart.
- You may hear a popping noise when you pry it open.
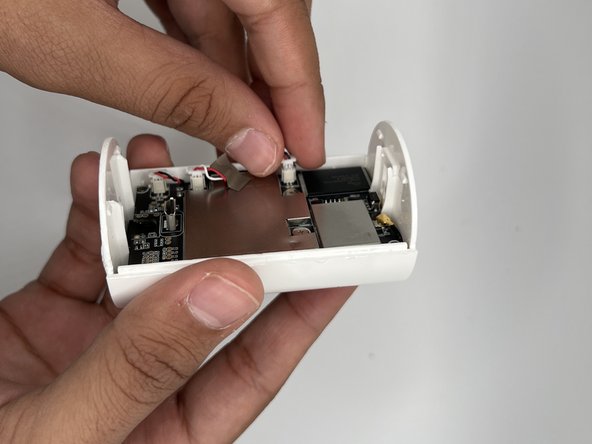
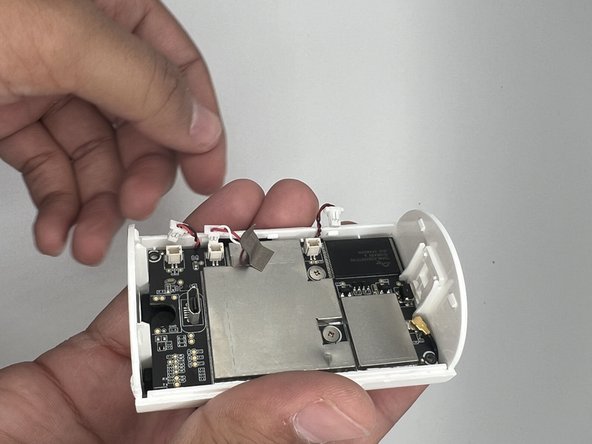
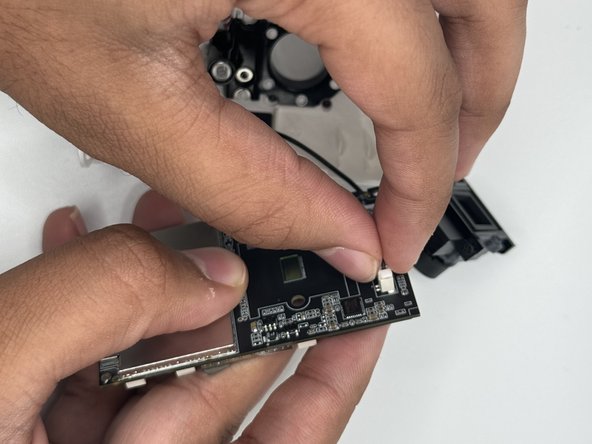
- Gently remove the three white leads from their sockets on the top of the motherboard.
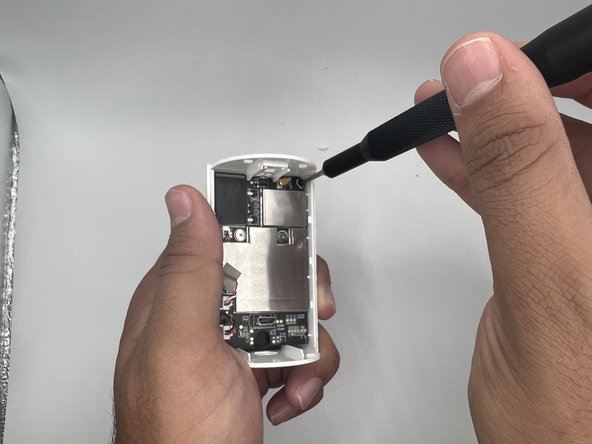
- Using a Phillips #00 screwdriver, remove the two 4.7 mm black screws located in the corners of the motherboard.
- Using a Phillips #00 screwdriver, remove the two silver 5 mm screws in the center of the motherboard.
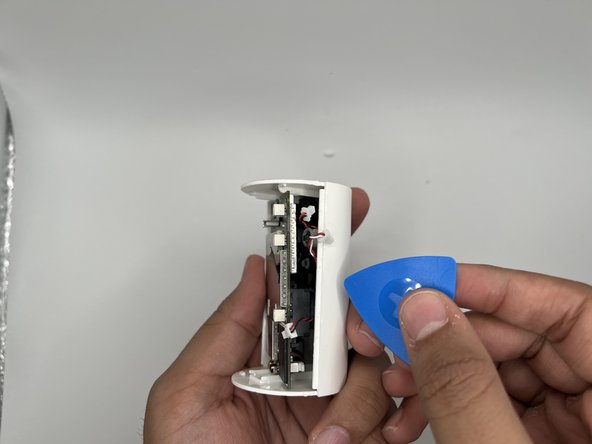
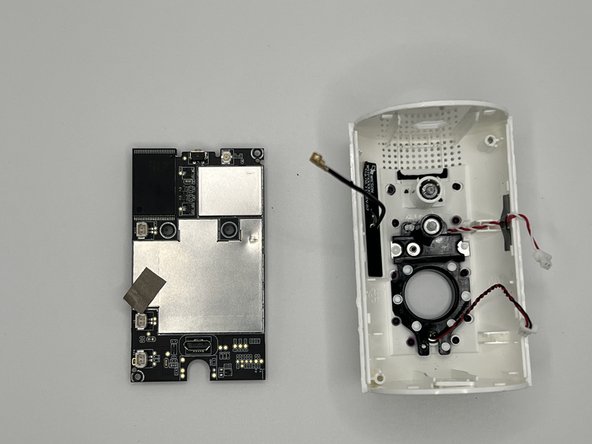
- Use the iFixit opening pick to pry the motherboard from the body of the camera.
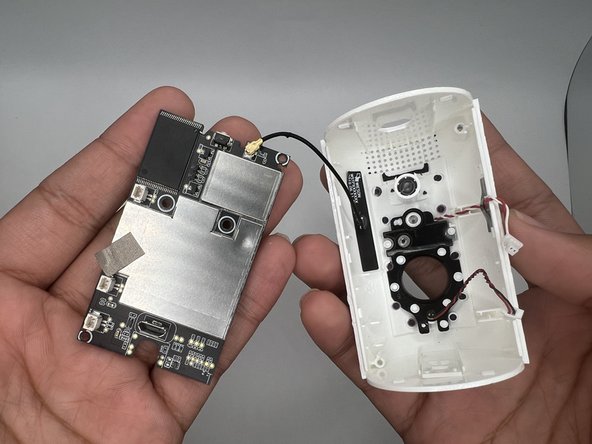
- Detach the black wire connecting the motherboard to the body of the camera.
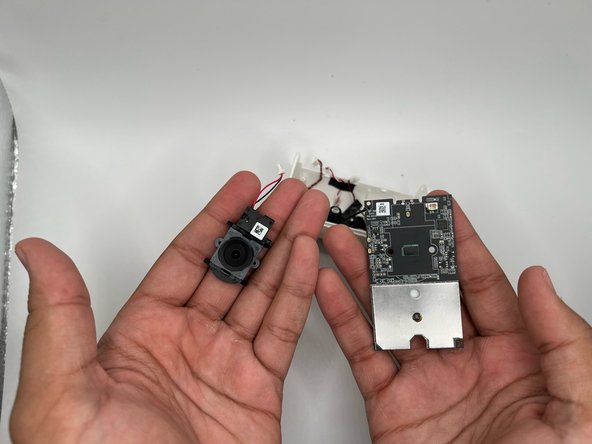
- Gently turn to the motherboard's backside and remove the white leads connecting the camera to the socket in the motherboard.
- Cautiously remove the camera.