2010-2013 Volkswagen Golf Fuse Replacement
ID: 167014
Description: This guide will provide step-by-step...
Steps:
- Before replacing the fuse, make sure there is no key in the ignition, and the car has been off for at least 20 minutes. If either of these circumstances are unmet, continuing could cause harm to you, and/or a short circuit in the car's electrical system.
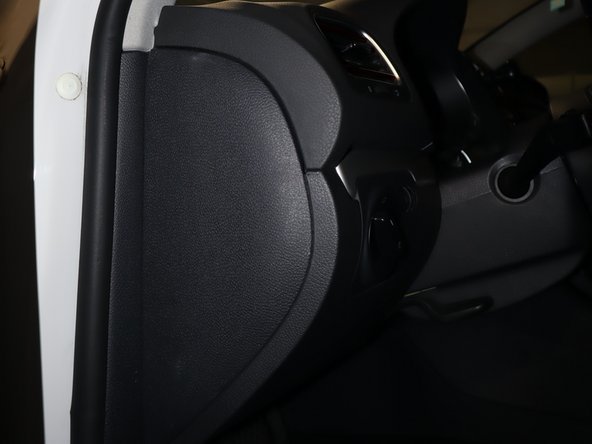
- Locate the vehicle's fusebox. On this model of the Golf, it will be located on the interior panel of the dashboard on the driver's side of the car.
- Gently pry the trim piece off of the front of the panel to open the fuse box.
- On the back of the fuse box's cover panel, there will be a fuse puller attached. Locate this piece prior to removing any of the vehicle's fuses.
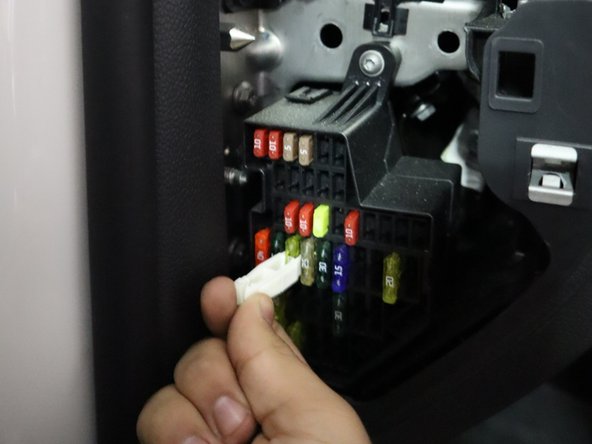
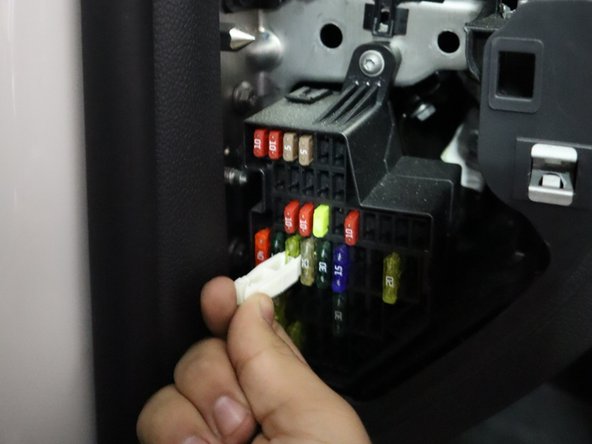
- Use the attached fuse puller, or something of similar size and material. Equipment of the wrong material or size can damage the vehicle's fuse panel.
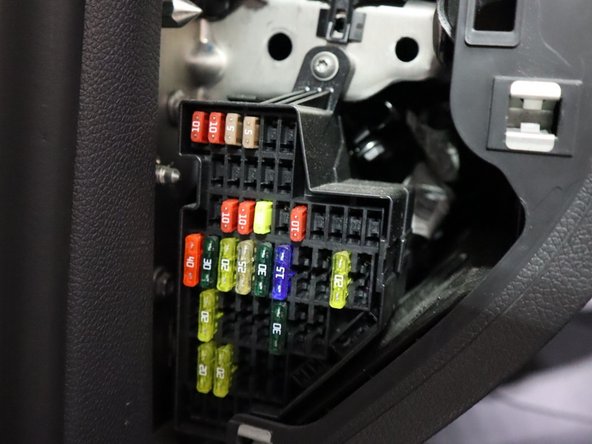
- Identify and remove the blown fuse: Each fuse piece is labeled. The correct fuse for the ECU is number 24. Your vehicle's manual will also include a diagram of the fuse box's layout.
- Note that the number on the fuse does not correspond to the fuse's location, but rather to the amperage rating of the fuse itself.
- Using the fuse puller, place the new fuse into the empty slot for fuse 24, and ensure that the replacement fuse fits firmly.
- Place the puller on the back of the panel cover after the new fuse has been installed.
- Align the panel cover with the frame of the dashboard, and gently apply pressure on the cover until it clicks into place. Confirm that the piece is firmly installed.
- Insert the key into the vehicle's ignition, and place the vehicle into accessory mode. Confirm that the vehicle's lights turn on and function as normally.