Lenovo ThinkPad X1 Yoga (3rd Gen) SSD Replacement
ID: 167031
Description: Follow this guide to replace the solid-state...
Steps:
- Restart your laptop.
- Press the "Enter" key repeatedly. This will bring you to the BIOS.
- Your laptop should not be plugged in, or charging, for the next steps.
- Use the left and right arrow keys to navigate to the Config section of the BIOS.
- From the Config section, use the up and down arrow keys to navigate to the Disable Built-in Battery option.
- Hit the "Enter" key twice to proceed.
- The battery will now be temporarily disabled, allowing you to safely complete the next steps. To power on your laptop, it must now be plugged in to a charger.
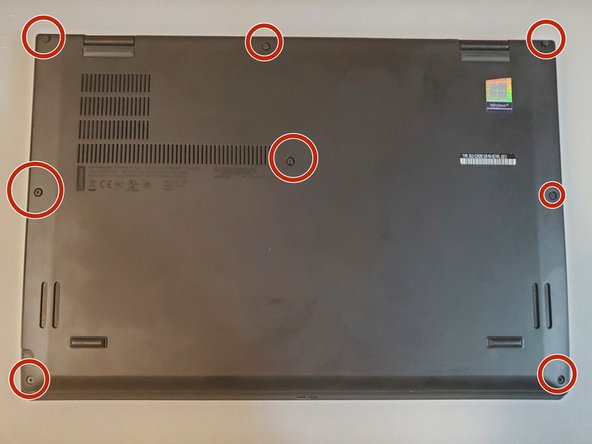
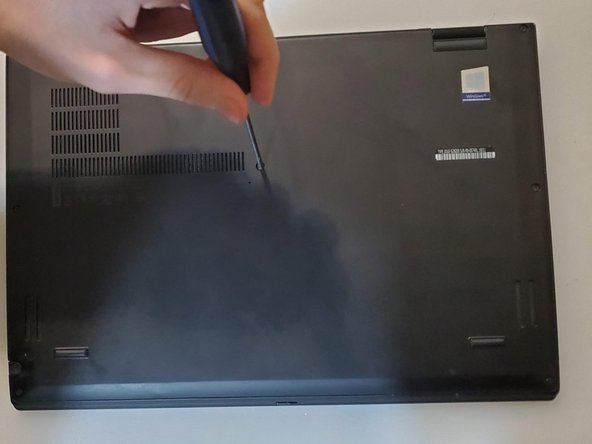
- Loosen the eight 2 mm-long captive Phillips #00 screws on the lower case.
- These screws are self-contained in the lower case.
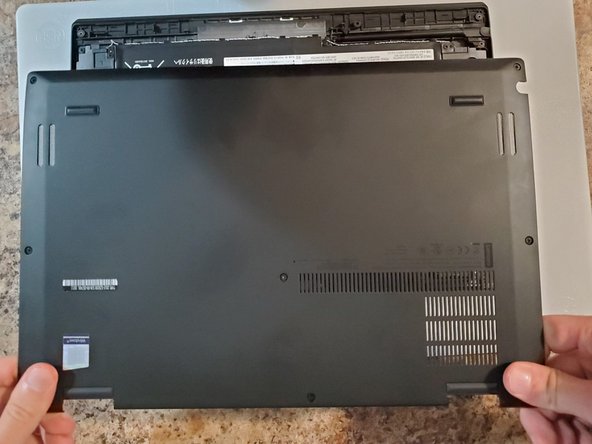
- Pry the backplate cover away from the laptop using your hands.
- If you have access to a prying tool, you may use one.
- Do not bend the backplate. With the screws loosened from the previous step, this panel can be removed with only a little effort.
- Grasp the plastic shield with your hand and pull it away from the laptop.
- This will reveal the M.2 slot, where your SSD is installed.
- Remove the 2.8 mm-long Phillips #00 screw that secures the SSD.
- Do not lose this screw! It must be reused later.
- Gently grasp the SSD from where the screw was located.
- Pull the SSD to remove it from the M.2 slot. If the SSD does not immediately release, gently wiggle it while pulling.
- Once you have removed the old hard drive, pull it out of the plastic heatshield.
- This heatshield will be reused with your new hard drive.
- Push the new SSD into the plastic heatshield. It should fit snugly.
- Insert the new SSD into the M.2 socket.
- Screw in the 2.8 mm-long Phillips #00 screw to complete installation.