Microsoft Surface Book 2 15" SSD Replacement
ID: 167064
Description: This guide will cover for some additional steps...
Steps:
- It would help if you head the top of the display towards you.
- Please note that despite being all careful you still will see some remains of the stickers used to glue the display in place
- Bear in mind that there are cables still attaching the display to the main board.
- Disconnect the cables from the touch controller board on the back of the display. You need to remove the metalic cover first. If you remove it carefuly you might be able to re-use it when reassembling, otherwise a slice of Kapton tape would do just fine.
- After you removed all 13 screws holding the camera bar and the additional 18 (or some, I lost my count) holding the main board, you can start detaching the accessories and cables that connect to the main board.
- There is a silver fluffy tape coverinf some of the screws. Make sure you remove it to get access to them.
- Detach the phone jack
- Detach the rear camera
- Also disconnect the left speaker cable connector and the antenna
- Detach the front camera
- Disconnect the right speaker cable connector
- You want to be very, very carefull when doing this because you need to slightly lift the board, then access the cable lock and push it up using a plastic spudger.
- Remove the two screws holding the docking cables and you can now flip the board up
- Locate and remove this last screw
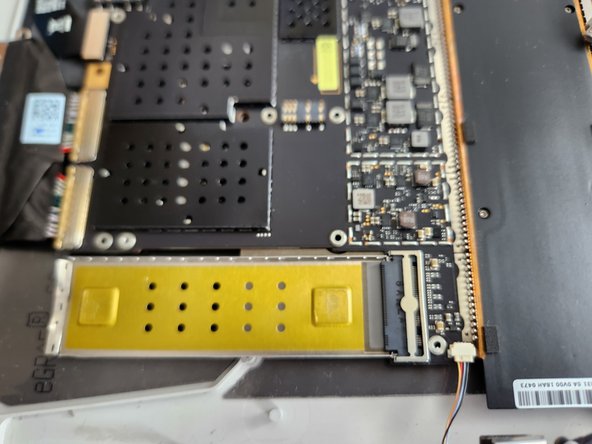
- You may be able to remove the metalic SSD cover now
- Gently lift the old SSD up. Please note that it might be fixed in place by a two-faced sticker, so it's ok to apply some strength
- Using a plastic spudger as a lever will help
- Insert the new SSD in place by firmly introducing it into the PCI-e connector
- You might find that inserting the SSD in a ~20° angle will help in the process
- After the insertion, apply some pressure to the SSD in order to help the tape do adhere
- Replace the metallic cover and begin the reassembling process in reverse.
- Now, reconnecting this one will be very tricky. Here's what I did after several hours of frustration:
- Before flipping the board back down, make sure you left the flat cable locking piece completely open
- Flip the board down and reconnect all other cables, except the "flat bastard" one
- With a spudger or using your hands, lift the main board slightly up, enough for the flat cable to slid into place
- Once it is there, release the board down. Forget about locking the "flat bastard"'s connector locking piece, you won't be able to do it!
- I found it easier to put the "flat bastard" in place using twizzers. Whatever you may use, just be carefull to not damage the cable or the connector!
- Make sure it is in place, then secure it using a piece of kapton tape or any other tape you might have on hand. This will prevent the cable from coming out of its socket when you move your computer.
- Resist to the temptation to pull it back, it would only make you need to do the job twice.
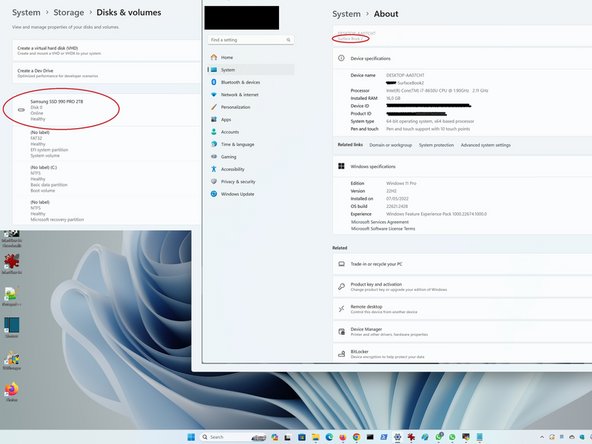
- After reassembly, I made a fresh install of Windows 11 Pro and now I have a computer ready for 3 to 5 more years, hopefully.
- ADVICE 1: This tutorial is definitely not for the faint of heart! In the process of disconnecting the cables, one miscalculated movement and my screen got broken and I had to order a replacement from Aliexpress.
- If you will order a display replacement, make sure to order one that has capacitive touch, not resistive one, otherwise you will only be able to use it with the Surface Pen.
- ADVICE 2: As I knew I would need it too, I also purchased an additional set of taylor-made two-faced adhesive stripes to hold the screen back in place. Link is in the tool list