ASUS Q536F Screen Replacement
ID: 167132
Description: Our laptops screen cracked so we needed to...
Steps:
- Remove ten 2 mm screws using a Phillips #0 screwdriver.
- Remove the screw in the center using a T4 Torx screwdriver.
- Use an iFixit opening tool to pry open the back panel.
- It's normal to hear some cracking, but proceed with caution.
- Remove the six 2 mm screws from the hinges using a Phillips #0 screwdriver.
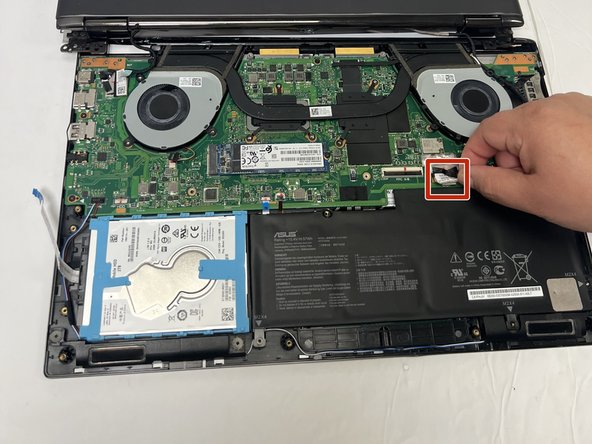
- Using your fingers, unplug the two power cables connecting the display to the motherboard.
- Remove the display assembly from the laptop.
- Potential for device damage: Beneath the screen border is a sticky adhesive. Take your time and exercise caution when removing to avoid damaging it.
- Use an iOpener to help loosen the adhesive on the screen.
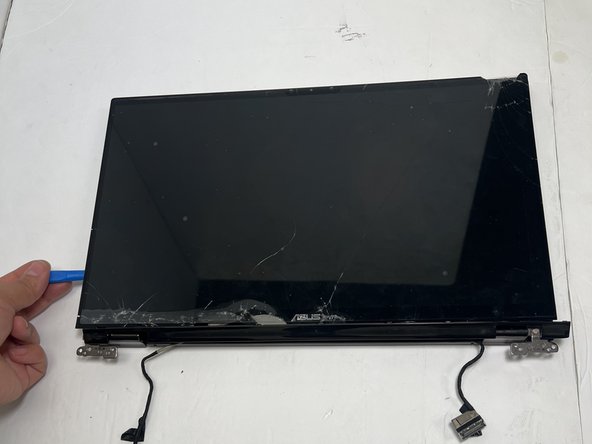
- Gently pry the bottom right corner of the screen's border and remove the sticky screen cover.
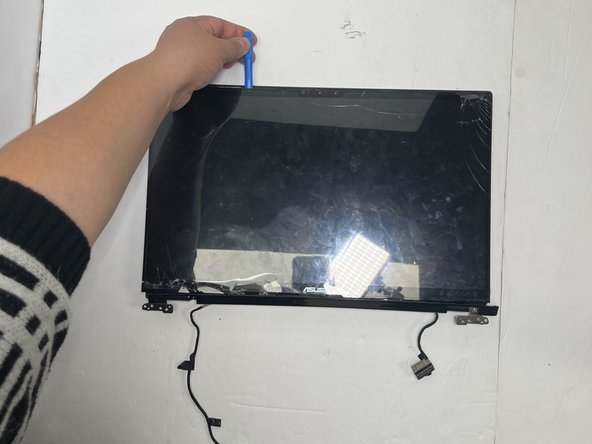
- Use the opening tool around the entire display to ensure you cut as much adhesive as possible.
- Carefully remove the screen from the rest of the display.
- The new screen should come with the sticky adhesive.