HP G62-234DX Keyboard Replacement
ID: 167164
Description: If your HP G62-234DX laptop's keyboard is not...
Steps:
- Make sure the computer is turned off and disconnected from a charger.
- Place your laptop on a clean, flat surface with the bottom facing up.
- Slide the battery lock to the left.
- Slide the battery out from the laptop while holding the lock to the left.
- Remove the battery.
- Use a Phillips #0 screwdriver to remove the three 6.0 mm screws.
- The screws that are attached to the panel do not need to be removed completely.
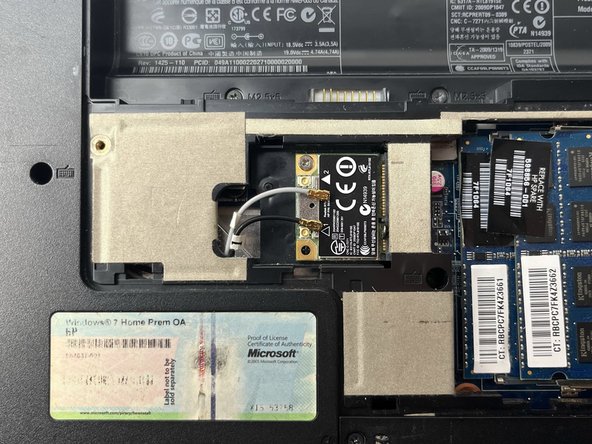
- Remove the back panel to access the Wi-Fi card.
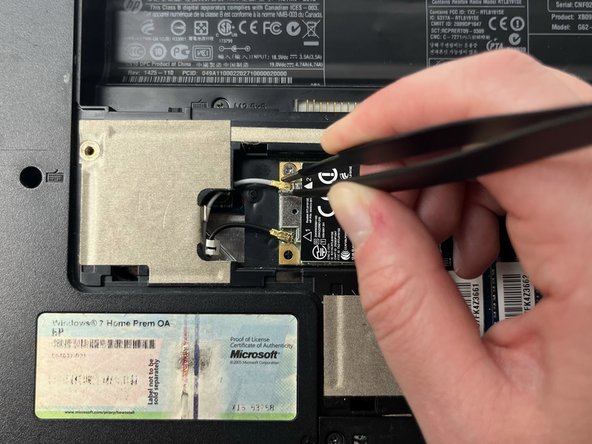
- Slide a thin, ESD-safe pry tool or tweezers under the wire until it's snug against the connector, and pry straight up from the board to disconnect the coaxial cables from the Wi-Fi card.
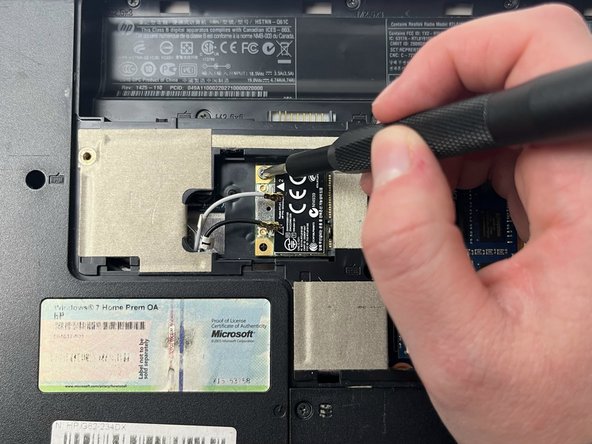
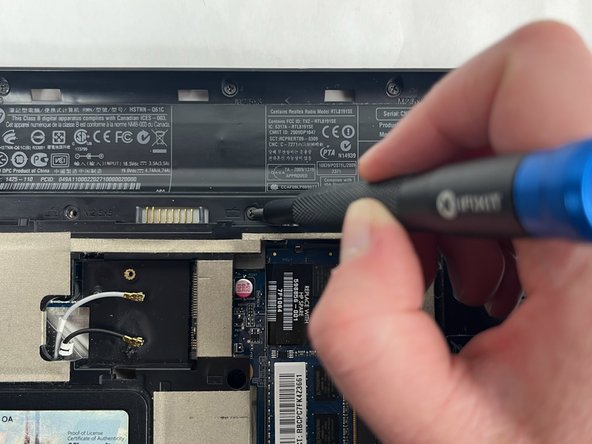
- Use a Phillips #0 screwdriver to remove the 3.0 mm screw from the Wi-Fi card.
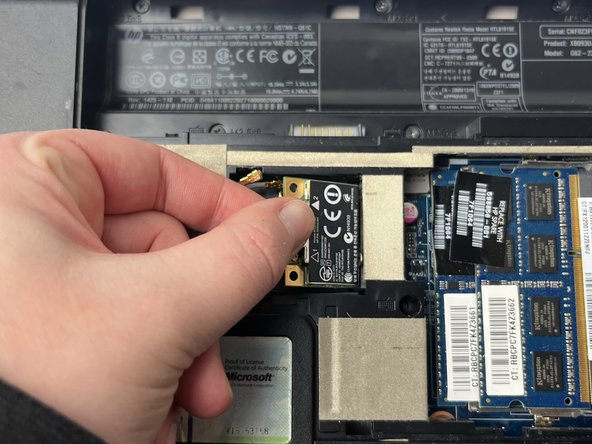
- When the screw is removed the card will pop up at a 45-degree angle.
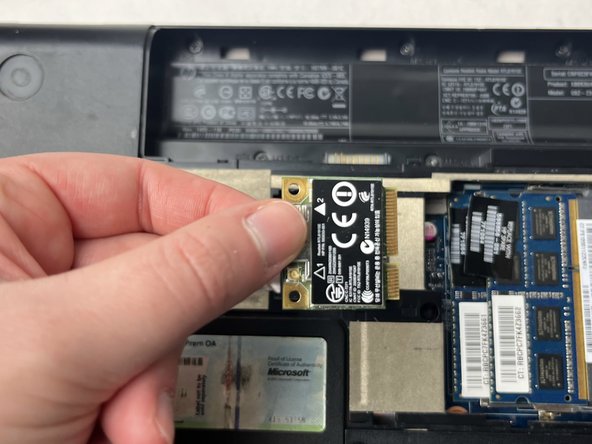
- Remove the Wi-Fi card by sliding it out from the socket.
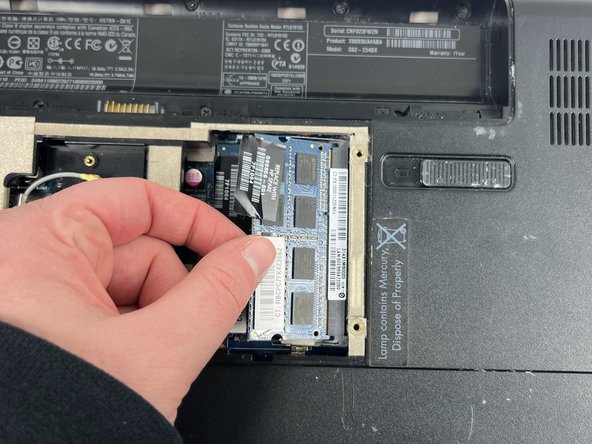
- Release the tabs on each side of the chip by simultaneously pushing each tab away from the RAM chip.
- These tabs lock the chip in place and releasing them will cause the chip to "pop" up.
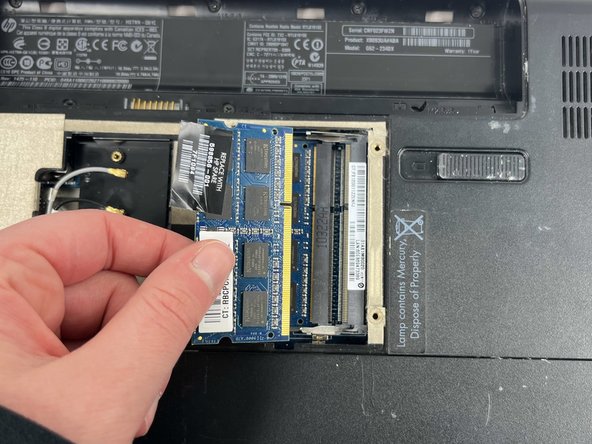
- Slide the RAM card out of the slot to remove it.
- Use a Phillips #0 screwdriver to remove three 6.5 mm screws.
- Use a Phillips #0 screwdriver to remove three 5.0 mm screws.
- Rotate the laptop back to its standard orientation and flip open the screen.
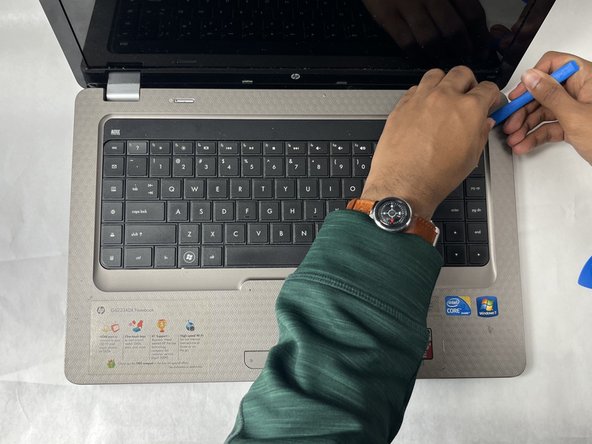
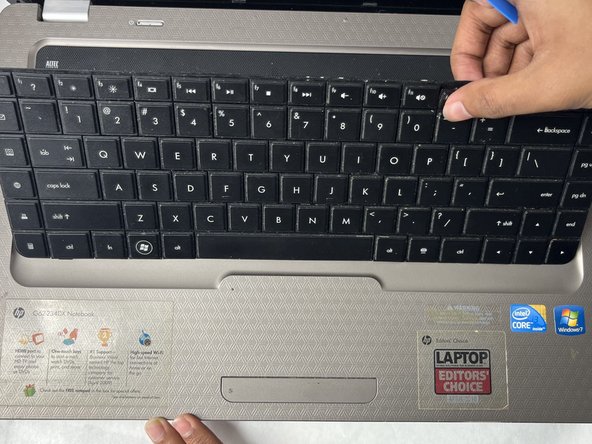
- Use the iFixit opening tool to separate the keyboard from the tabs. Start from one point on the edge and work your way around until all of the tabs are released.
- Flip the keyboard towards yourself.
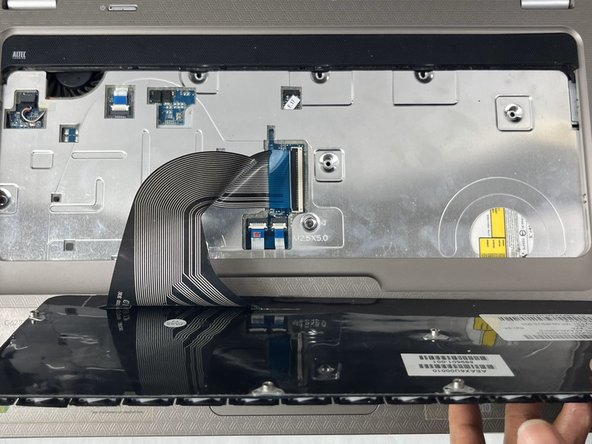
- Do not try to pull it out, as it is still connected to the ribbon cable.
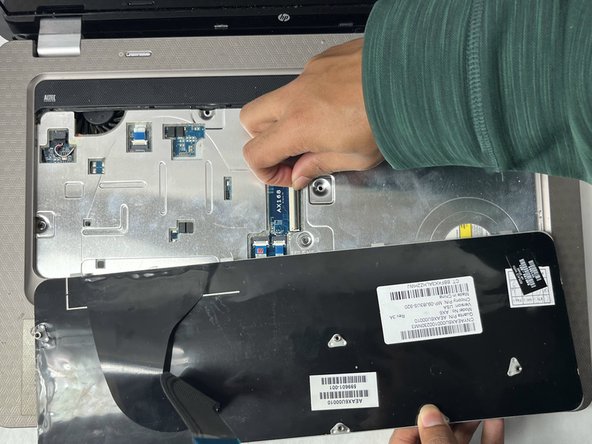
- Flip up the locking flap using either your fingernail, or a spudger.
- Remove the ribbon from the ZIF connector.
- Remove the keyboard.