HP G62-234DX Webcam Replacement
ID: 167171
Description: If the webcam on your HP G62-234DX laptop is...
Steps:
- Make sure the computer is turned off and disconnected from a charger.
- Place your laptop on a clean, flat surface with the bottom facing up.
- Slide the battery lock to the left.
- Slide the battery out from the laptop while holding the lock to the left.
- Remove the battery.
- Flip over the laptop and open the laptop.
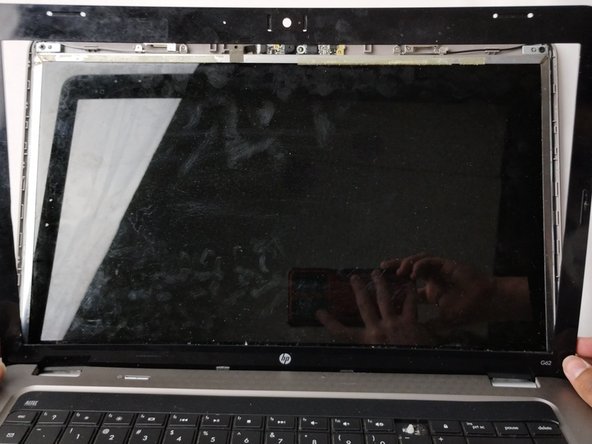
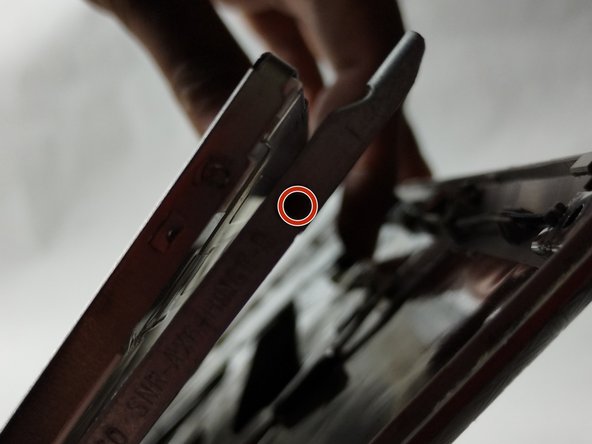
- Using a spudger and opening picks, loosen the screen bezel (outer frame).
- Start from one side of the bezel and work your way around to the other side.
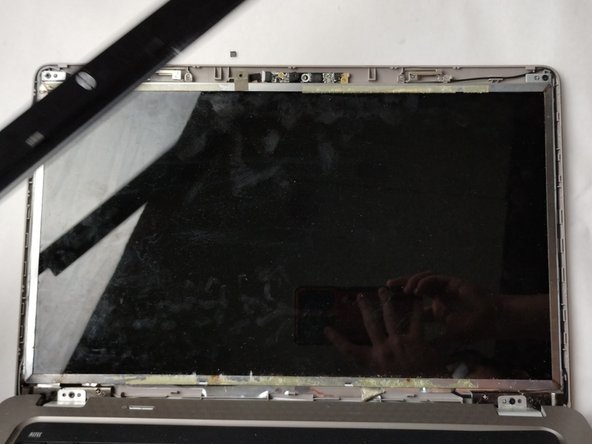
- Lift the screen bezel with your fingers to reveal the screen unit.
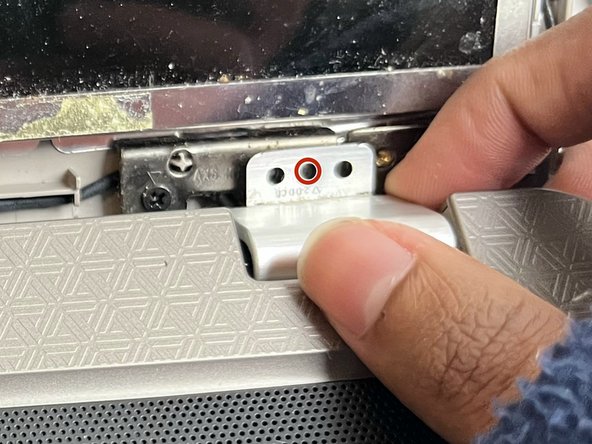
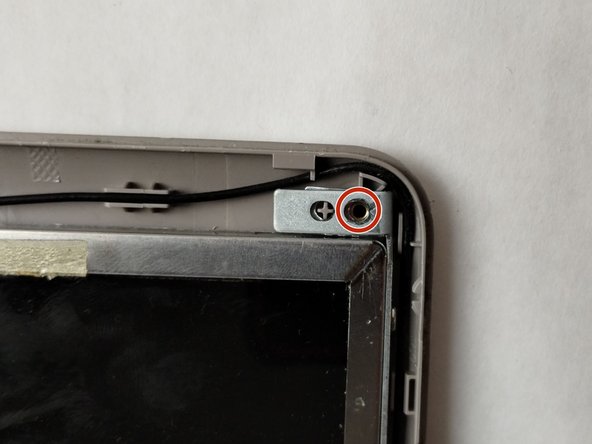
- Use a Phillips #0 screwdriver to remove one 4.0 mm screw on the left and right hinges.
- Lift the hinges with your fingers.
- Use a Phillips #0 screwdriver to remove the two 3.0 mm screws on the top of the display.
- Use a Phillips #0 screwdriver to remove a total of four 3.0 mm screws along the edge of both sides of the screen.
- Carefully loosen the adhesive under the screen unit using your spudger.
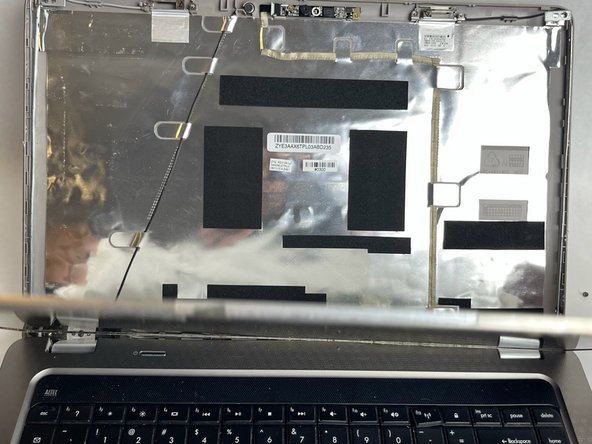
- Pull off the screen unit using your fingers.
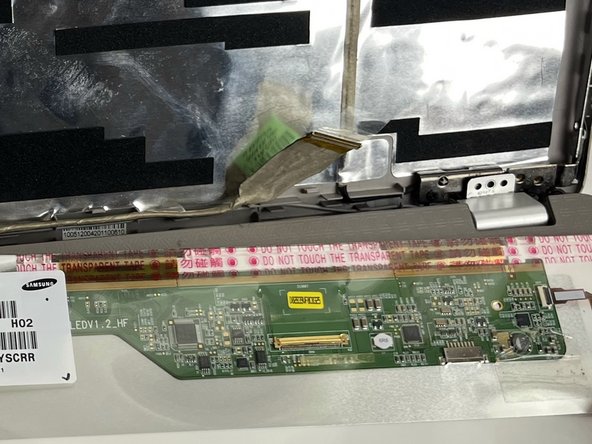
- The screen is still connected by the display cable.
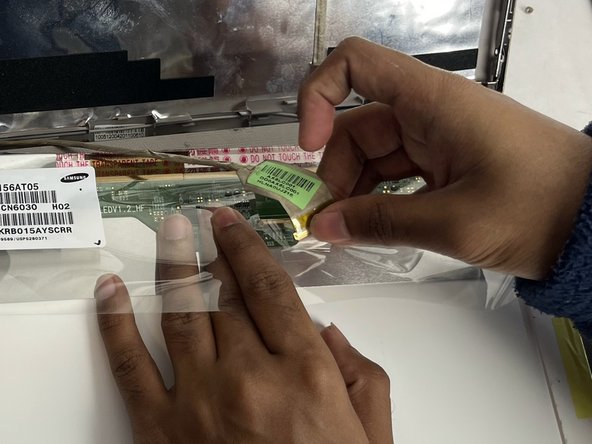
- To disconnect the display cable connector, gently push the tip of a spudger under the clip. Then, swing the clip over to the other side of the socket, so that it lays flat against the cable.
- Lift the protective film slightly and, holding the clip and cable together, gently pull in the direction of the cable to remove the connector from its socket.
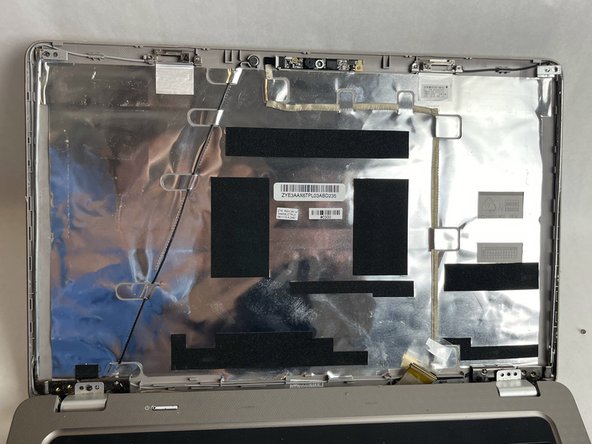
- Safely remove the screen.
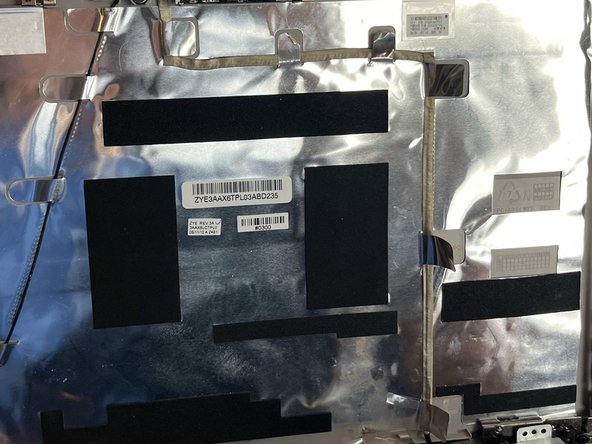
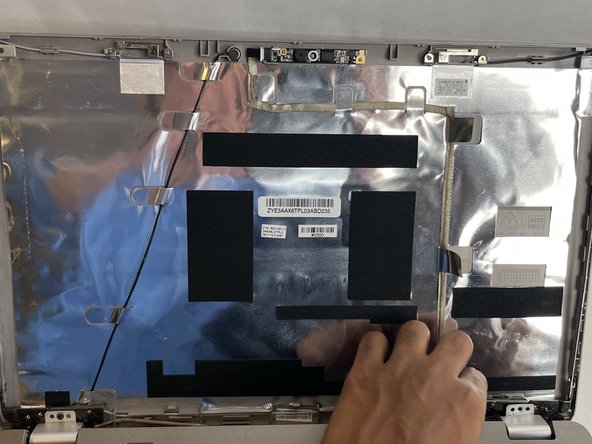
- Gently unfasten the 6 tabs that hold the webcam cable in place.
- Gently pull the cable off of the display case.
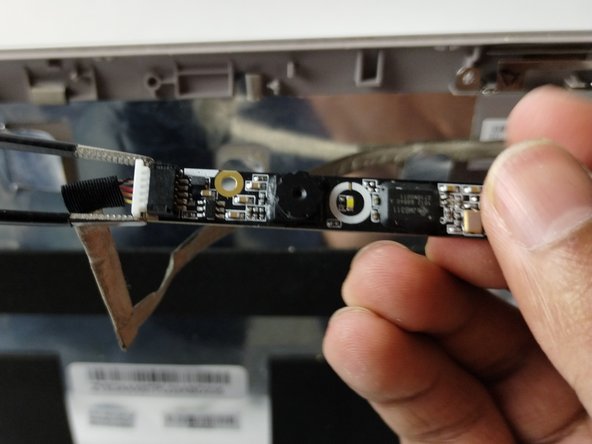
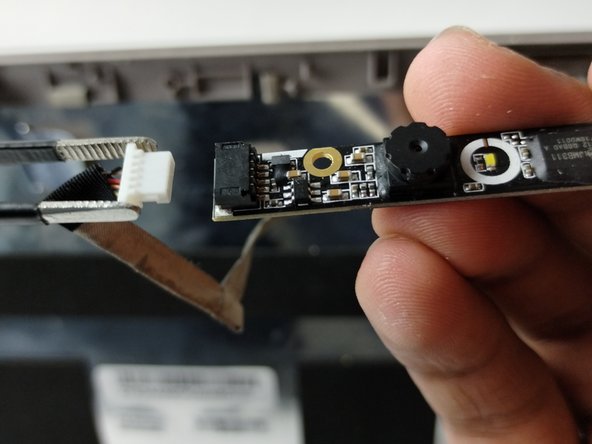
- It is still connected to the webcam.
- Pull the bundled cable connector from the webcam in the same direction as the individual wires are running.
- Pull evenly on the full width of the cable so that no individual wires are overly strained.
- Use a spudger to remove the webcam from the case.