Lenovo Legion 5 17ACH6H RAM Replacement
ID: 167235
Description: This guide is for replacing both RAM modules...
Steps:
- Use the Phillips #1 screwdriver to remove the ten screws on the back panel.
- Four 4.6 mm PH1 screws
- Six 12.8 mm PH1 screws
- Insert the rounded side of the opening pick on the lower right of the back panel.
- Apply light pressure downwards to release the clip.
- Slide the opening pick along the lower back side of the panel to release the remaining clips.
- Insert the opening pick on the right side of the panel (along the ports) and slide it across to release the pins.
- Repeat this step on the left side of the panel.
- Slide the pick in the vent near the USB C port.
- Rotate the pick so it is on the top part of the vent.
- Slide the pick across the top side of the vent
- The laptop can be held vertically, so the process is much easier.
- Repeat this step on the other side vent near the USB A port.
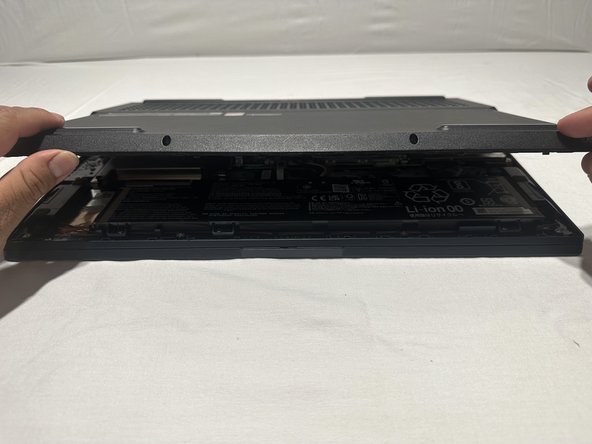
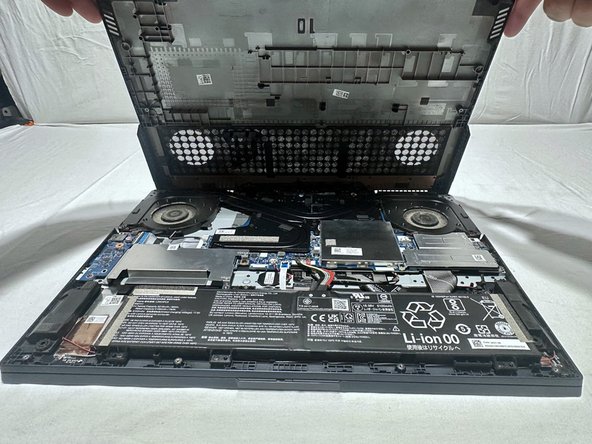
- Grab the back panel and lift it to remove it from the chassis.
- Before completely lifting the back panel, the panel should be pushed a little bit away from you. This is to prevent the panel from getting stuck with the IO ports.
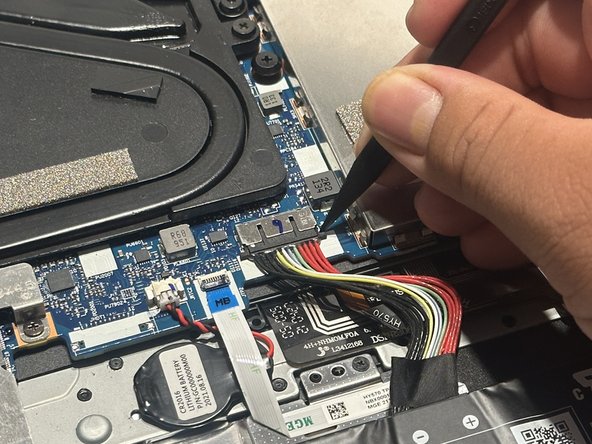
- Use the pointed tip of a spudger to carefully push on each side of the connector.
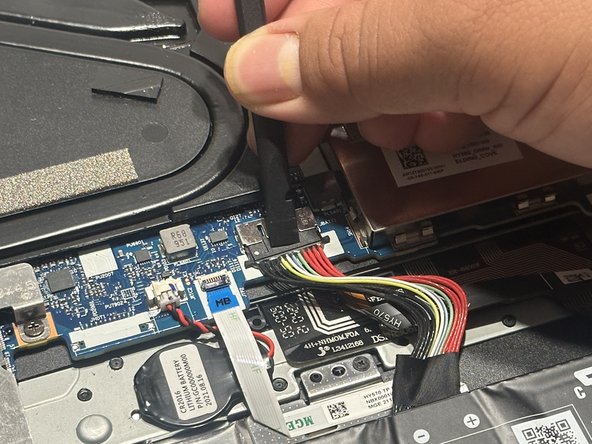
- Use the flat side of the spudger at the top of the battery connector to completely push it out.
- Pull the cable by the connector and not the wires to move it out of the way.
- It is important to disconnect the battery since touching the components with the battery connected can short-circuit the device. This could cause damage to the components and yourself.
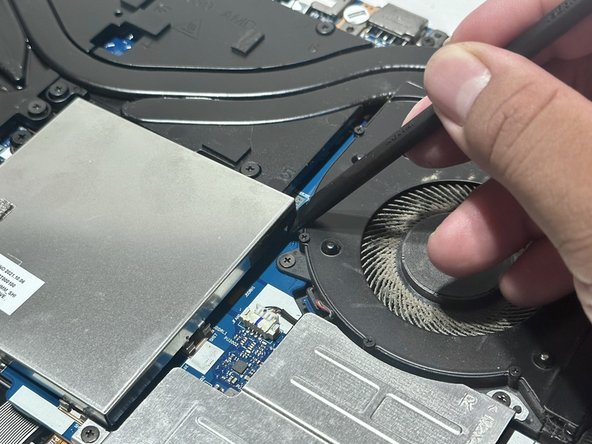
- Place the flat side of the spudger between the RAM shield (right) and the metal plate (left) at a 45-degree angle.
- Pry open the bottom part of the metal plate by moving the spudger toward the RAM shield.
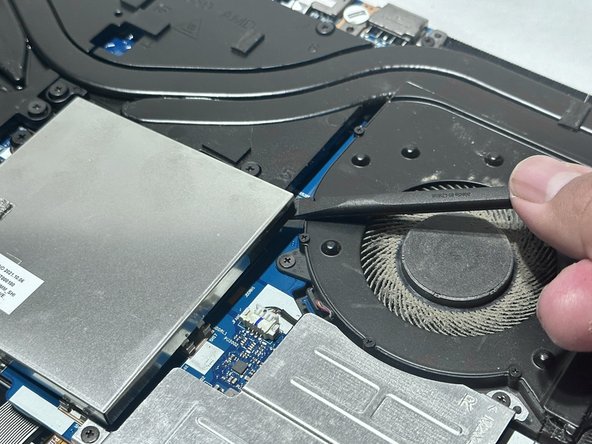
- Place the flat side of the spudger between the fan (right) and the metal plate (left).
- Pry open the top part of the metal plate by moving the spudger toward the fan.
- Grab both sides of the metal plate to lift it off the clips.
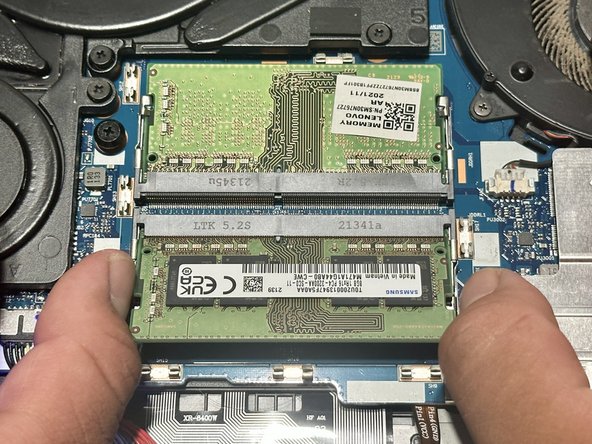
- With both thumbs, push the clips outward.
- Gently slide the RAM module out of the socket to remove it.
- Repeat step 10 to remove the top module.
- The laptop was rotated 180 degrees, which is why it is facing the camera.
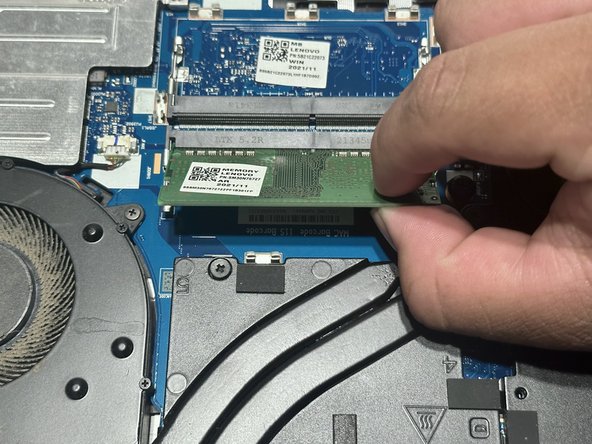
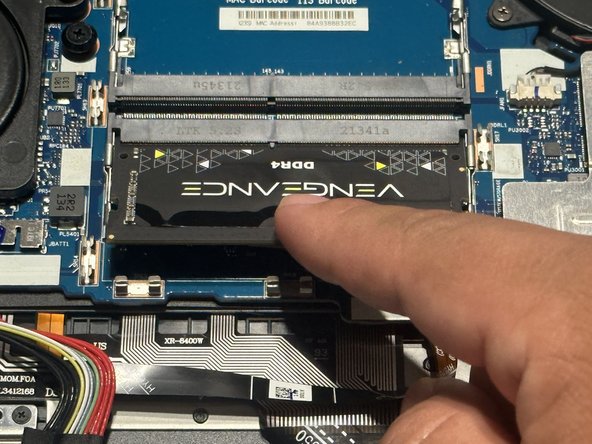
- Insert the RAM module at a 45-degree angle.
- Make sure the module aligns with the slot. You can check by making sure the module pins' holes align with the slot.
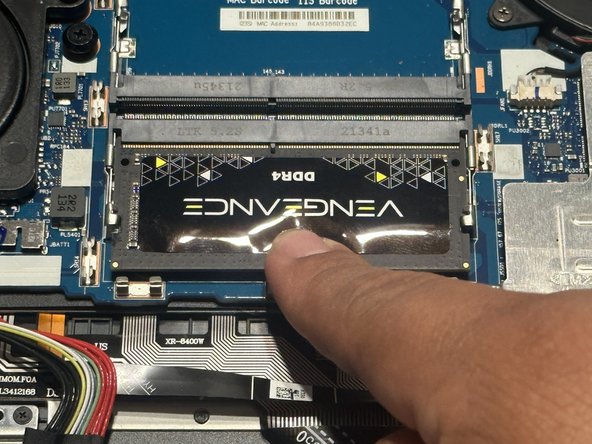
- With a finger on the top part of the module, push the RAM stick downward.
- A click indicates that the module has been inserted successfully.
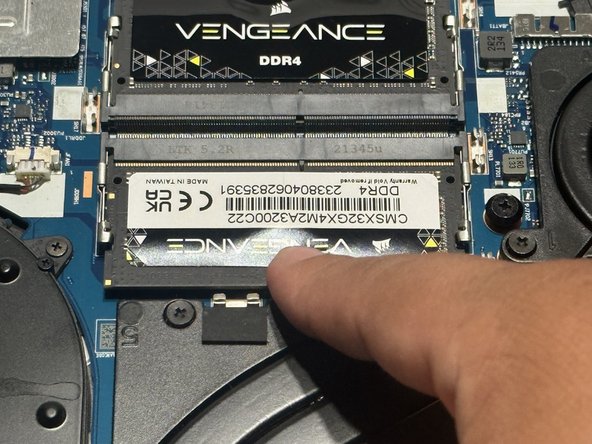
- Repeat step 12 to insert the top RAM module.
- The laptop was rotated 180 degrees, which is why it is facing the camera.