Nintendo 3DS XL Hinge/Midframe Replacement
ID: 167236
Description: This is a guide on how to replace the...
Steps:
- Flip the 3DS XL upside down.
- Remove the two 4.2 mm screws from the back cover using a Phillips #00 screwdriver.
- Use an opening tool to pry the cover loose and lift the back cover.
- Caution: Make sure to lift the side with the screws up first as to not break hooks on the cover.
- Use an opening tool to remove the battery.
- Remove the six 6.2 mm screws from the back cover using a Phillips #00 screwdriver.
- Remove the single 2.3 mm screw from the back cover using a Phillips #00 screwdriver.
- Use your hands to carefully remove the back cover at an angle, while keeping it connected to the top edge with caution regarding the ribbons.
- Use a pair of tweezers to carefully detach both of the ribbon cables connected to the back cover.
- Remove the two 7.5 mm screws from the white plate.
- Use your fingers to lift it off the space carefully.
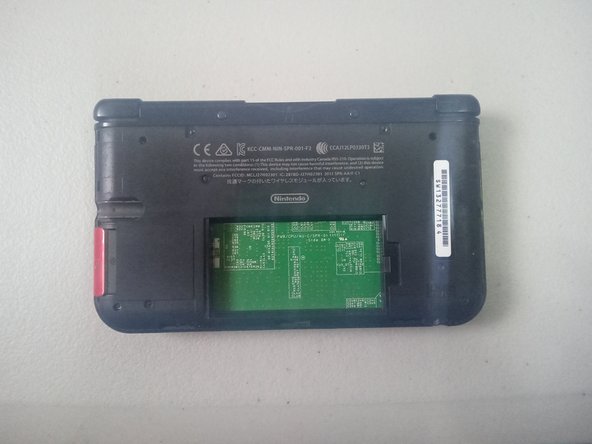
- Use a pair of tweezers to remove the small plastic circle from the opened space.
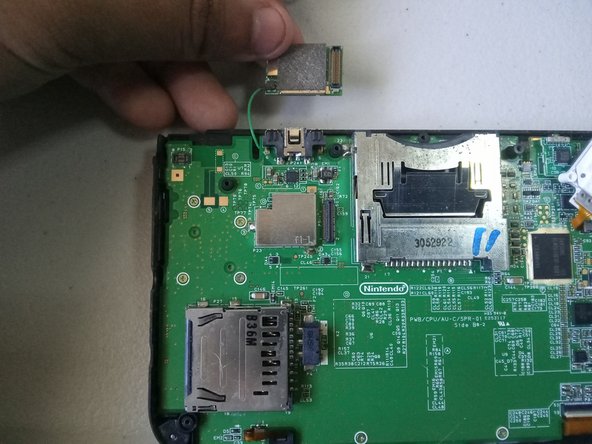
- Use your fingers to carefully disconnect the small green rectangle (network board).
- Remove the ten 3 mm screws from the motherboard with a Phillips #00 screwdriver.
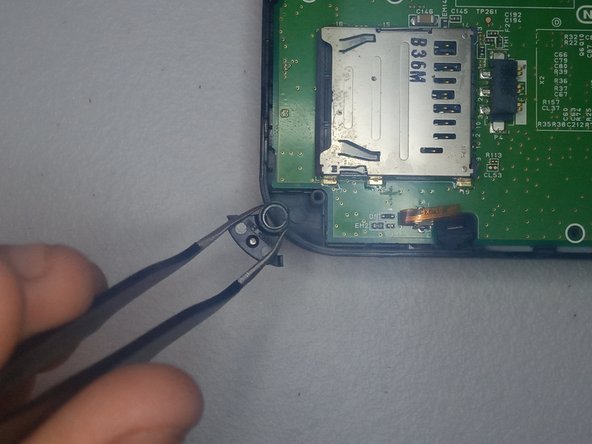
- On the bottom right corner, remove the small plastic piece using a pair of tweezers.
- On the bottom left corner, remove the small plastic piece using a pair of tweezers.
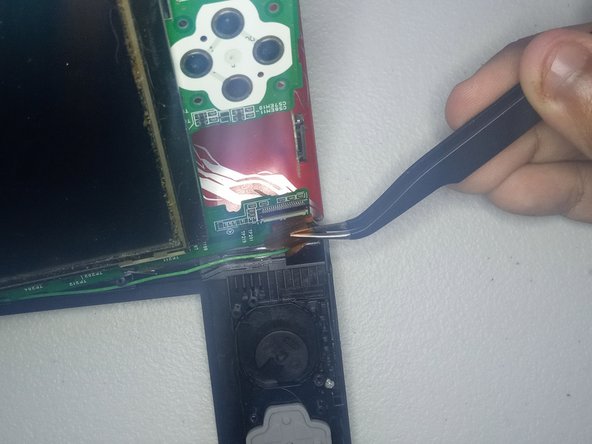
- With caution yet with slight force, use a pair of tweezers to pull and disconnect the ribbon cable from the latch on the top right corner.
- With caution yet with slight force, use a pair of tweezers to pull and disconnect the second ribbon cable from the latch on the top right corner.
- With caution yet with slight force, use your hands to lift the screen and the green motherboard from the frame.
- Caution: There is still a ribbon cable connected, so do not suddenly remove what was lifted.
- With caution yet with slight force, use a pair of tweezers to pull and disconnect the ribbon cable at the hinge from the latch.
- Use your fingers to disconnect the green rectangle (network board) from the small green cable.
- Flip the 3DS XL right side up and open it.
- Use a pair of tweezers to remove the small rubber squares from each corner of the front screen.
- Remove the four 4.3 mm screws from the top screen using a Phillips #00 screwdriver.
- Use your hands to remove the top cover by pushing the cover horizontally away from the hinges, as to not break any plastic hooks.
- Flip the 3DS XL upside down and find the top left hinge.
- In the small opening, use a small opening tool to push the small white plastic piece down towards the other hinge.
- Caution: A decent amount of force will be needed to push it down, so use a small but sturdy object that can fit in the opening to push it down.
- Use a pair of tweezers to remove the small black plastic piece covering the hinge.
- Use a pair of tweezers to remove the small clear plastic piece from the hinge.
- At this point you can remove the bottom frame from the left hinge using your hands.
- At the top right hinge, use your hands to carefully slide the ribbon cables through a small gap next to the hinge to remove them from the bottom frame.
- Use your fingers to remove all buttons and rubber covers from the old frame and place them into the new frame.