Acer Aspire 5 A515-43-R19L RAM Replacement
ID: 167257
Description: If your Acer Aspire 5 Slim Laptop...
Steps:
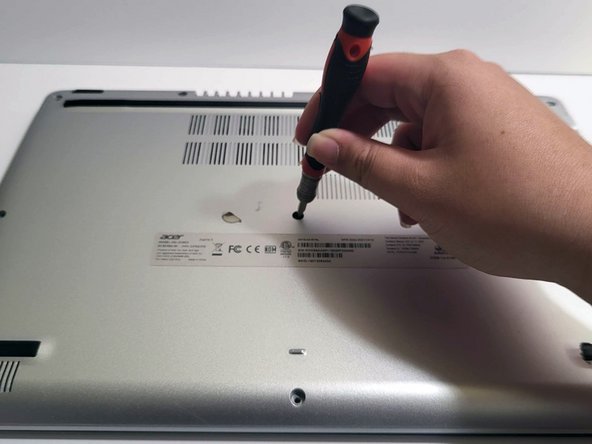
- Place your device with the top facing down.
- Make sure the primary exhaust is facing away from you.
- Remove the nine screws from the bottom of the laptop using a Phillips #1 screwdriver.
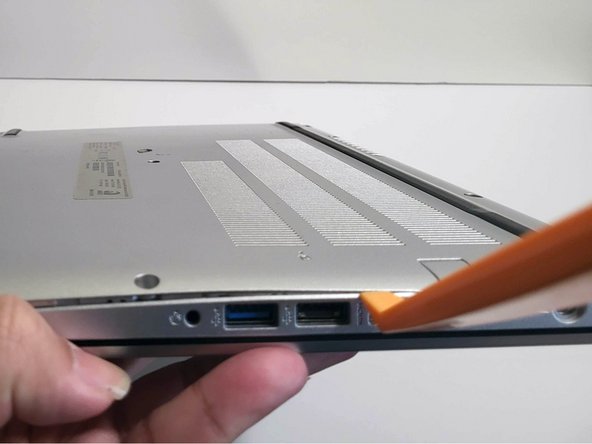
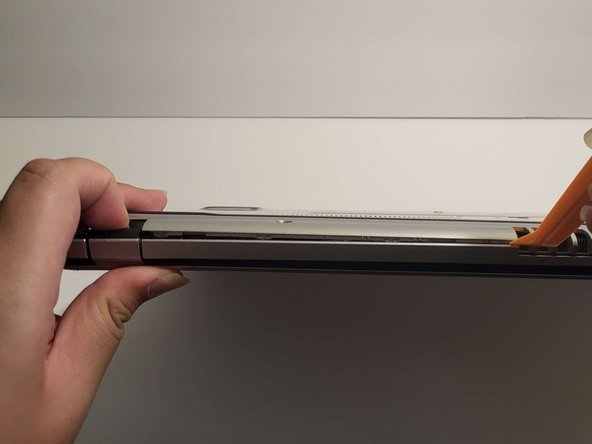
- Use a prying tool to separate the case from the laptop.
- As you reach the exhausts and screen hinges, be especially careful. Too much force may cause unforeseen damage.
- Potential device damage: Avoid pushing too far into the device during this process, as you may apply unnecessary force to the sensitive internals.
- With any step working on the device's internals, keep direct contact with any components to a minimum. This is doubly true for your exposed skin.
- While this step is not necessary, it is common practice to reduce the chances of things going wrong. (i.e "bricking" your device).
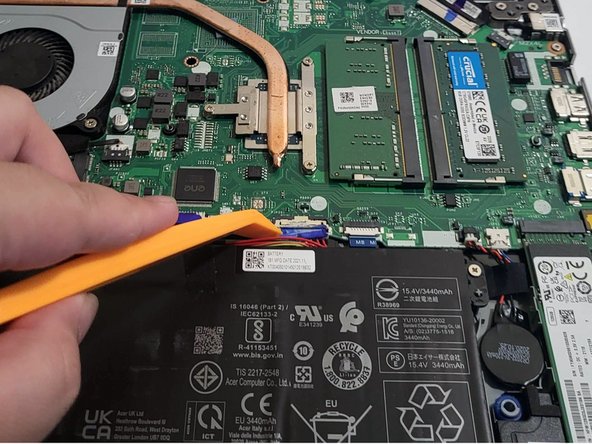
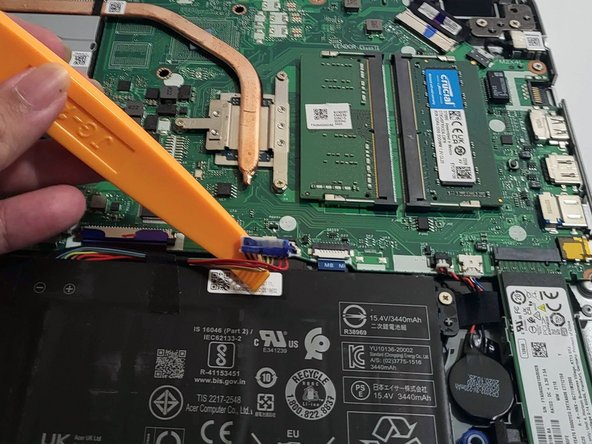
- Use an opening tool to detach the battery connector from the motherboard.
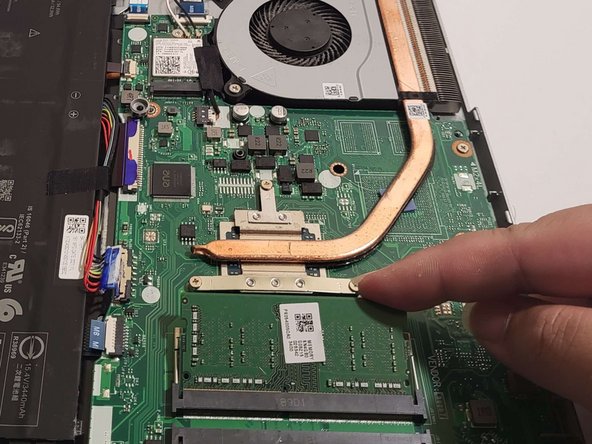
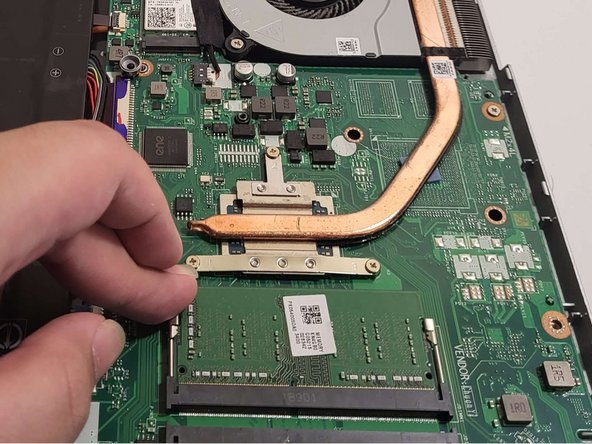
- You'll find RAM slots north of the battery connection point and to the right of the copper pieces.
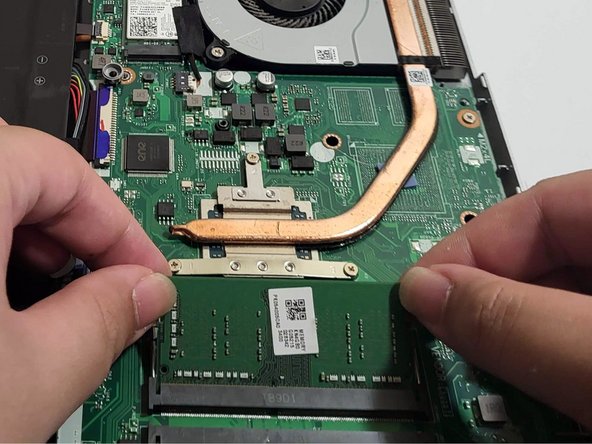
- Lightly grip and push both sides of the RAM housing in opposite directions until the RAM pops up from the slot at an angle.
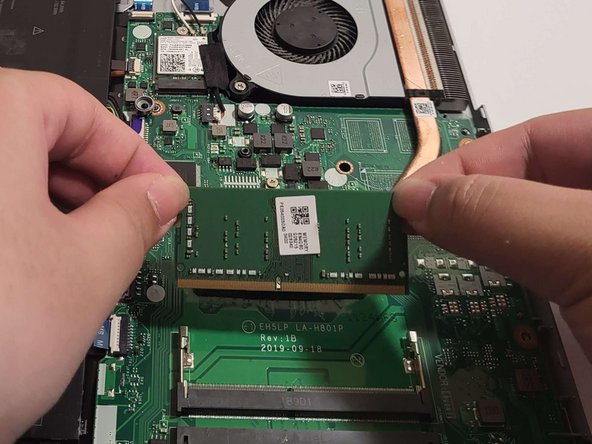
- Pull the RAM free from the slot.
- Align your RAM's DIMMs so the shorter side slots into the shorter space and the larger side slots into the larger space.
- Insert the RAM at an angle.
- Press down on the stick until the bearings on both sides click into place.
- Reconnect the battery to the motherboard.
- Place the shell back onto the laptop, clicking each corner and side into place.
- Screw the shell back onto the laptop.