Sony WH-1000XM4 Swivel Replacement
ID: 167320
Description: If your Sony WH-1000XM4's earmuff doesn't want...
Steps:
- Using an opening tool, pry off the right ear muff and remove the underlying foam.
- Remove the four silver screws on right side of the headphones using a Phillips #000 screwdriver.
- Flip the headphones.
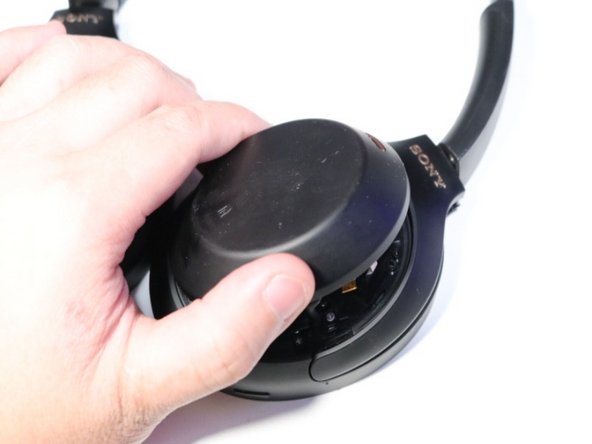
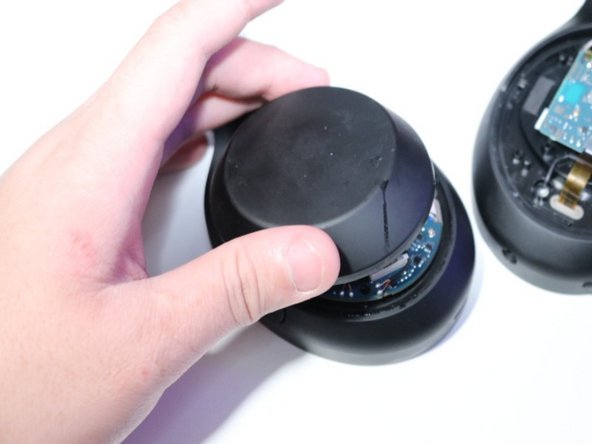
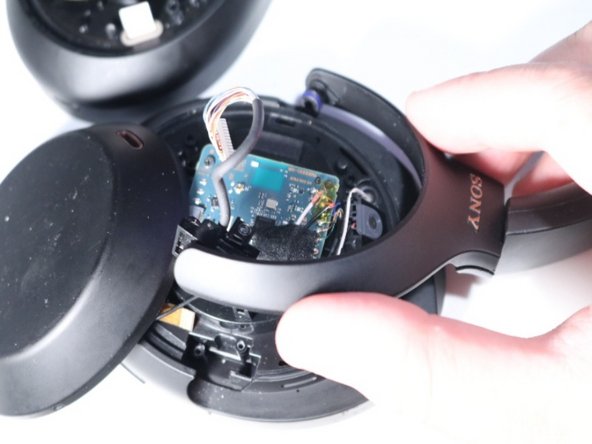
- Lift up and flip the right ear cup cover.
- Don't try to completely remove the cover just yet—it's still attached with the touch cable.
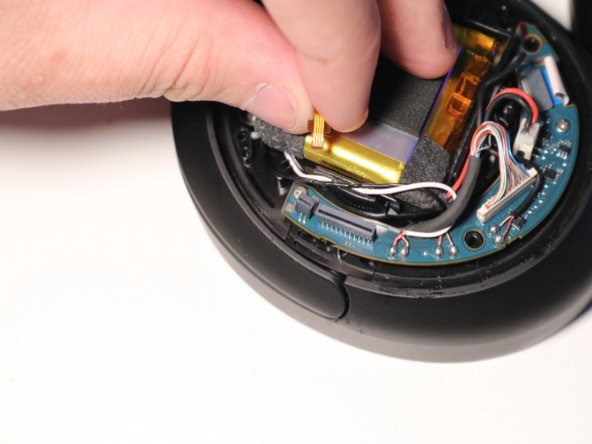
- Detach the ribbon cable connecting the backplate to the right ear.
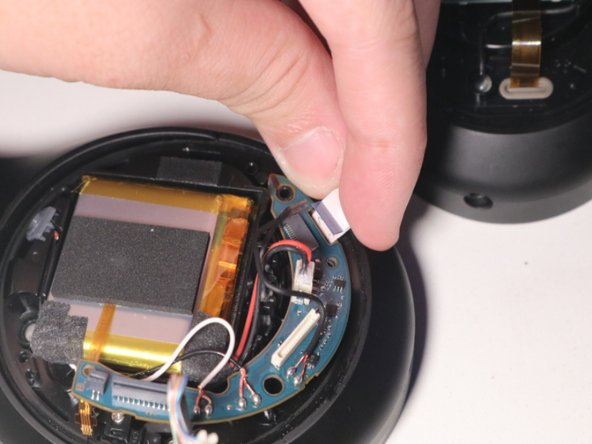
- Detach the yellow thermal sensor ribbon cable from the motherboard.
- Disconnect the white ribbon cable.
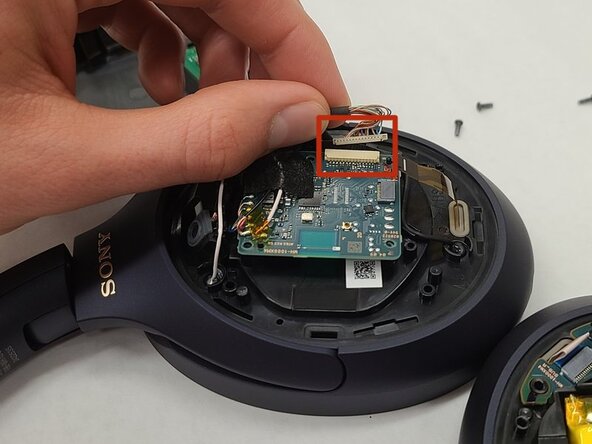
- Detach the data/pwr connector from the motherboard using an opening tool.
- Remove the two screws from the motherboard using a Phillips #000 screwdriver.
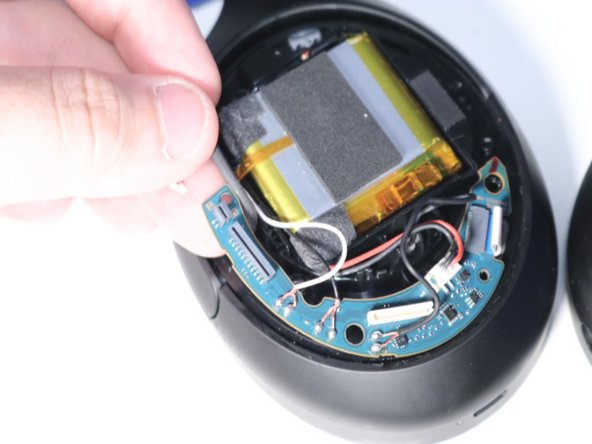
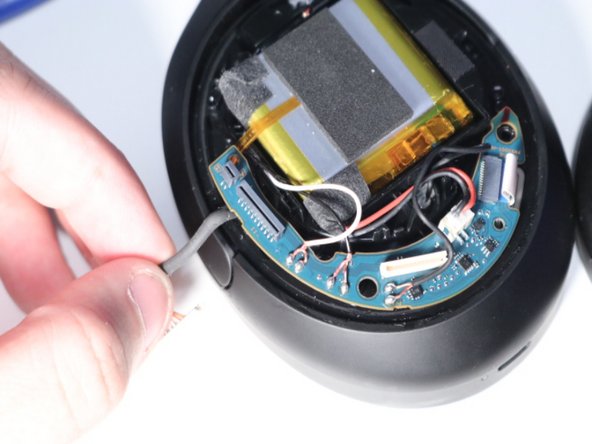
- Move the data/pwr cable from the inside of the board to the outside.
- Remove the data/ pwr connector from board.
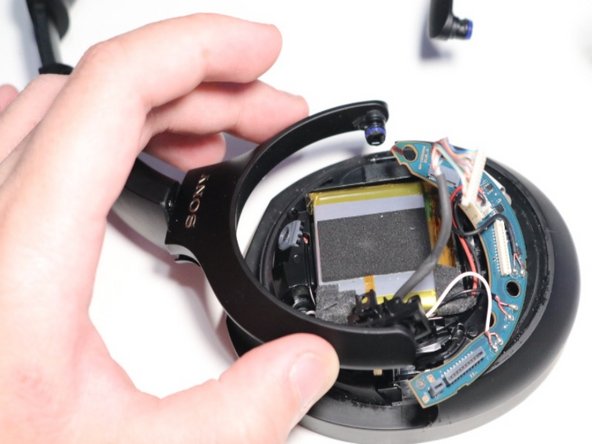
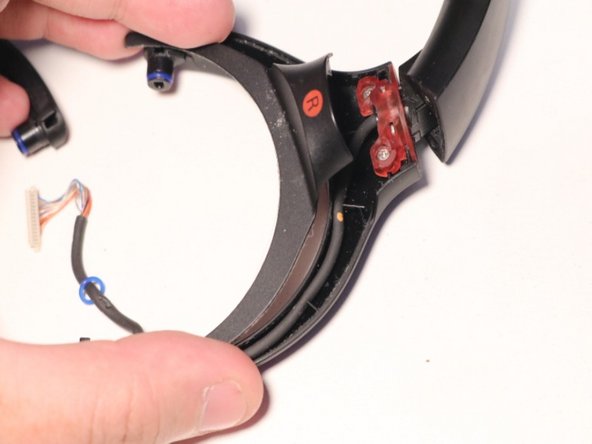
- On the right ear, rotate the motherboard and remove the two screws from the hinge using a Phillips #000 screwdriver.
- On the right ear, lift the hinge and push it out.
- Using an opening tool, pry off the left ear muff and remove the underlying foam.
- Remove the four silver screws on left side of the headphones using a Phillips #000 screwdriver.
- Flip the headphones.
- Lift up and flip the left ear cup cover.
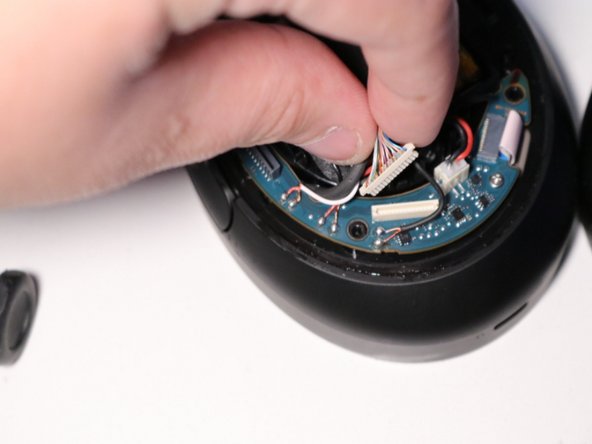
- On the left ear, detach the multipin connector (multiple colorful wires) from the back panel to the motherboard.
- On the left ear, remove the two screws from the hinge using a Phillips #000 screwdriver.
- On the left ear, lift the hinge and push it out.
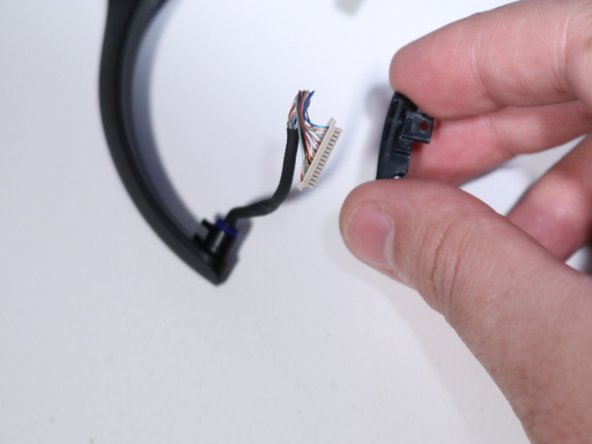
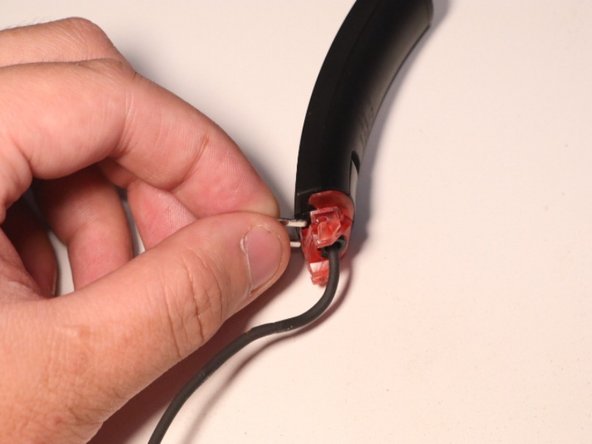
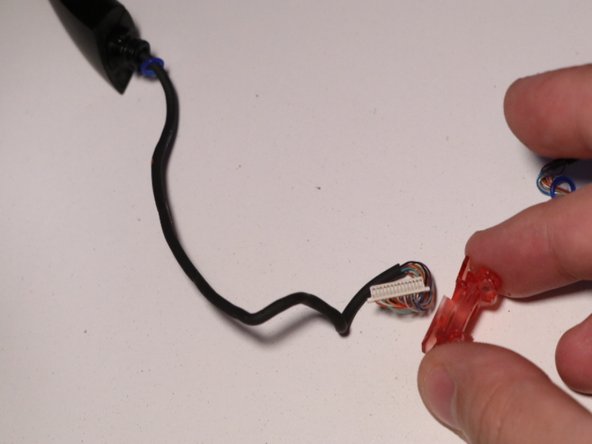
- Remove the black hinge piece from the data/ pwr cable.
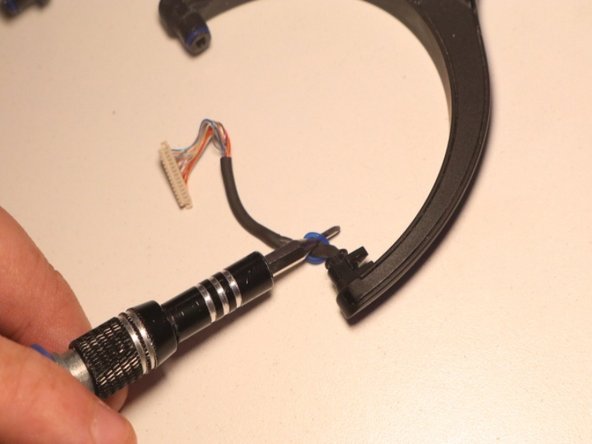
- Using a screwdriver, remove the rubber band.
- Use an opening tool to remove the cover.
- Lift up the data/ pwr cable.
- Remove the two screws from the swivel using a Phillips #000 screwdriver.
- Push out the metal bit from the swivel piece using a spudger.
- Pull out the metal bit.
- Remove the old swivel.