Amazon Fire HD 8 12th Gen Screen Replacement
ID: 167331
Description: The Amazon Fire 8 HD 12th Generation has a...
Steps:
- Remove the device from any electrical source and make sure it is powered off.
- Put picks around the corner and move them along the edge to pry the case off.
- Once there is separation between the case and the screen, place a pick in between the screen and on the corner of the back case.
- With the corners lifted, take the opening tool and pry each corner off.
- Repeat this for the corner diagonal from the initial corner.
- Once both corners are pried off, gently take the back case off the device.
- Using the iFixit opening tool, disconnect the battery from the circuit board.
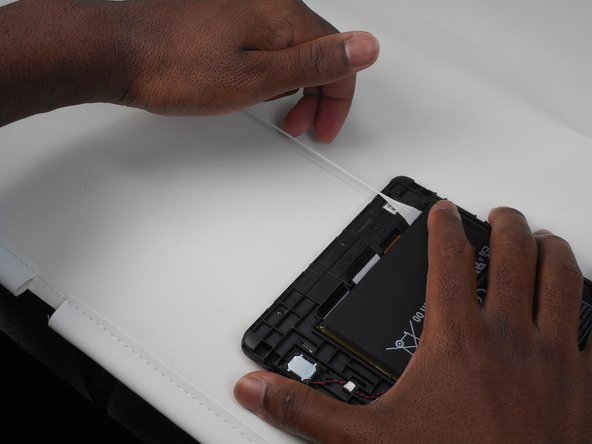
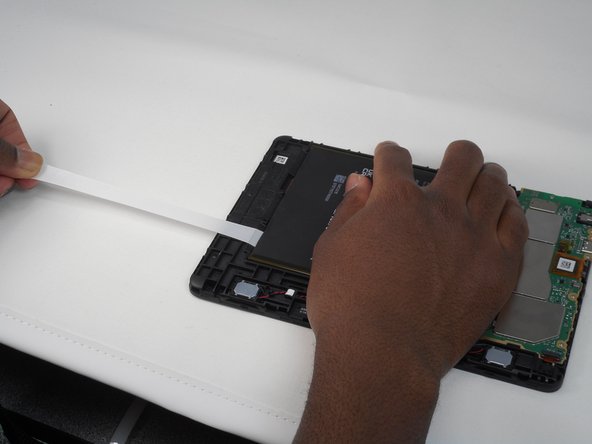
- Slowly and gently, pull and remove the 3 adhesives under the old battery.
- Remove all 3 by pulling the adhesive, signified by a black flap with white adhesive. You will know it is removed when the adhesive has come out from under the battery and you are now able to move the battery.
- Remove the old battery from the device using the opening tool.
- If necessary, clean under your old battery and then insert the new battery with new adhesive to ensure the battery stays in place.
- Start off by heating the edges of the screen to melt the adhesive.
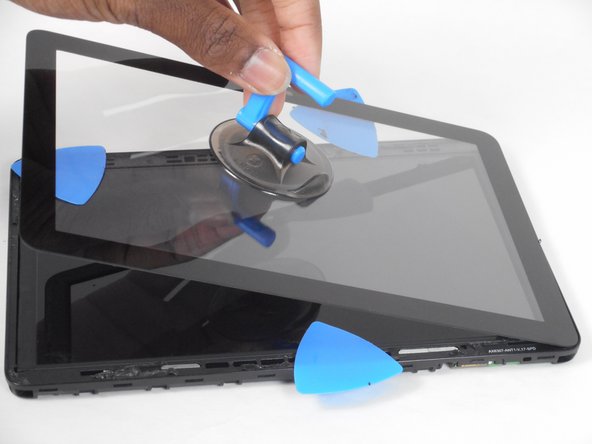
- Insert the opening picks between the screen and device.
- Slide the opening pick in between the screen and device, prying it just above the device.
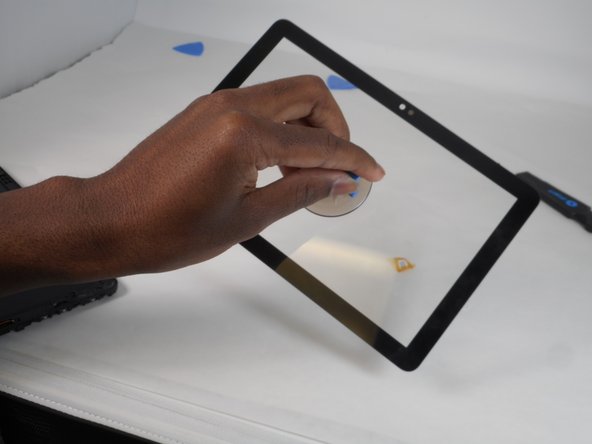
- Place the suction on the screen
- Gently pull the screen off using the suction and opening tool.
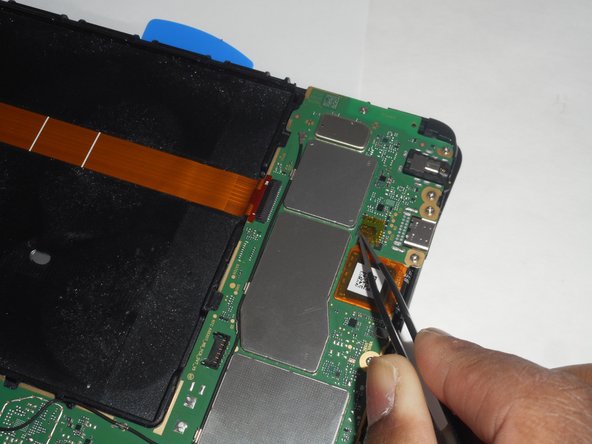
- Heat up the little black square with yellow orange tape around it on the back of the device, atop the motherboard.
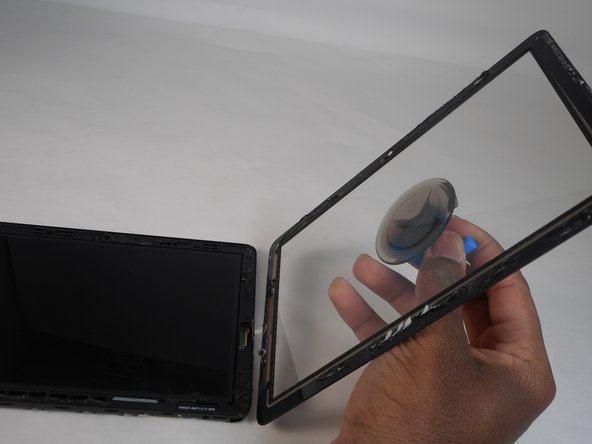
- Once heated, remove the little black square using tweezers. Unhooking the screen from the screen.
- Pulling the suction cup, fully remove the screen from the device.