Logitech G29 Driving Force Red Dial Replacement
ID: 167344
Description: This guide will explain how to replace the red...
Steps:
- Take off the 6 black hex screws holding the PlayStation center cap using the H 4.0 bit. The outer diameter of these screws is 8.40mm with a length of 26mm.
- Once the center cap is off, take the face of the wheel off the stand. Before totally taking off, disconnect the 7-pin white cable running into the base of the wheel and place the base aside.
- Remove the wire connecting the PCB to the base of the wheel.
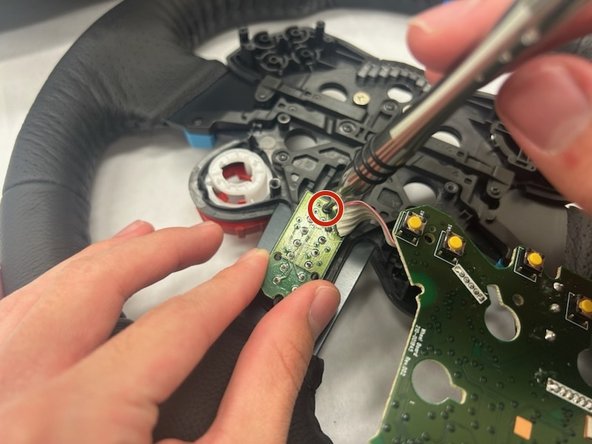
- Take off the 7 (4.32mm diameter 8mm long) silver screws holding the PCB to the black housing on the wheel using bit Ph #0.
- Move the PCB to the side to expose the back side of the red dial. Keep the remaining white cable connected to the secondary PCB.
- Be careful not to lose the buttons and D-pad; once the PCB is removed, they can easily be lost.
- Press the 3 red tabs located on the inside black housing of the dial. Using the medium-sized tweezers, push the black center button out to reveal 3 small black screws.
- Using the same bit as earlier (bit Ph #00), remove the three (3.32mm diameter, 5mm length) screws to release the red dial.