HP 15-dy2702dx Fan Replacement
ID: 167390
Description: This guide demonstrates a fan replacement for...
Steps:
- Remove both of the rubber strips to uncover the hidden screws.
- You can use a prying tool to help lift an end.
- Unscrew all 8 Phillips #1 screws on the bottom panel:
- Two M2.5x6
- Six M2x6
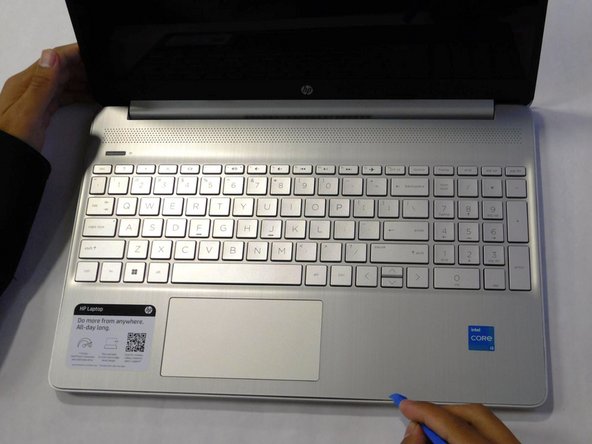
- Flip the laptop over and open the lid.
- Separate the bottom panel from the main body by using the iFixit opening tool.
- Ensure that the bottom panel is completely separated along the edges.
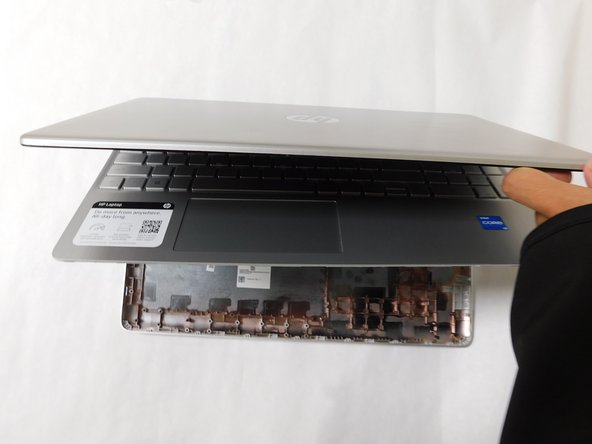
- If you can lift the laptop like shown in the first picture, the bottom panel is nearly separated.
- Close the laptop to allow the back edges to fully separate
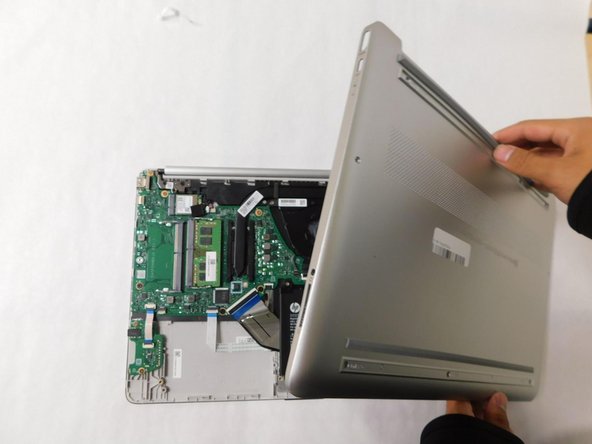
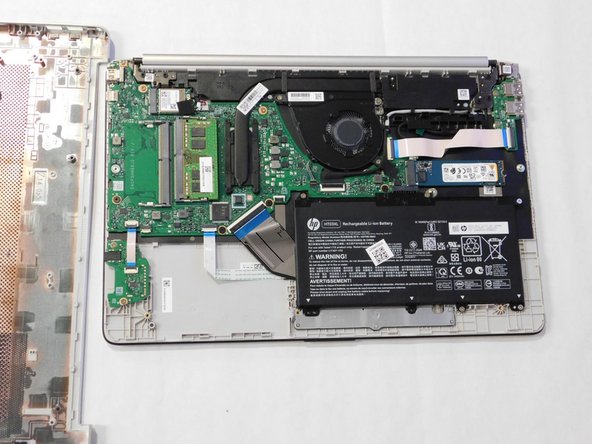
- Flip the laptop over and carefully remove the lower case.
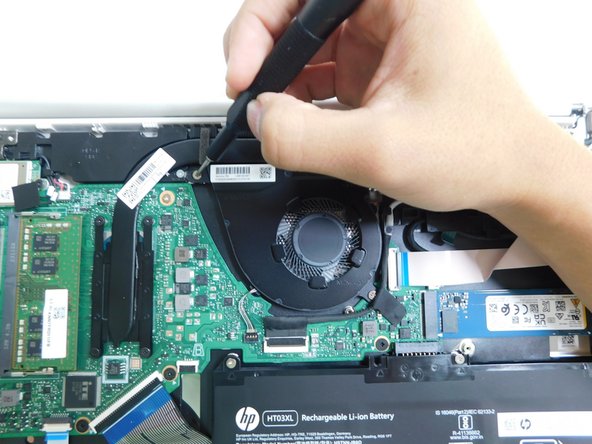
- Use a Phillips #1 screwdriver to unscrew the three screws that secure the fan.
- These screws sizes are M2x6.
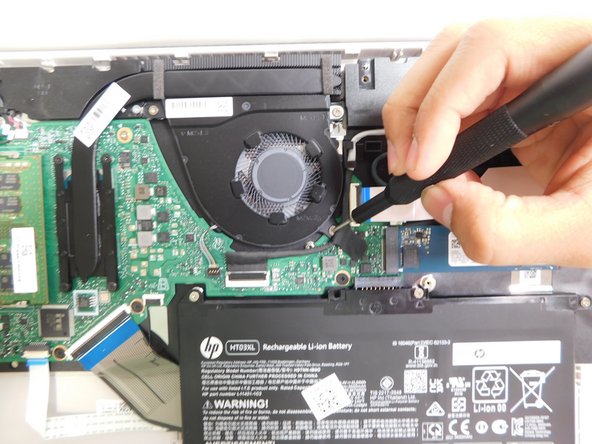
- Grip the cord that connects the fan to the motherboard and gently pull out to disconnect the cable from the connector.
- Alternatively, we recommend using a tool to push the connector out of its socket to avoid damaging the wires.
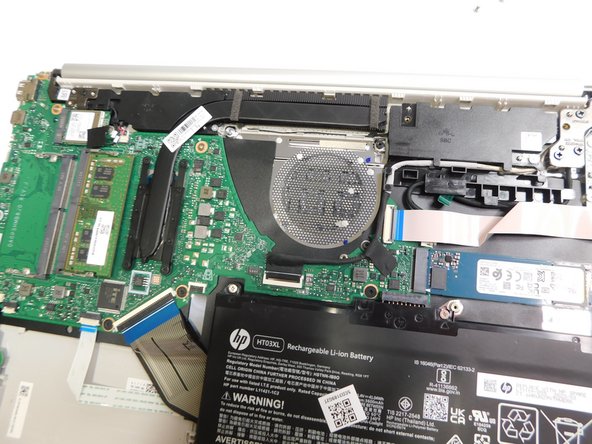
- Gently lift the fan to remove it from the case.