How to Upgrade the Expandable Storage in Your PlayStation 5 Slim
ID: 167663
Description: Follow this guide to install an M.2 SSD in the...
Steps:
- Before starting your repair:
- Shut down your console and unplug all cables and accessories.
- Remove any stands supporting your device and lay it down.
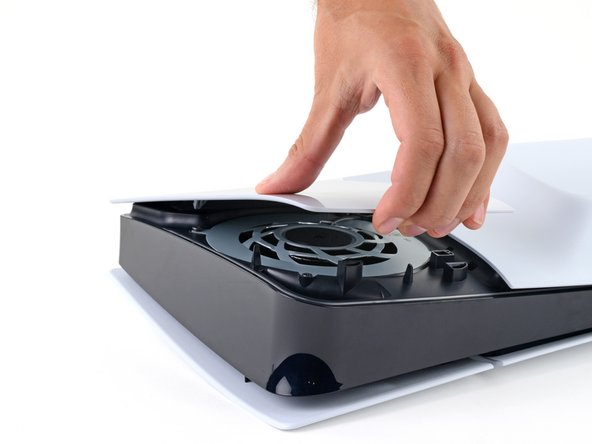
- Lay your PlayStation on its side so the right side covers are facing up.
- The cover is secured with hooks along the back edge and clips along the front edge.
- Firmly pull up the front edge of the smaller, upper cover to release the clips.
- You'll hear distinct "pops" as the clips disengage.
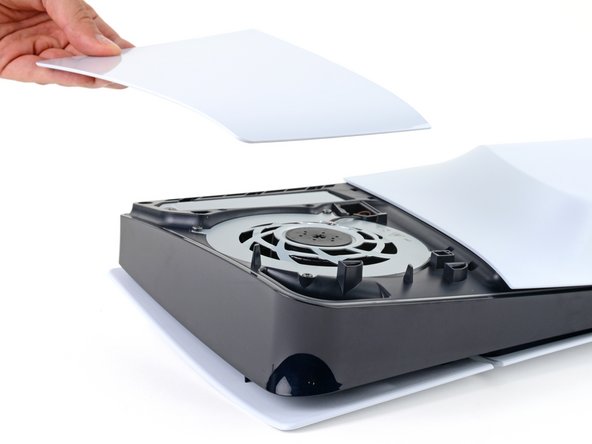
- Remove the cover.
- To reinstall the cover, place the hooks into their cutouts along the rear edge and firmly press the front edge of the cover into place to re‑engage the two clips.
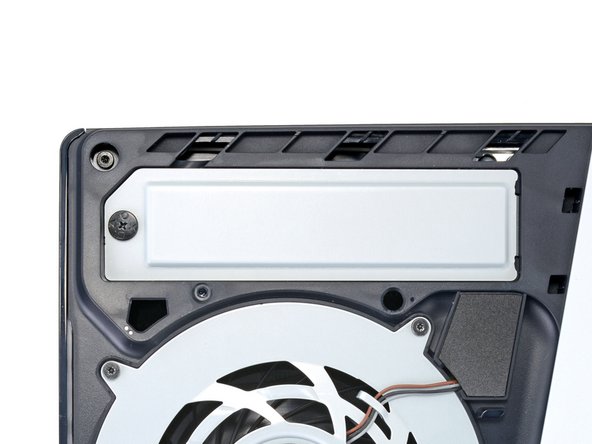
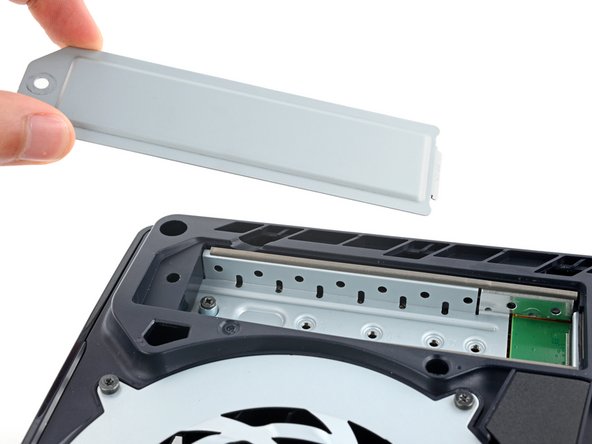
- Use a Phillips screwdriver to remove the 17.1 mm‑long screw securing the expansion slot cover.
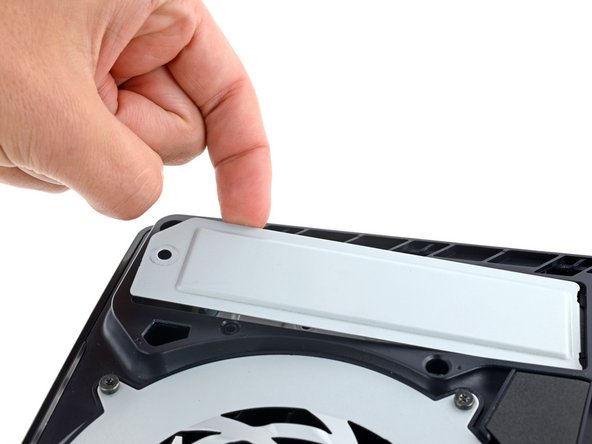
- Use your fingers to lift the expansion slot cover near the notch by the screw hole and remove it.
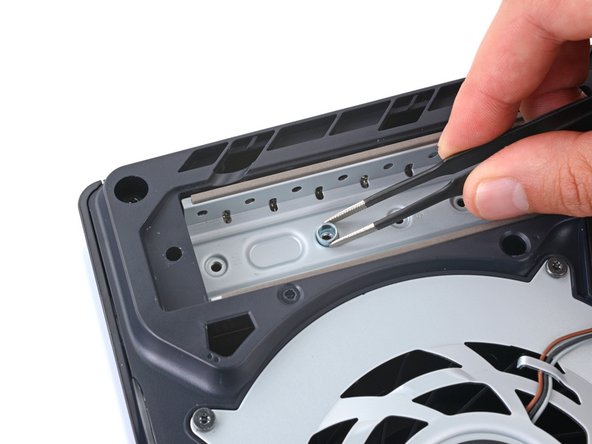
- Use a Phillips screwdriver to remove the 10.9 mm‑long SSD screw securing the spacer.
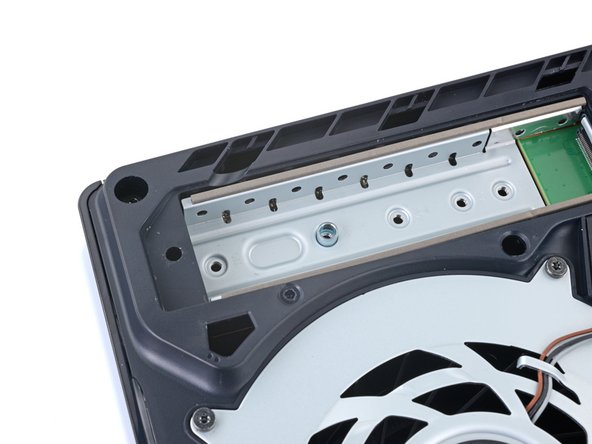
- Multiple indents along the expansion slot allow for compatibility with any sized SSD. Each indent is labeled with its corresponding size.
- Use tweezers or your fingers to move the spacer to its proper indent based on the size of your SSD.
- Do not install the SSD without the spacer.
- Make sure your SSD is compatible with your PlayStation and has a heat-dissipation mechanism such as a heatsink or thermal pad.
- Insert the SSD into its M.2 socket at a slight downward angle.
- Both the SSD and M.2 socket are keyed, which means the SSD only fits into the socket one way.
- It's normal for the SSD to sit up at an angle before it's secured in place.
- With one hand, push the SSD down so its cutout is aligned on top of the spacer.
- With your free hand, use your Phillips screwdriver to tighten the SSD screw.
- Don't overtighten this screw, or you may damage the SSD.