Disassembling Qingping Air Monitor Lite CGDN1
ID: 167734
Description: After +/- 3 years of 24/7, the fan of the...
Steps:
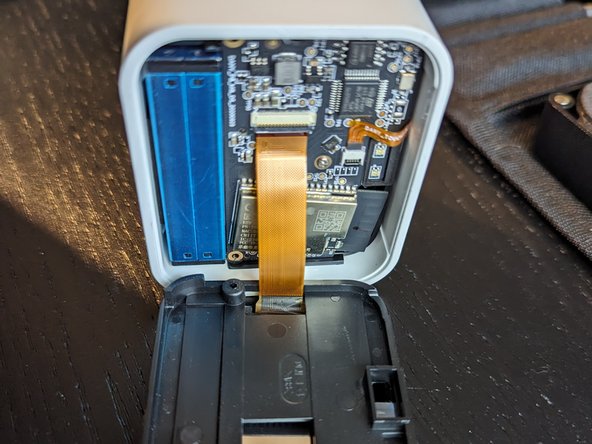
- When removing the screen with the suction handle and a jimmy be very careful at the right side of the screen and don't damage the connection like I did (see red circle).
- Carefully remove the screen towards the front. The screen is glued with some tape (see the orange marker).
- Maybe use some heat to soften the clue.
- I used a combination of a suction pad and Jimmy.
- 2 Philips screws are holding the backing plane of the screen
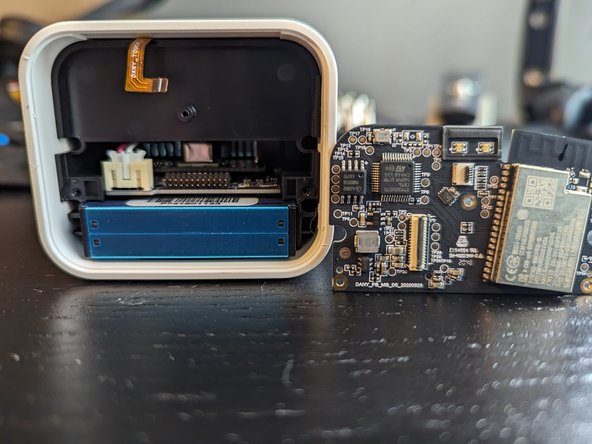
- Lift the small black ledge to remove the flat cable of the screen. Orange circle
- Disconnect the flat cable of the touch sensor by lifting the little black ledge, see the orange circle.
- One screw holding the PCB, green circle
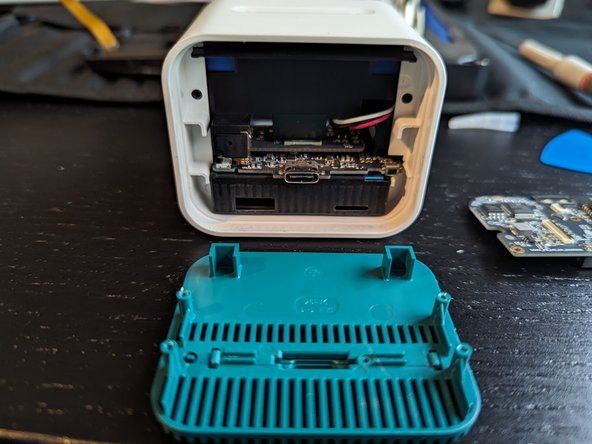
- 4 Philips screws hold the back in place.
- You'll need a very long/narrow bit to reach these screws!
- You can slide the complete inner parts to the front.
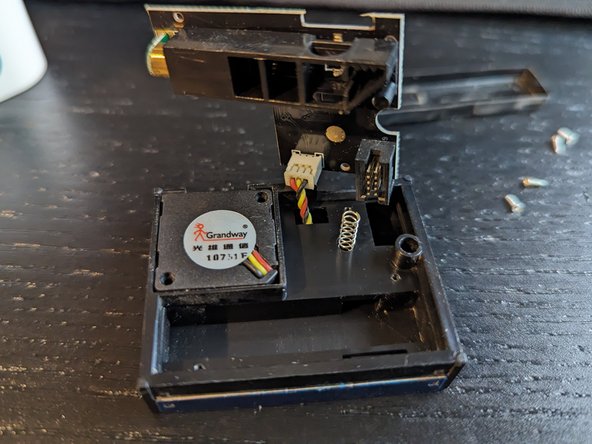
- Sensor is held by the 10 pin connector
- Don't let the springs jump away
- By slightly bending the cover you can lift the cover from the sensor housing
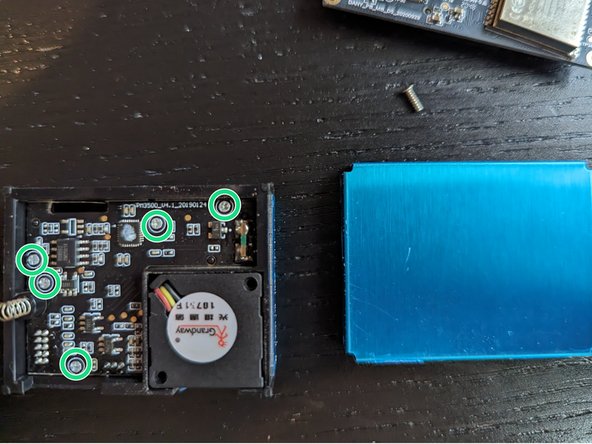
- 5 little philips screw hold the sesnor PCB in place. To access the fan connector you have to remove the pcb