TMY V08 Lens Replacement
ID: 167758
Description: If the lens on the TMY V08 need to be replaced,...
Steps:
- Turn the projector upside-down.
- Remove the six 10.8 mm screws from the bottom of the projector using a Phillips #1 screwdriver.
- Turn the projector back over and lift the top casing panel off the projector.
- Pinch and pull the bundled cable connector from the top panel.
- Remove the top panel from the projector.
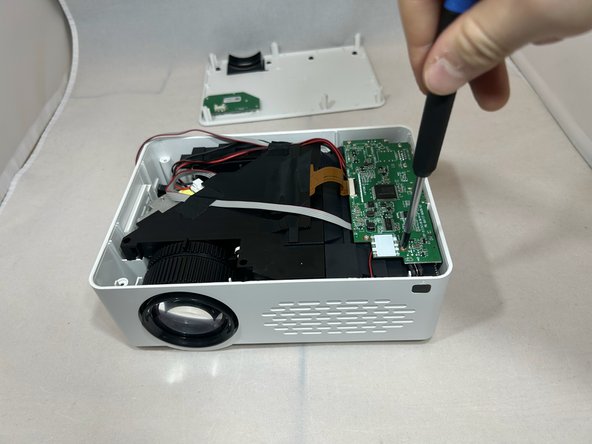
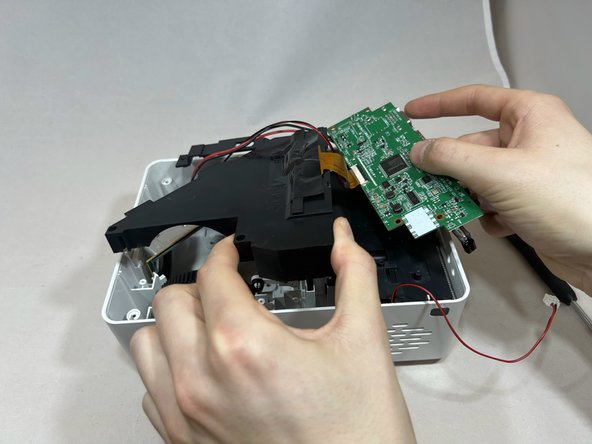
- Remove the four 6.4 mm screws from the motherboard using a Phillips #1 screwdriver.
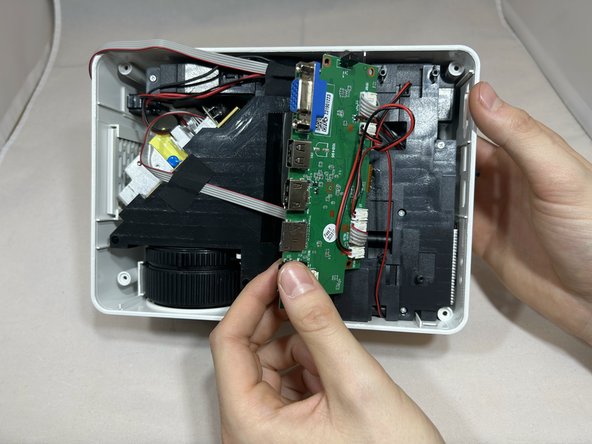
- Pull back the motherboard to expose the connectors underneath.
- Rotate the projector counterclockwise 90 degrees.
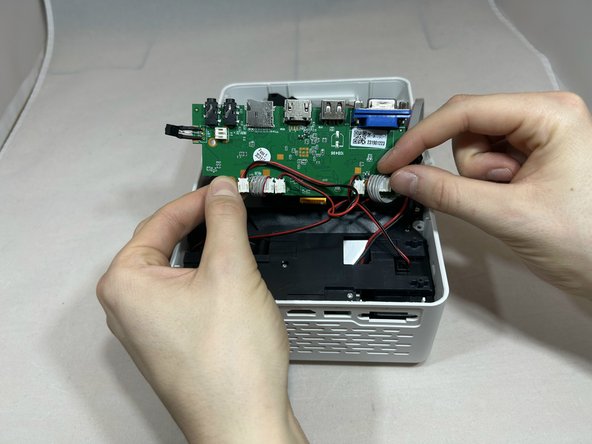
- Disconnect the three bundled cable connectors and the two power cable connectors from the motherboard.
- Rotate the projector counter clockwise with the front facing you.
- Remove the four 7.3 mm screws from the black cover to the left of the motherboard using a Phillips #1 screwdriver.
- Remove the motherboard and black cover at the same time, being careful not to pull on the gold ribbon.
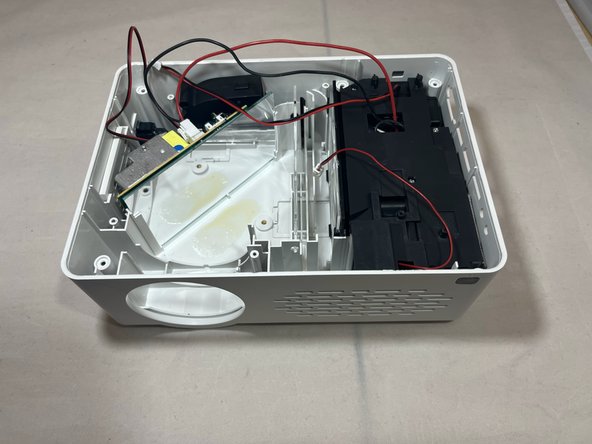
- Flip the projector over so the bottom is facing up.
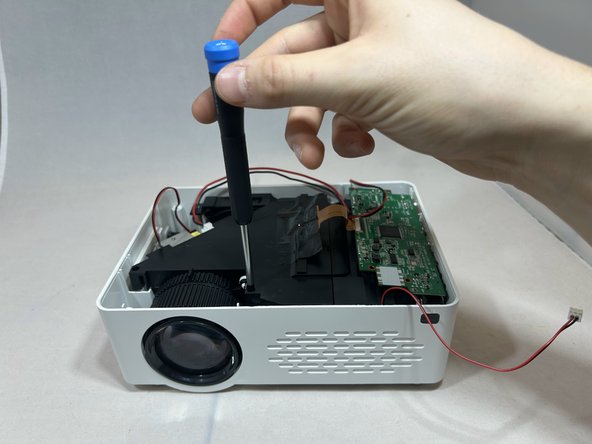
- Remove the two 13.9 mm screws using a Phillips #1 screwdriver.
- Flip the projector back over.
- Remove the fine gauge adjustment, by lifting it out.
- Grasp the side of the lens.
- Pull the lens outward away from the hole while pulling upward to remove the lens.