2018 Honda Civic LX Engine Air Filter Replacement
ID: 167874
Description: An efficient working engine air filter will...
Steps:
- Locate the hood release latch under the dash on the driver’s side.
- Pull on the release latch towards you to release the hood.
- Locate the tab found on the front of your vehicle.
- Sliding your hand under your hood, feel for the latch and release the tab.
- Lift the hood once the tab is released.
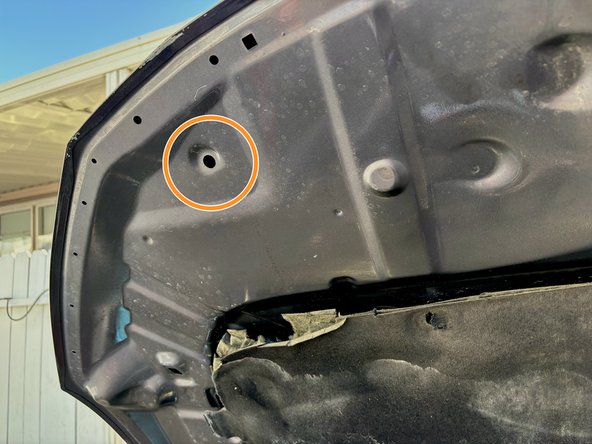
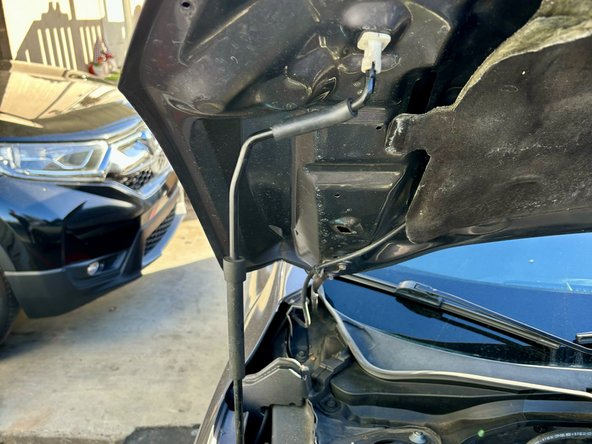
- Hold your hood up with one hand and locate the hood support rod.
- Pull the hood support rod off the clip and insert the tip into the hole on the top left part of your inner hood.
- The hood should rest on the support rod on its own; you can now remove the hand that was initially supporting the hood.
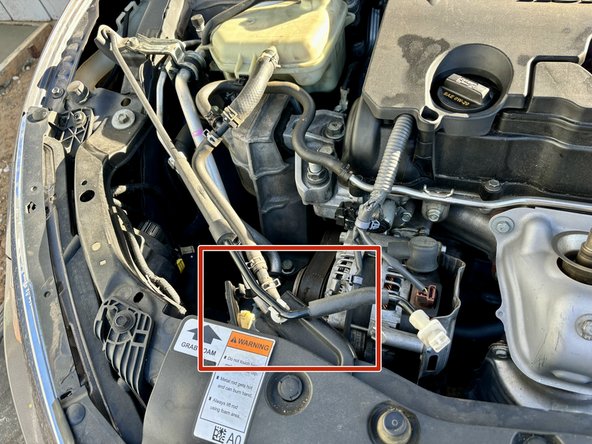
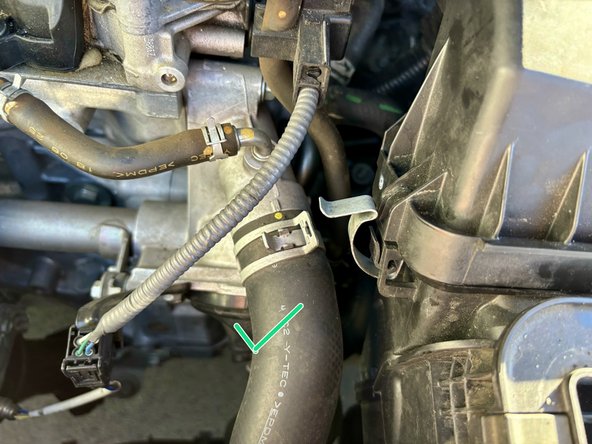
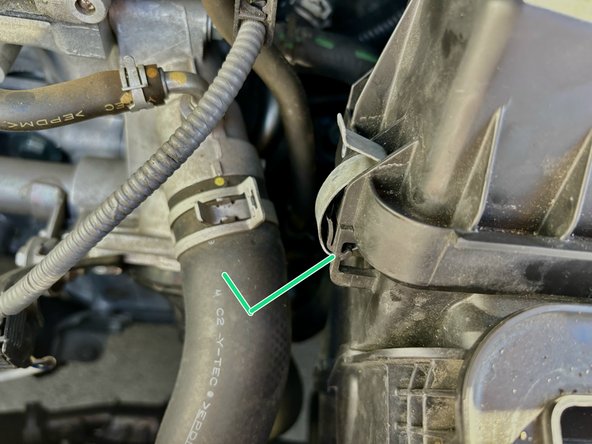
- Now, look at your engine and towards the bottom right to locate the air box.
- This plastic box contains your air filter, so we must get inside!
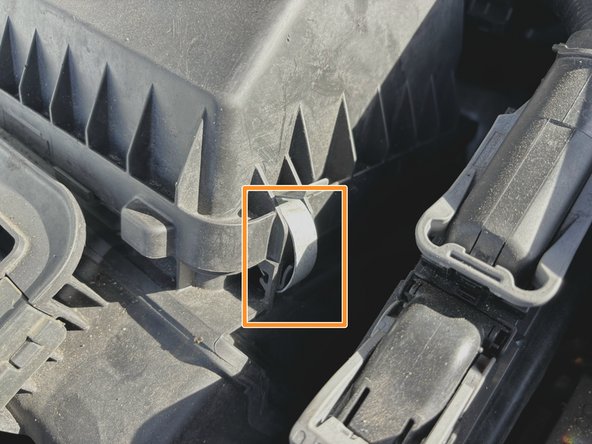
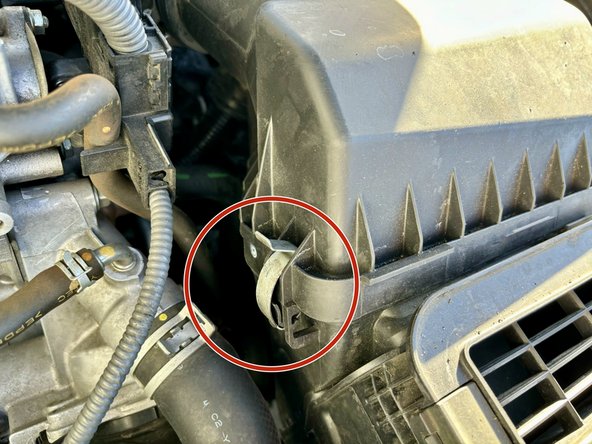
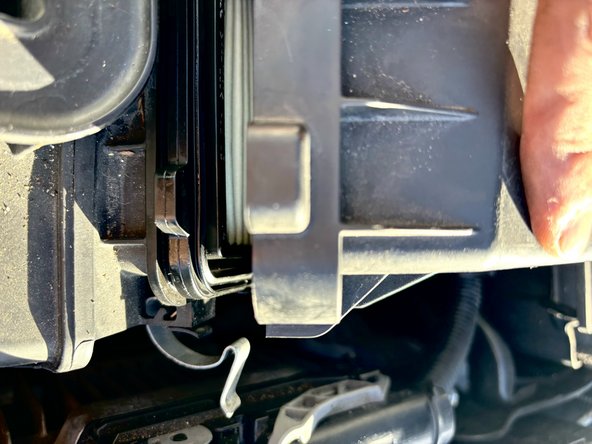
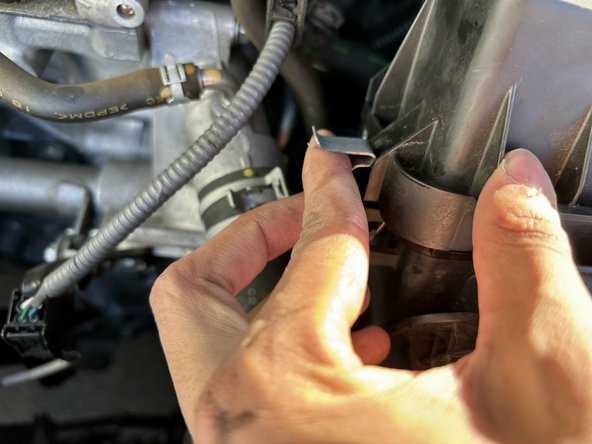
- Locate the clips that hold the air box in place.
- Unlatch the left and right-hand side snaps holding your box in place.
- A simple flick downward should be enough to unclip the snaps.
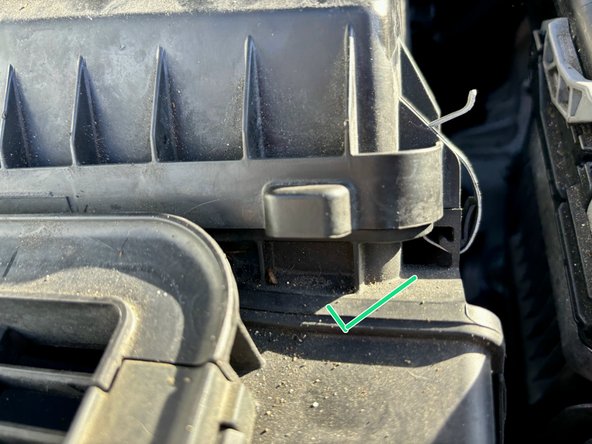
- Now, lift the unlatched air box with an upward pull.
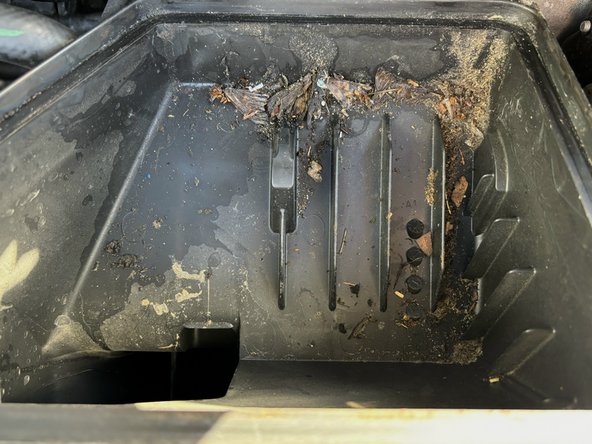
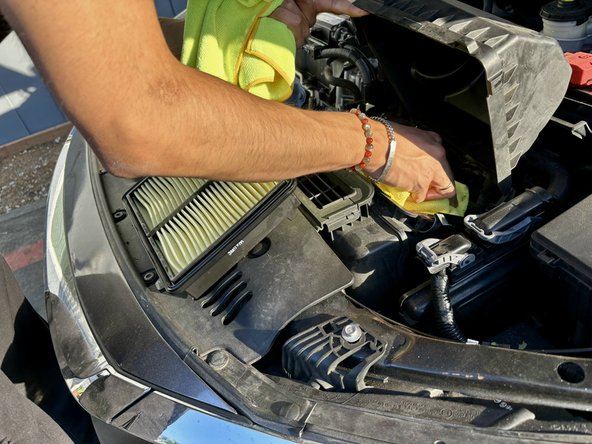
- Locate your old air filter found inside the air box.
- Remove the old, dirty filter from the housing.
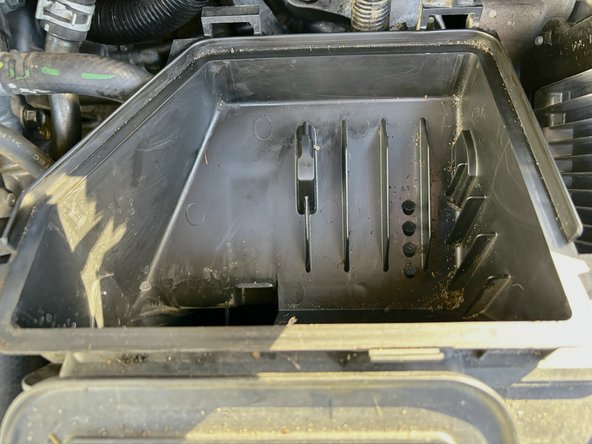
- Your now empty air box will contain dirt and debris that we remove using a microfiber towel.
- Replace the old filter with our new air filter.
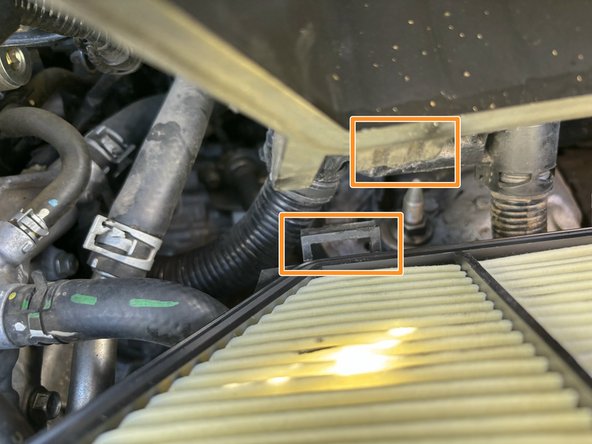
- The angled edge of your filter should be on the top left-hand side, and the ridge should be on the top when putting it in the air box.
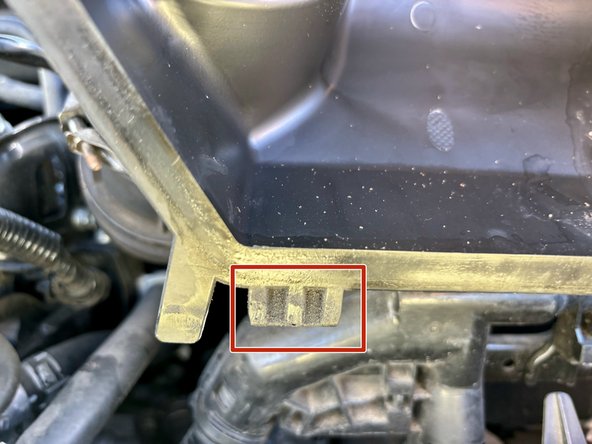
- Locate the plastic teeth on the left and right of the air housing.
- Line these teeth up with the notches in the back and push them in.
- Push the air box's lid down and clip the previously unlatched snaps back to secure your air box.
- Hold your hood up with one hand. Using your other hand, remove the hood support and latch the support onto the clip you previously took it off of.
- Now you're all set to close up your hood!