Pocket C.H.I.P. Teardown
ID: 167908
Description: Released in 2016, the Pocket C.H.I.P. was a...
Steps:
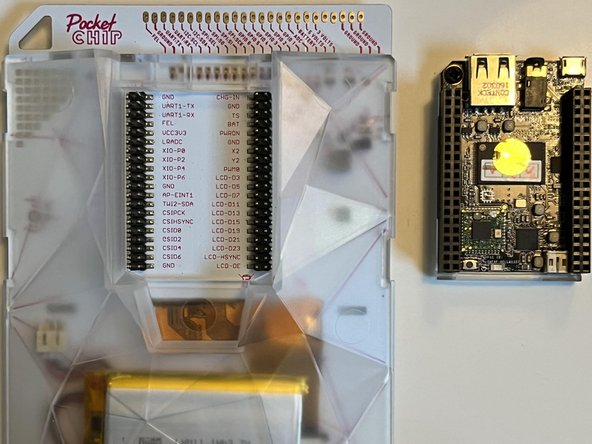
- To start off, power off the computer, remove the CHIP on the back.
- You shouldn't need any special tools for this, but it might be a little tight, so you might need to wiggle it a bit.
- Be careful and apply even pressure so you don't bend the pins.
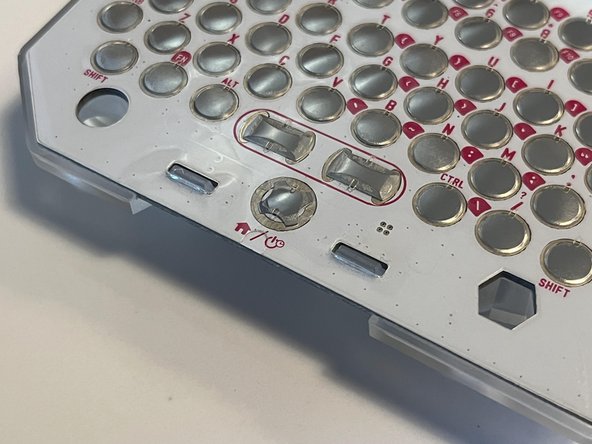
- Then remove the front screen border.
- There are four clips around either side for you to unclip.
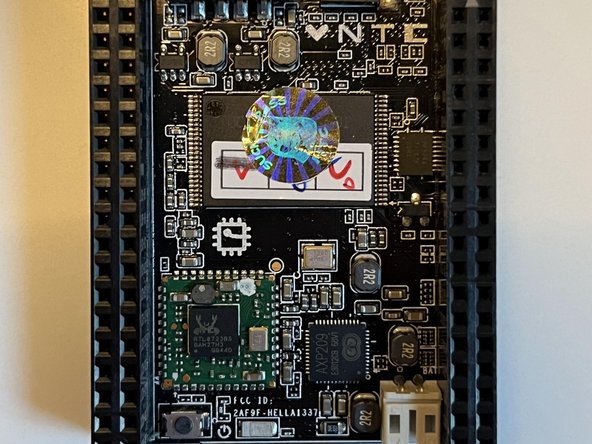
- This is the main CHIP computer.
- To access the rest of the computer, you need to remove the cover with a single Philips screw.
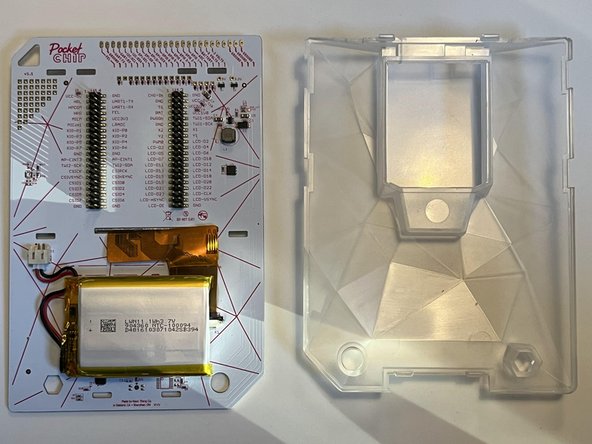
- Remove the clear back cover
- There are four clips, two on the top, two on the bottom that should be unclipped to remove it.
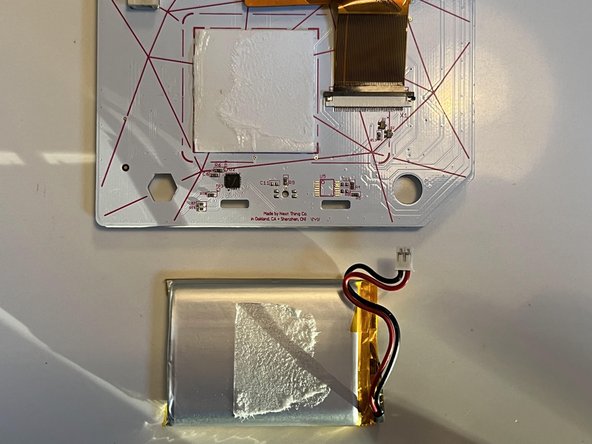
- Next, we need to remove the LiPo battery.
- First, we need to unplug it from the CHIP. Simply pull it from the connector.
- There is some adhesive holding the battery to the main board. I found twisting it while pulling worked wonders.
- Be careful not to puncture the battery and follow proper battery-handling precautions.
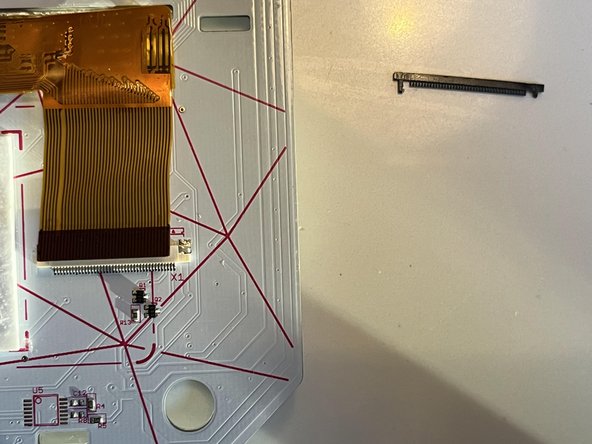
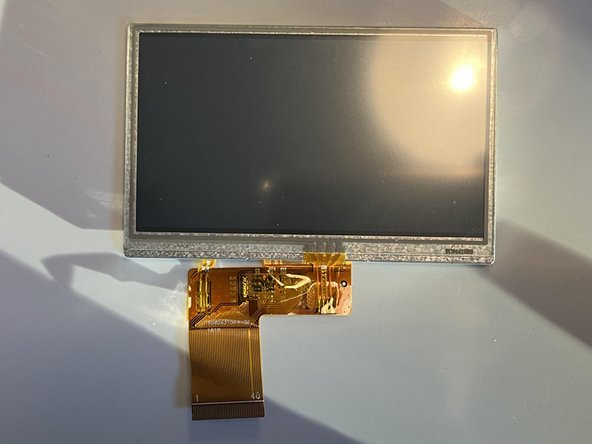
- The screen connector was hidden by the battery. Now that it's revealed, we can do our thing.
- Pull the black bar up on both sides. It should come out completely.
- You can now pull the ribbon cable up.
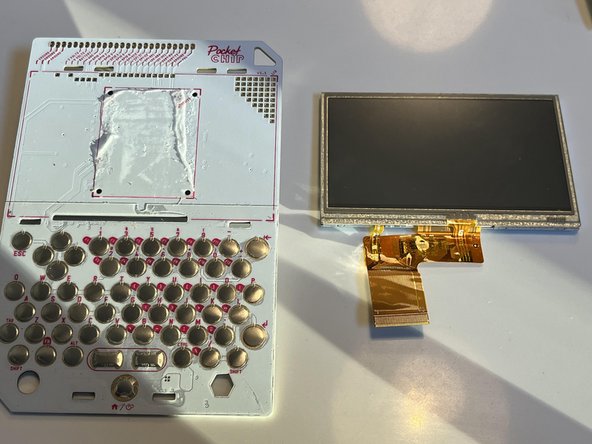
- There is some adhesive behind the screen. I put a card behind it and kind of sawed it off to remove it.
- That's it, we've taken apart the Pocket chip! The only pieces are
- The main board with the keyboard
- The main CHIP computer
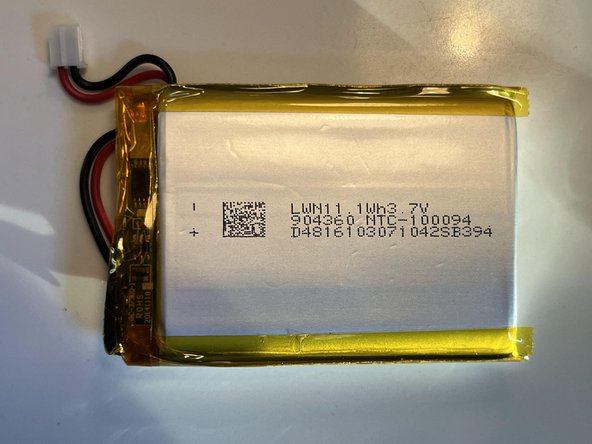
- The LiPo battery
- The screen
- And the back case.