Sirius S50-EX1 Side Buttons Daughterboard Replacement
ID: 168004
Description: This guide helps your replace the daughter...
Steps:
- Pry the speaker covers up gently from their sides by pulling up on the four corner posts that hold the cover in place.
- Remove the eight 11 mm screws from the front plate using a Phillips #1 screwdriver.
- Turn the device so its back is facing you.
- Remove the two 11 mm screws using a Phillips #1 screwdriver.
- Separate the stand from the device.
- Remove the two 9 mm screws with a Phillips #1 screwdriver.
- The screws will be buried slightly into the frame.
- Turn the device so that its front is visible.
- Remove the channel dial by pulling up on the dial firmly.
- Remove the S50 by pulling it up and off of its connecting posts.
- The front plate is now removable, but has a fairly strong adhesive so extra force will be required to pry it open.
- Use an iFixit opening tool to pull up both sides of the speaker plate. They should come up easily. Pull firmly on the center to break the adhesive.
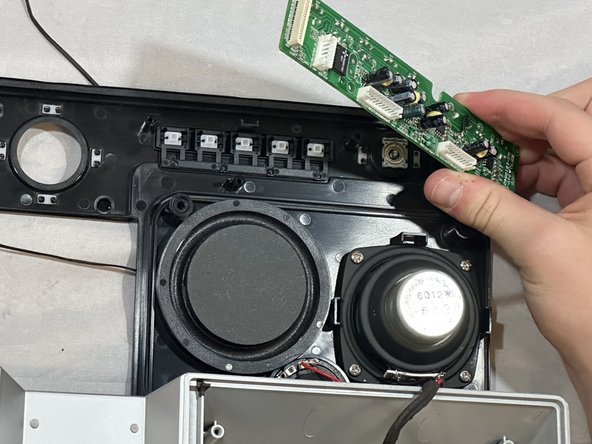
- Once the face place comes free, it will still be held in place by five connecting pieces.
- Remove the three bundled-cable wires.
- Remove the ribbon cable connector.
- Remove the power connector cable.
- The connecting points are delicate. To ensure that no damage comes to the device please use both hands to firmly disconnect each without wobbling.
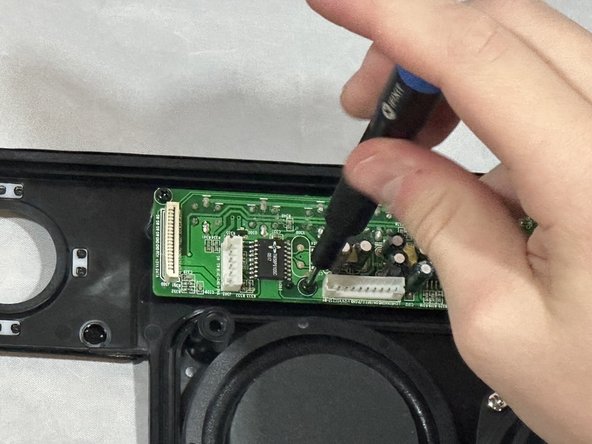
- Remove four screws from the daughterboard using a Phillips #00 screwdriver.
- Two are 8 mm long and two are 4 mm long.