PlayStation 2 Controller L/R Trigger and Shoulder Buttons Replacement
ID: 168083
Description: This guide will show you how to replace the L/R...
Steps:
- Place the controller face-down on a solid surface.
- Remove the six screws from the back cover using a Phillips #00 screwdriver.
- Gently remove both covers away from each other and place in a safe area.
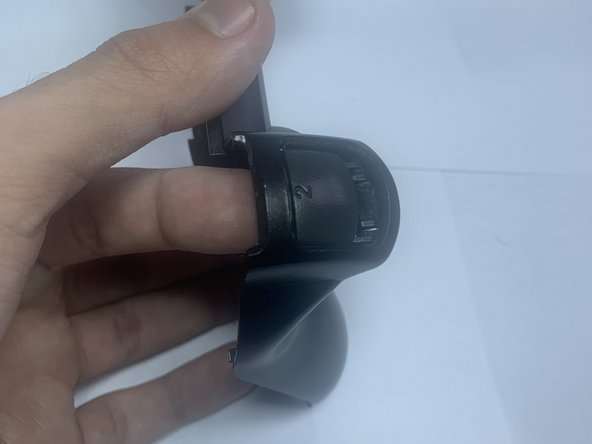
- Grab the back cover of the controller.
- Gently push the shoulder buttons down and out to remove them from their socket.
- Grab your replacement shoulder buttons.
- Slide them under the socket and push them up into the sockets.
- Be gentle as excessive force can cause damage to them.
- You'll hear a small click to secure them in place. Test the buttons so they don't fall out of place accidentally.
- Grab the front cover.
- Push the L1 and R1 buttons down and away from the cover.
- This will remove the buttons in place.
- Often when you go to put the case back together, the rubber pads for the L1/R1 buttons get scrunched out the place. Instead of putting those buttons in before putting the case together. leave them off. Once you have the case back together, you can snap them in from the outside.
- Connect both covers together and replace the screws using a Phillips #00 screwdriver.
- Take your replacement L1 and L2 buttons.
- Don't excessively press down the buttons as they can get stuck on the side.
- Gently press them inside the sockets.
- Press the buttons repeatedly to make sure they are placed correctly so you don't have any issues with them.