Black and Decker DCM100R Control Panel Circuit Board Replacement
ID: 168113
Description: This guide will cover the removal and...
Steps:
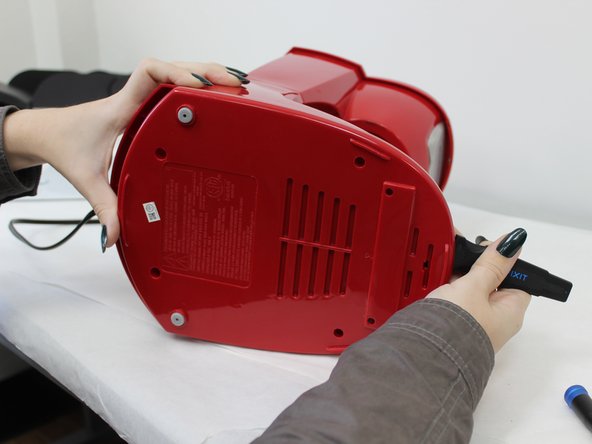
- Turn the coffee maker on its side.
- Remove the four 6 mm Phillips #2 that secure the baseplate.
- Insert the jimmy at the back of the panel and slide it around to the front.
- Apply pressure to the backside of the panel until it releases.
- Remove the plate.
- Remove the two 10 mm Phillips #2 screws securing the metal support brace.
- Remove the brace and set aside.
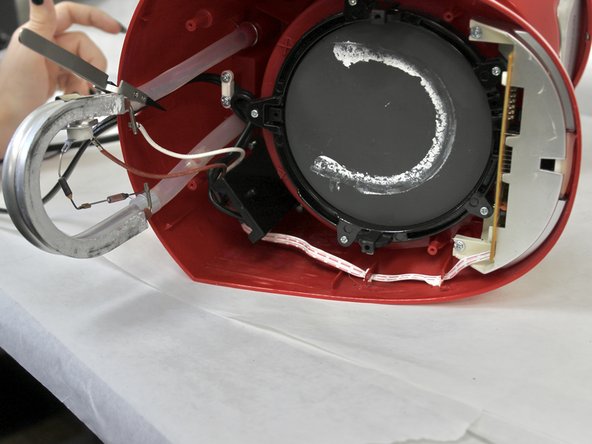
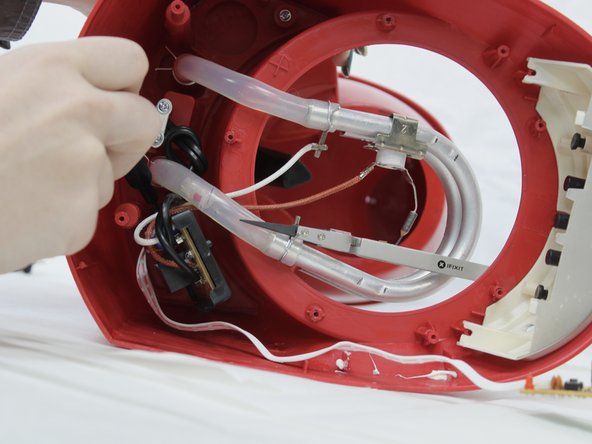
- Pull back the tubing and wiring to reveal the hot plate.
- To hold these out of your way, you can use the Nylon Tipped Tweezers to pin them back to the back panel.
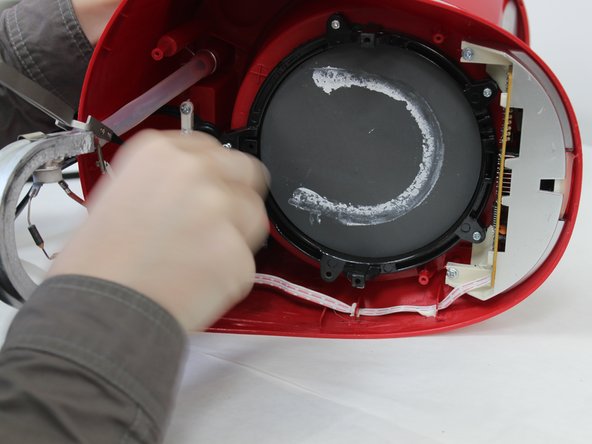
- Use a Phillips #2 screwdriver to remove the five 8 mm screws that secure the mounting bracket and hot plate.
- Use a pair of pliers to gently pull the mounting bracket out of place.
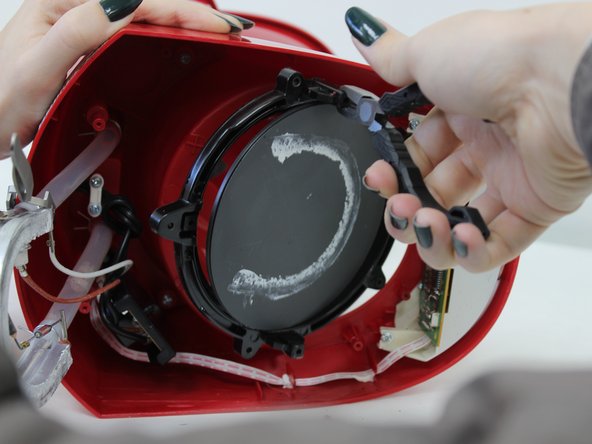
- Remove the hot plate from the mounting bracket.
- Remove the O-ring from the hot plate.
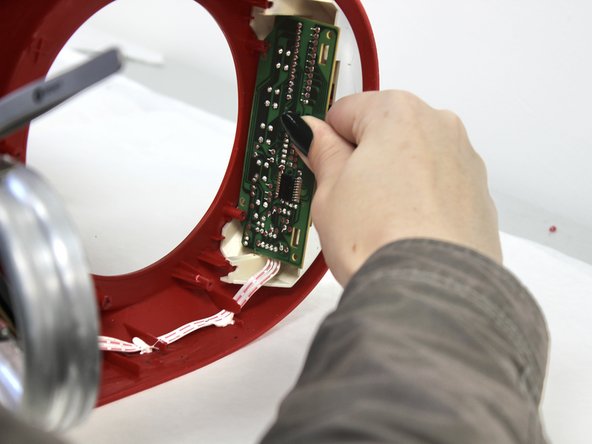
- Remove the two 6 mm Phillips #2 screws that secure the circuit board.
- Pull the circuit board out and over the hooks.
- Using the jimmy, pry the circuit board out.
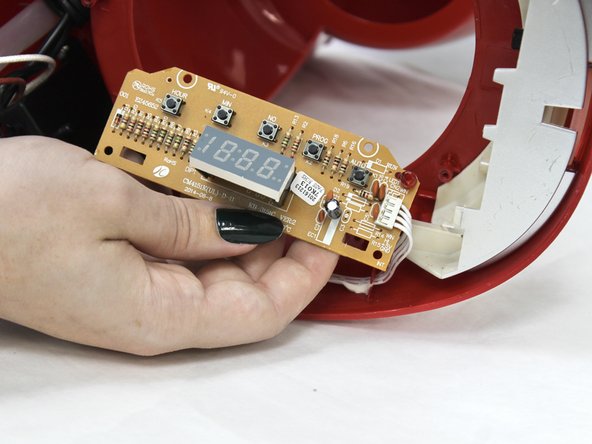
- Remove the two 8 mm Phillips #2 screws that hold the main circuit board.
- Pull out the circuit board and disconnect the white plug.
- Dislodge the ribbon cable.