JBL Charge 5 Buttons Replacement
ID: 168157
Description: Welcome to our guide for replacing the buttons ...
Steps:
- Ensure that the device is fully powered off and no cables are attached before proceeding with the repair.
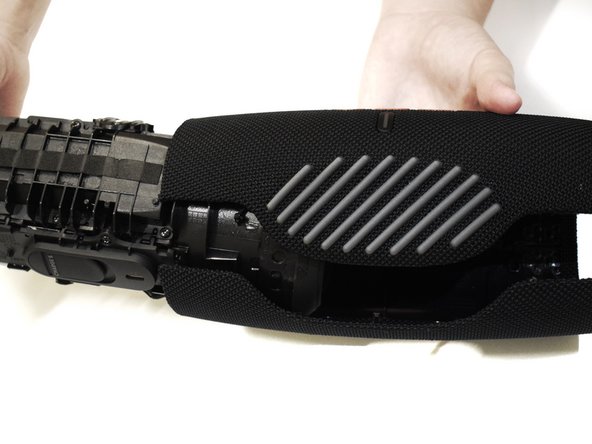
- This fabric cover is secured with plastic clips only. Depending on the model, the cover may be secured by both plastic clips and screws.
- Insert the flat end of the Jimmy into the seam located between the fabric cover on the right side of the seam.
- Pry upward on the fabric cover to release plastic clips on the right side of the seam.
- Insert the flat end of the Jimmy into the seam between the fabric cover at the center of the seam and the left side of the seam.
- Use the Jimmy to pry open the edge with the rubber texture, releasing the remaining plastic clips.
- Use your hands to gently open the two halves of the casing and slide the fabric cover off of the interior housing.
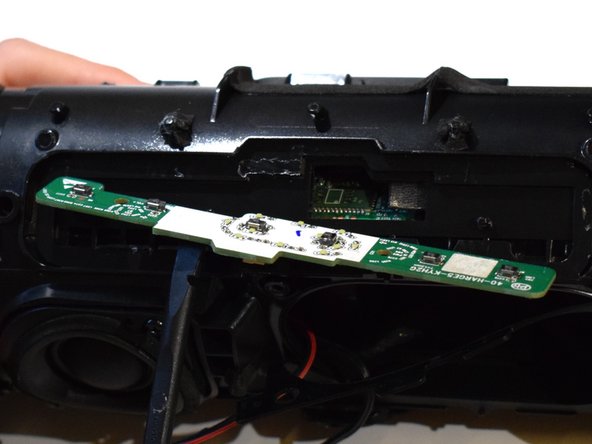
- Use an iFixit opening tool, to softly pry open each side of the button cover.
- By removing the rubber button cover, the adhesives will break. This may cause the device to lose its waterproof feature.
- Use a plastic spudger, and softly pry up on the sides of the button control board to remove it from the slot.
- Be cautious and don't pull the board all of the way out. The board is connected to the device by a ribbon cable.
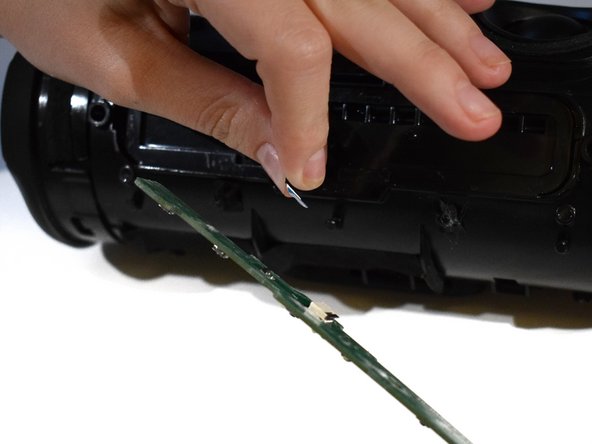
- Pinch the no-fuss ribbon cable connector, and gently pull the cable out to disconnect it from the board.
- Remove the button board.