Acer Aspire 3 A315-24P-R7VH Motherboard Replacement
ID: 168193
Description: This guide shows you how to completely remove...
Steps:
- Power off the machine and unplug it from the wall charger.
- Close the laptop and flip it over.
- Remove the eleven 6.5 mm Phillips screws from the lower case.
- Insert an opening pick between the lower case and chassis.
- Pry around the entire perimeter until the lower case releases.
- Remove the lower case.
- Optional: Put on an anti-static wrist strap. Ground yourself by connecting the metal clip at the end to any unpainted metal surface outside of the laptop.
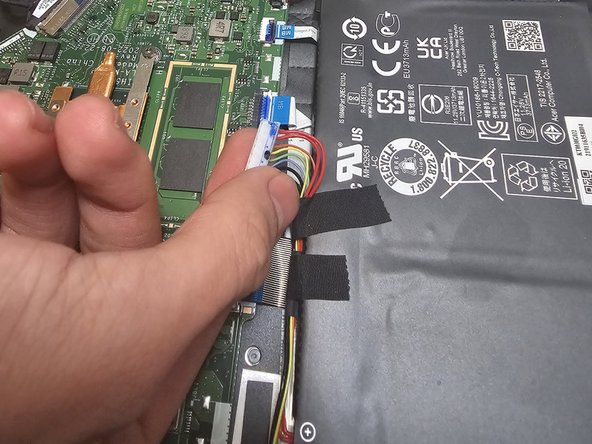
- Grip the white battery connector and pull it directly out of its socket.
- Do not pull on the wires.
- Unscrew the four 4.5 mm Phillips head screws that secure the battery.
- Lift the battery up and out of the chassis.
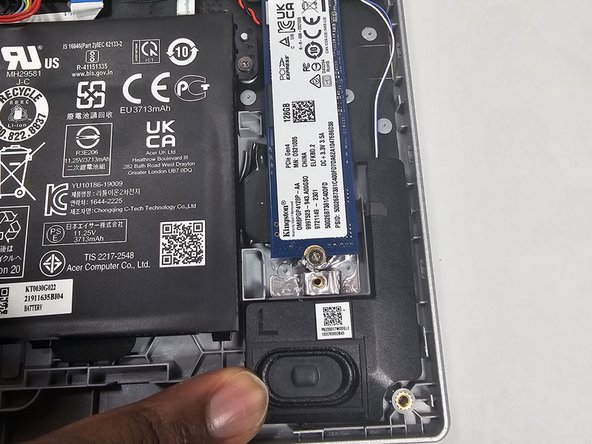
- Unscrew the one 2.2 mm Phillips head screw that secures the SSD.
- The SSD will lift to a slight angle.
- Gently grasp the drive and pull it directly out of its socket.
- Double check and make sure the replacement SSD is 2280 in size.
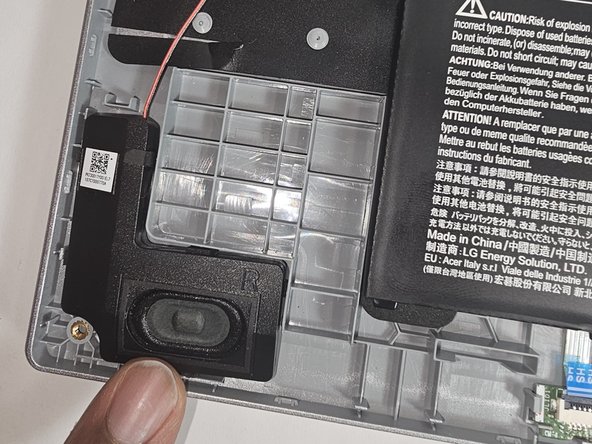
- Find the speakers at the bottom left and right corners of the laptop.
- Unplug each speaker carefully.
- There are no screws holding the speakers in place, so once unplugged, lift them out.
- Plug in the new speaker and place it in the corner that correlates to its shape. The speaker that is to go to the left corner of the laptop will be labeled with an L, likewise the speaker for the right will be labeled with an R.
- Disconnect the white ribbon cable from the motherboard, near the Network Interface Card, by lifting up the black locking flap then gently pulling it out of its socket.
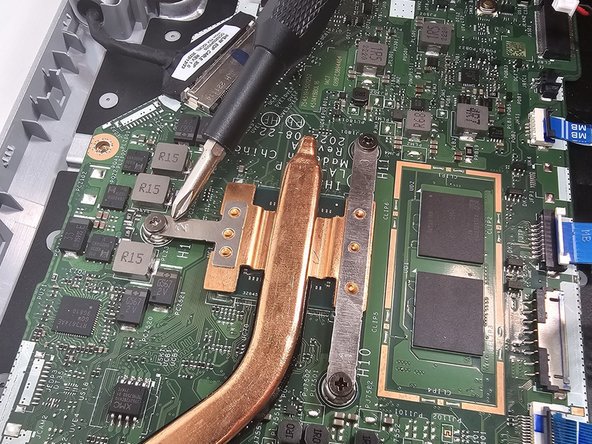
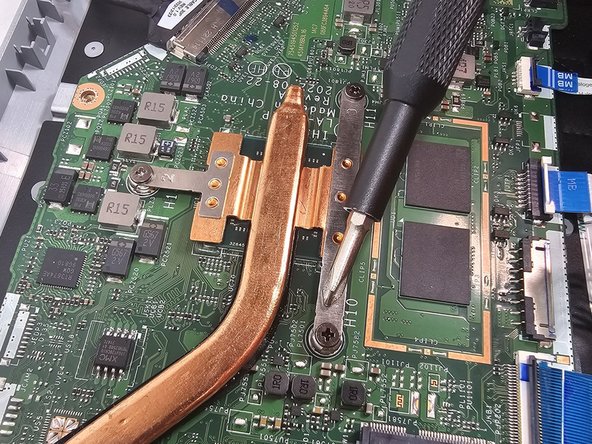
- Unscrew the three 4.5 mm screws that secure the heatsink.
- Unscrew the two 5.6 mm Phillips screws that secure the fan.
- Disconnect the fan cable connection.
- Remove the fan.
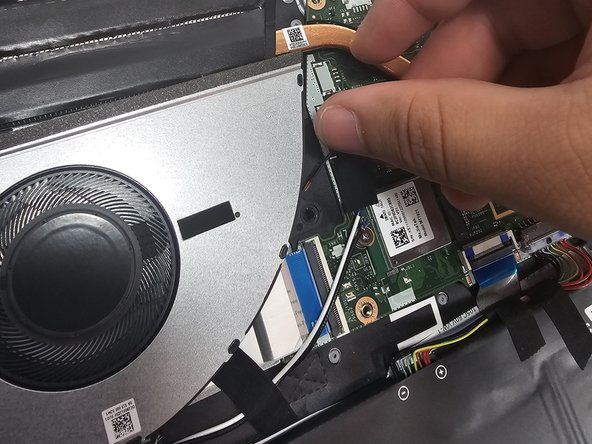
- Remove the one 4.5 mm Phillips screw holding the motherboard to the laptop frame.
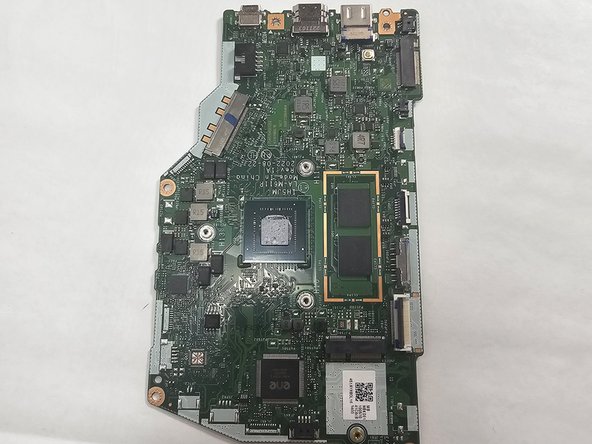
- Gently lift the motherboard up and out of the chassis.