Razer Blackwidow V3 Pro Battery Replacement
ID: 169136
Description: This guide will walk you through the process of...
Steps:
- Turn off your keyboard
- Make sure that no lights on the keyboard are on
- Remove the keycaps using either a keycap puller or your hands
- If you are not using a keycap puller, take caution to only pull the keycaps directly up or you may risk damage. Remove keycaps near the outskirts of the keyboard first, then work your way to the middle.
- Repeat until all keycaps are off
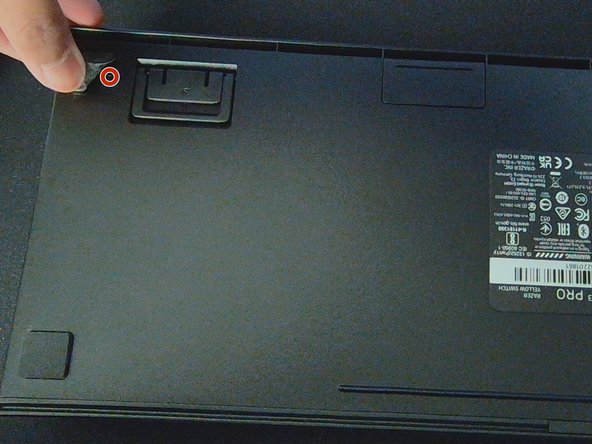
- Peel the lower-right rubber feet off just enough to reveal the 9mm Phillips screw.
- This image turns the keyboard backwards, which is why the rubber feet we are peeling off appears to be on top. If it helps, turn your keyboard backwards too.
- Be careful as to not rip the rubber feet. If needed, apply an iOpener, heat gun, or hair dryer on the rubber pad to soften the adhesive underneath.
- Unscrew the 9 mm Phillips screw underneath.
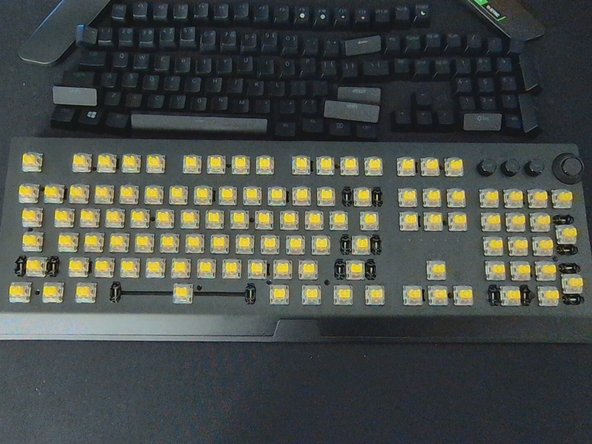
- Remove the 15 7 mm Phillips screws
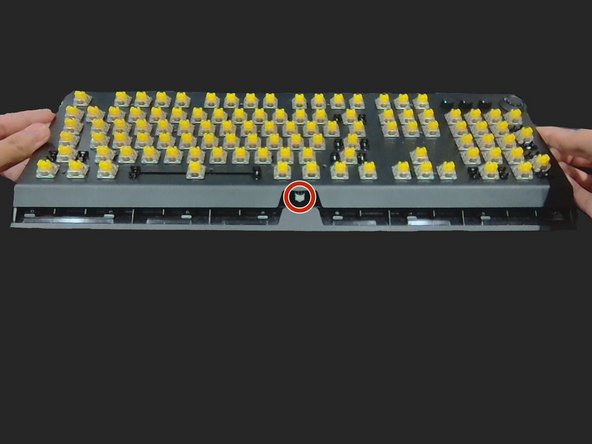
- Lift the top of the keyboard up and slightly to the front.
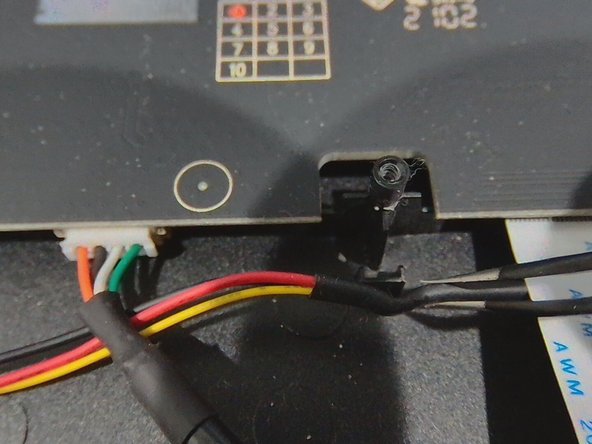
- While pushing up, watch the LED on the front (circled red on the 2nd picture) and make sure it doesn't get damaged while removing the lid.
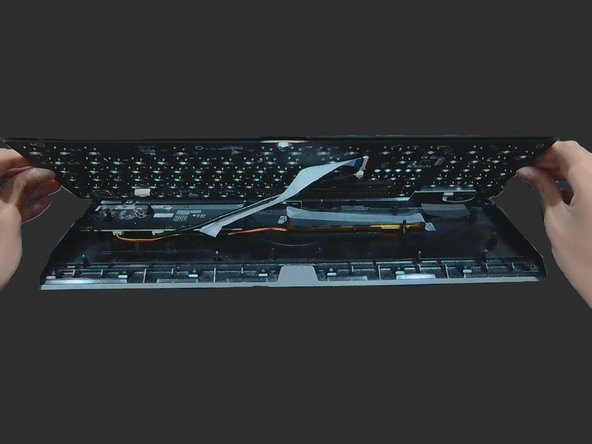
- Do not remove the keyboard entirely, there are two connectors still in place.
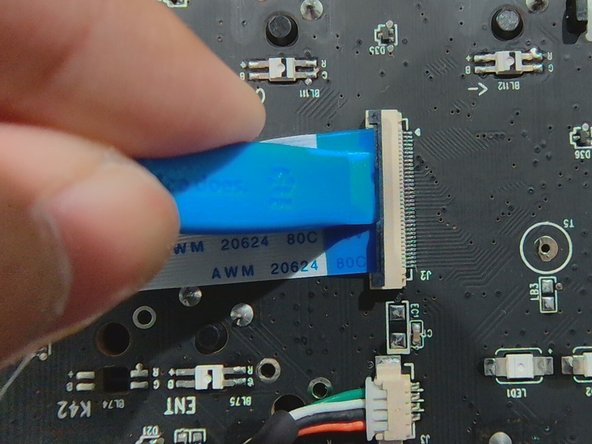
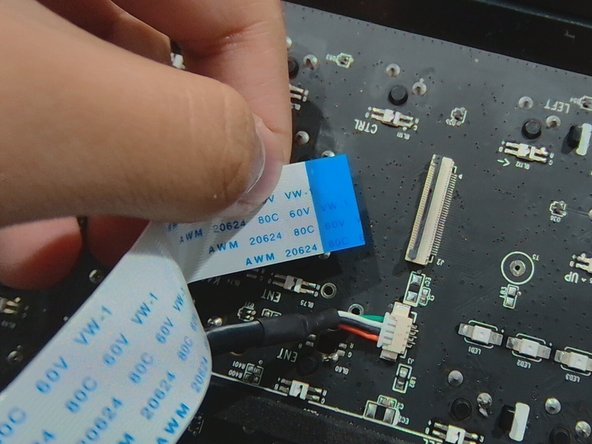
- Flip up the black locking flap on the ZIF connector using a fingernail or a spudger, then carefully pull out the ribbon cable.
- During reassembly, try not to bend the ribbon cable, apart from the factory made bend.
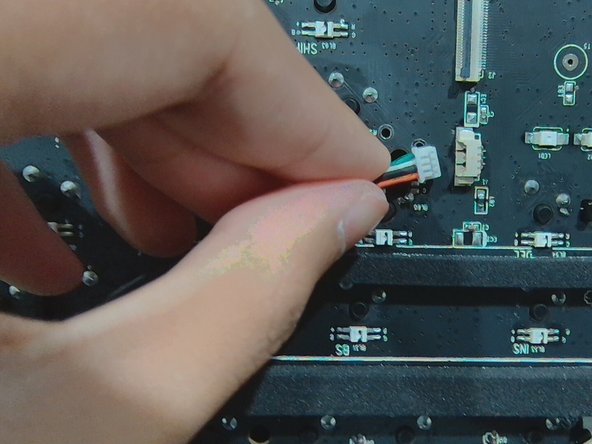
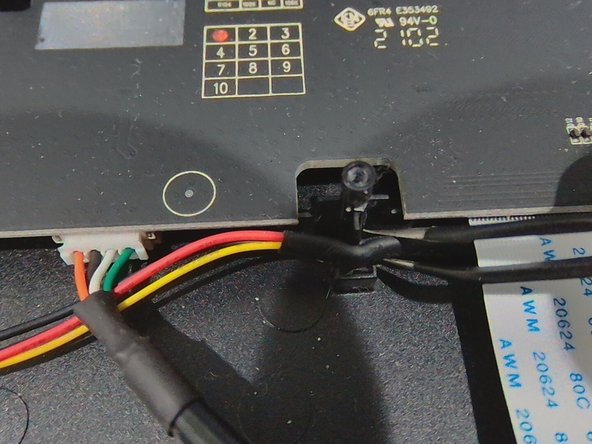
- Carefully pull out the wires.
- You may need to wiggle the wires in order to remove them.
- During reassembly, make sure that you don't assemble these wires backwards, or you may risk damage.
- Remove the top housing entirely.
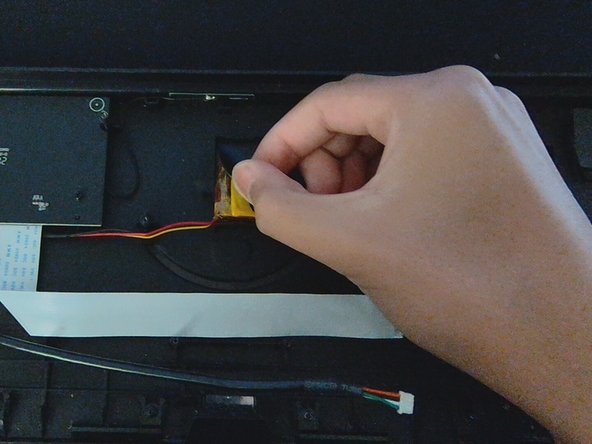
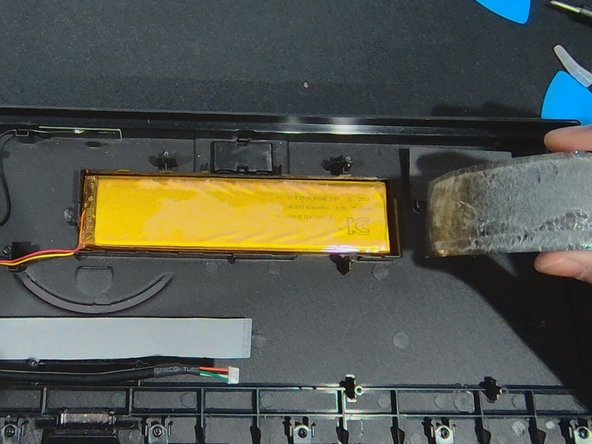
- Peel off the black plastic covering the battery.
- Peel off the black plastic piece carefully to make sure the battery doesn't get punctured and release dangerous chemicals.
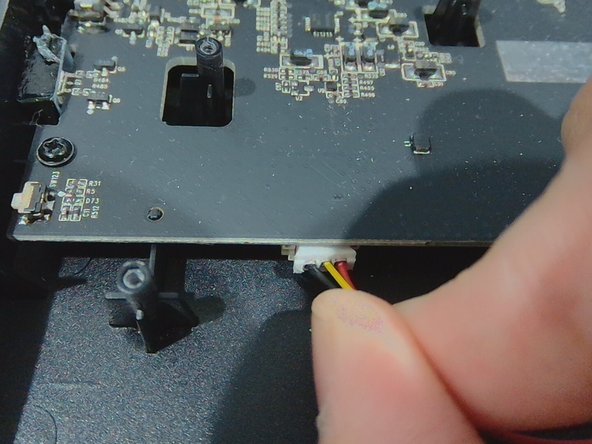
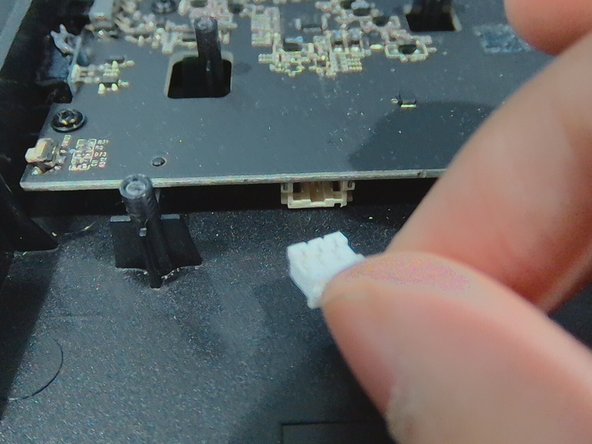
- Remove the battery connector from the motherboard.
- You may need to wiggle the connector in order to remove it.
- During reassembly, make sure to insert the connector back the right way, or you may risk damaging the connector.
- Use your hands or tweezers to remove the wires from the mount.
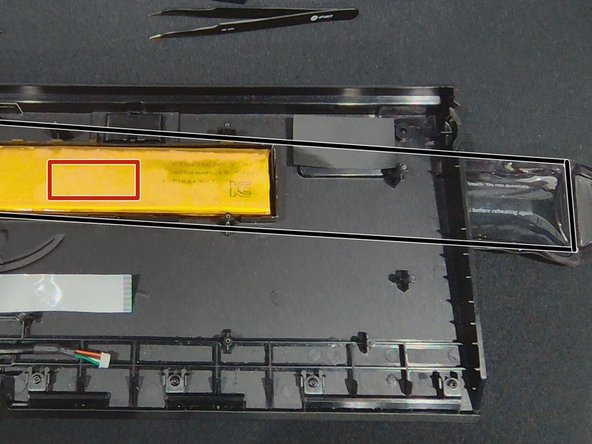
- The battery is held on with adhesive in the middle, as highlighted. direct your iOpener / heating device, and your tools in this general area to remove the battery.
- Heat and place an iOpener or other heating device (Hair Dryer / Heat Gun) under the general location of the battery's adhesive.
- Don't apply too much heat to the battery, use the iOpener for about a minute on the battery maximum
- For your reference, the red box is the general location of where the adhesive of the battery is.
- For your reference, the black box is where the iOpener is.
- Go slow, and reheat if the adhesive is still too sticky (Just don't overheat the battery). Do not puncture the battery, or you risk a dangerous situation. If you are using a heat gun or hair dryer, plan in case of a fire.
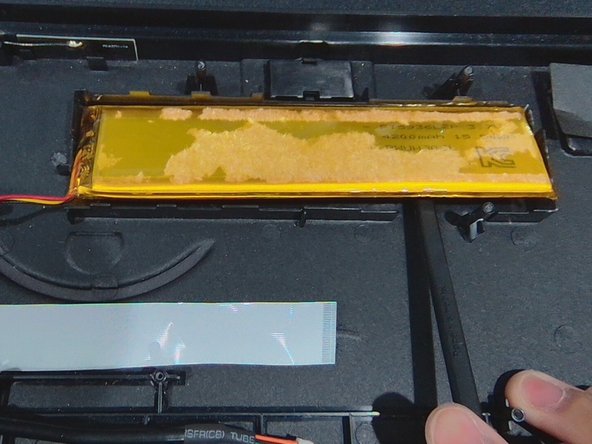
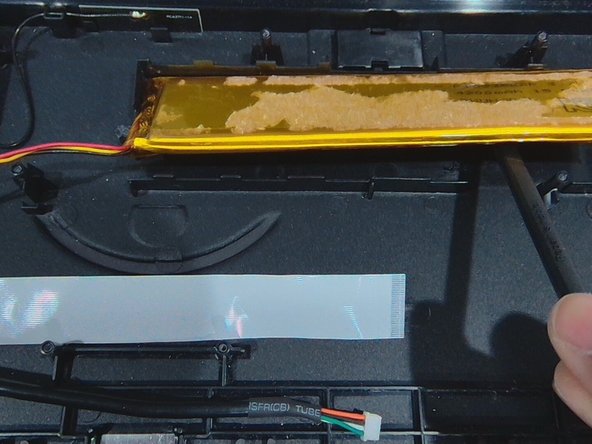
- Use a spudger to cut the adhesive, or if you have a suction cup, you can pull the battery directly up without risking puncturing the battery.
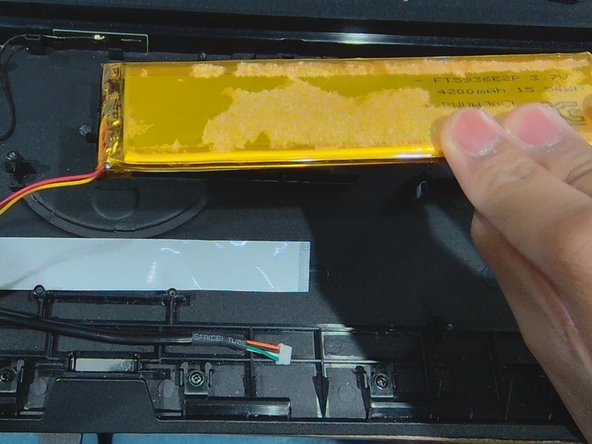
- Avoid bending the battery.
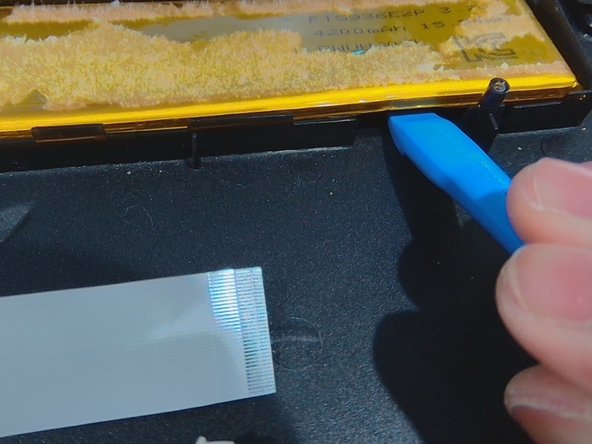
- Use an iFixit opening tool (or flat end of your spudger) to lift the battery up.
- Prevent bending of the battery and only apply pressure periodically. Reheat if needed.
- Remove the battery carefully.